
Biscoff Cheesecake Cups

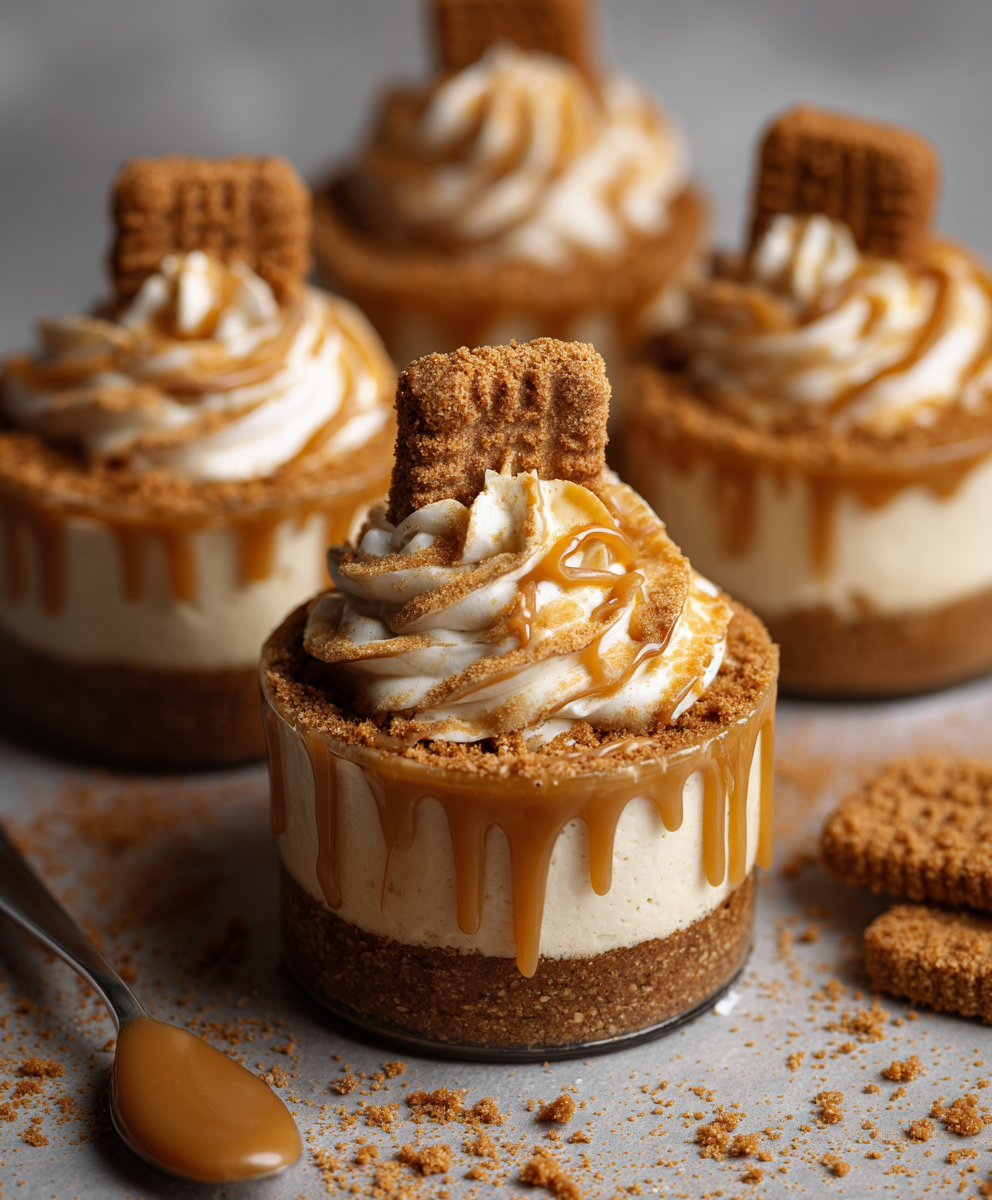
Creamy no-bake cheesecake cups layered over a crunchy Biscoff cookie crust and finished with a silky Biscoff drizzle — ideal for parties or an indulgent weeknight treat.
Why You'll Love This Recipe
- Ready in about 20 minutes of active work and sets in the fridge, so you can make it a few hours ahead for stress-free entertaining.
- Uses pantry-friendly ingredients: jarred Biscoff spread and cookies, cream cheese, whipping cream, and powdered sugar.
- No baking required, which keeps the kitchen cool in warm weather and makes prep safe for beginners.
- Flexible portions — scale easily to make 6 to 8 individual cups for a crowd or a smaller batch for family dessert.
- Perfect for themed gatherings: the caramel-spice profile pairs well with coffee, tea, or a scoop of vanilla ice cream for after-dinner drama.
- Make-ahead friendly: assemble the cups and refrigerate up to a day in advance, freeing up time on hosting day.
I remember the first time I served these at a small dinner; people asked for the recipe before the second course arrived. The combination of light, airy filling and familiar cookie crunch sparks happy nostalgia — it’s the kind of dessert guests recognize and immediately love. My niece dubbed them "little jars of heaven," and that name has stuck in our household.
Ingredients
- Biscoff cookie crumbs: Use 1 cup of finely crushed cookies for the base. I pulse whole cookies in a food processor for even crumbs; store-brand speculoos works fine if Biscoff isn’t available.
- Melted butter: 3 tablespoons melted butter binds the crumbs. Use unsalted and adjust salt elsewhere; it helps the crust press together cleanly.
- Cream cheese: 8 ounces softened at room temperature. Full-fat cream cheese gives the creamiest texture and best mouthfeel.
- Heavy whipping cream: 1 cup chilled for whipping to stiff peaks. Colder cream whips more easily and holds structure longer in the filling.
- Powdered sugar: 1/3 cup for gentle sweetness that dissolves seamlessly; sift if clumpy for a silky finish.
- Biscoff spread: 1/3 cup warmed briefly to loosen for the filling and another 1/4 cup melted for drizzling. Heat in 10-second bursts so it remains spreadable.
- Vanilla extract: 1 teaspoon to round out flavors and bridge dairy richness with the caramel-spice profile.
Instructions
Make the Crust: Combine 1 cup finely crushed Biscoff cookies with 3 tablespoons melted butter in a small bowl. Mix until crumbs are evenly moistened. Spoon 1 to 2 tablespoons of the mixture into each serving cup or jar and press lightly with the back of a spoon or the bottom of a measuring spoon to form a compact layer. Aim for a uniform thickness so the filling sits level. Place the cups in the refrigerator to firm up while you prepare the filling. Prepare the Cheesecake Base: Beat 8 ounces softened cream cheese in a medium bowl until smooth and free of lumps; use an electric mixer on medium speed for 1 to 2 minutes. Add 1/3 cup powdered sugar, 1 teaspoon vanilla, and 1/3 cup warmed Biscoff spread. Mix until completely combined and glossy. Scrape down the bowl sides to ensure even texture. The sugar balances the spread’s intensity while the vanilla amplifies the aroma. Whip the Cream: Chill a clean mixing bowl and whisk or use the chilled bowl of a stand mixer. Pour in 1 cup heavy whipping cream and beat on medium-high until stiff peaks form. Watch closely — over-whipping will create grainy texture. Stiff peaks should hold shape but still look satiny. Fold to Finish: Gently fold the whipped cream into the cream cheese mixture in two additions. Use a spatula with a figure-eight motion to keep the mixture light and airy. Stop when the mixture is uniform in color and no streaks remain. This keeps texture fluffy yet stable enough to pipe. Assemble the Cups: Pipe or spoon the filling over the chilled cookie crust, leaving a little room at the top for the drizzle. Smooth the surface with an offset spatula if you want neat presentation. Warm 1/4 cup Biscoff spread until pourable and drizzle across each cup. Finish with crushed cookies for crunch if desired. Chill and Serve: Refrigerate the assembled cups for at least 2 hours or up to 4 hours to set. Serve cold straight from the fridge. For best texture, remove from the fridge 10 minutes before serving to slightly soften the filling.
You Must Know
- The cups require a minimum of two hours in the refrigerator to set; overnight chilling yields firmer texture and cleaner slices when scooped.
- This contains dairy and gluten; it is not suitable for those avoiding either unless substitutions are made.
- Store in airtight containers in the fridge for up to three days; freeze assembled cups for up to one month, thaw overnight in the fridge.
- Whip the cream to stiff peaks and fold carefully to retain air — overmixing will deflate the filling and alter the texture.
My favorite aspect is how forgiving the recipe is while still rewarding attention to small details. A properly whipped cream and a well-pressed crust make all the difference. Family members often debate whether the extra crushed cookies on top improve the texture; I vote yes. These cups have shown up for brunches, backyard barbecues, and even as a quick housewarming gift wrapped in a little tote — they always disappear fast.

Storage Tips
Store completed cups in the refrigerator in an airtight container or covered tray for up to three days. If you plan to prepare more than a few hours ahead, assemble and refrigerate, then add the final Biscoff drizzle and crushed cookies just before serving to preserve crunch. For longer storage, place cups in a freezer-safe container and freeze for up to one month; thaw in the refrigerator overnight. When reheating from frozen, let soften in the fridge and bring to serving temperature gradually to maintain the filling’s texture.
Ingredient Substitutions
To make these gluten free, use gluten-free speculoos-style cookies and crumbs. Vegan variations work with plant-based cream cheese and coconut cream that whips; the texture is slightly different but still delicious. Swap heavy cream with coconut cream for a dairy-free route, taking care to chill it thoroughly and whisk to the right stiffness. If Biscoff spread is not available, try a jarred cookie butter or mix equal parts smooth peanut butter and a touch of brown sugar for a different but complementary profile.
Serving Suggestions
Serve these cups chilled with a small espresso or a sweet dessert wine to echo the caramel notes. Garnish with a whole cookie standing at an angle or a light dusting of powdered sugar for contrast. They pair well with fresh berries to cut richness, or with a scoop of vanilla bean ice cream for an extra indulgent platter. For parties, arrange cups on a tiered stand so guests can pick and choose.
Cultural Background
While these cups are a modern, no-bake interpretation, their roots link back to classic European spiced speculoos cookies and the contemporary trend of single-serve desserts. Speculoos biscuits originated in the Low Countries and gained global fame as both crunchy cookies and a sweet spread. The combination with whipped cream and cream cheese follows a long tradition of refrigerated desserts that prioritize light texture and rich flavor without the need for baking.
Seasonal Adaptations
In cooler months, warm the drizzle slightly and serve cups at slightly warmer temperature to enhance the spicy aroma. For summer, keep cups chilled and add a bright element like a few raspberries on top to lift the flavor. Around holidays, decorate with candied orange peel or crushed ginger snaps for festive spice. You can also fold in a tablespoon of espresso for an autumnal twist that amplifies the Biscoff character.
Meal Prep Tips
Make the crust and filling separately up to one day ahead. Keep the crust chilled and the filling covered in the refrigerator. On the day of serving, assemble, top with drizzle and crushed cookies, and chill for a final set. Use uniform jars or cups for consistent portions. Label containers if storing multiple flavors so guests can choose quickly. A piping bag with a large round tip makes assembly fast and tidy for batches of six to eight cups.
These Biscoff cups are reliably crowd-pleasing and simple enough to become a regular in your dessert rotation. Make them your own by experimenting with toppings and presentation — they reward creative tweaks and always bring smiles to the table.
Pro Tips
Chill your mixing bowl and whisk before whipping cream to achieve stiffer peaks more quickly.
Warm Biscoff spread in 10-second microwave bursts, stirring between bursts, to avoid overheating.
Press the crust firmly into the cups for a compact base that won’t crumble when scooped.
Fold whipped cream gently using a spatula in a figure-eight motion to retain air and ensure a light texture.
This nourishing biscoff cheesecake cups recipe is sure to be a staple in your kitchen. Enjoy every moist, high protein slice — it is perfect for breakfast or as a wholesome snack any time.
Tags
Biscoff Cheesecake Cups
This Biscoff Cheesecake Cups recipe makes perfectly juicy, tender, and flavorful steak every time! Serve with potatoes and a side salad for an unforgettable dinner in under 30 minutes.
Ingredients
Crust
Filling
Topping
Instructions
Make the Crust
Combine 1 cup finely crushed Biscoff cookies with 3 tablespoons melted butter. Press 1 to 2 tablespoons into each serving cup to form an even base. Chill to firm while preparing the filling.
Prepare the Cheesecake Filling
Beat 8 ounces softened cream cheese until smooth. Add 1/3 cup powdered sugar, 1 teaspoon vanilla, and 1/3 cup warmed Biscoff spread. Mix until fully incorporated and glossy.
Whip the Cream
Chill a mixing bowl and whip 1 cup heavy cream to stiff peaks. Fold whipped cream into the cream cheese mixture gently in two additions to keep the filling airy.
Assemble the Cups
Spoon or pipe the filling on top of each crust layer. Drizzle 1/4 cup melted Biscoff spread over each and sprinkle crushed cookies if desired.
Chill and Serve
Refrigerate assembled cups for at least 2 hours or up to 4 hours. Serve cold; remove 10 minutes before serving for slightly softer texture if preferred.
Last Step: Please leave a rating and comment letting us know how you liked this recipe! This helps our business to thrive and continue providing free, high-quality recipes for you.
Nutrition
Did You Make This?
Leave a comment & rating below or tag
@royalrecipe on social media!
Categories:
You might also like...

5-Minute Air Fryer Roasted Garlic Magic That Wows
Learn how a 5-minute prep transforms a whole garlic bulb into silky, caramelized cloves in the air fryer. Perfect as a spread, mix-in, or flavor booster that elevates weeknight meals and party plates.

Air-Fried Pizza Rolls
Golden, melty pizza rolls made in the air fryer—crispy outside, gooey inside, ready in under 20 minutes. Perfect for snacks, parties, or quick dinners.

Air-Fried Rice Paper Noodle Rolls
Crispy, light rolls filled with vermicelli, tofu or shrimp, and crisp vegetables—air-fried for a healthier crunch and quick prep.
Did You Make This?
Leave a comment & rating below or tag @royalrecipe on social media!
Rate This Recipe
Share This Recipe
Enjoyed this recipe? Share it with friends and family, and don't forget to leave a review!
Comments (1)
This recipe looks amazing! Can't wait to try it.
Comments are stored locally in your browser. Server comments are displayed alongside your local comments.

Hi, I'm Riley!
What's Popular

30-Minute Meals!
Join to receive our email series which contains a round-up of some of our quick and easy family favorite recipes.