
Buffalo Chicken Dip Classic

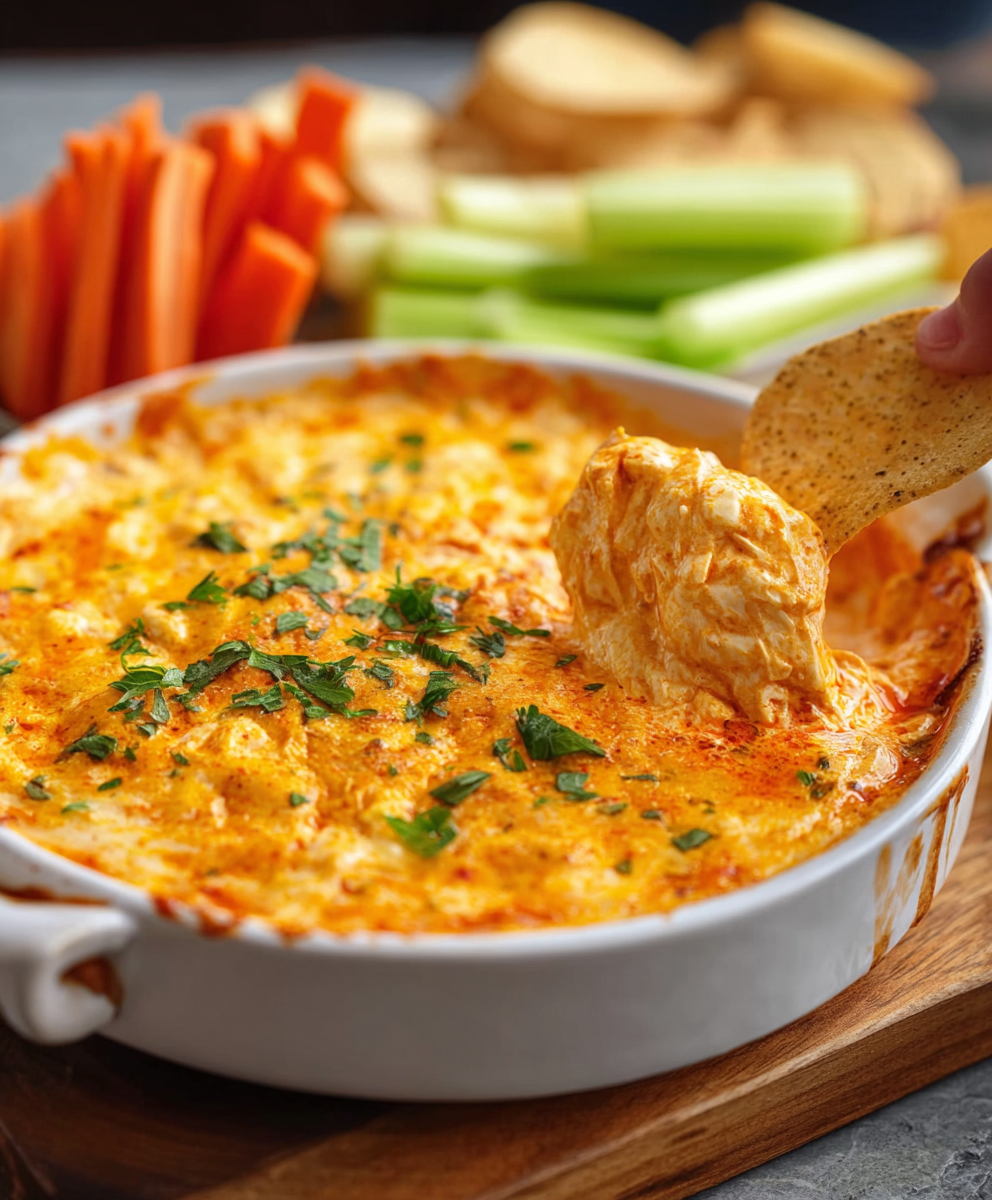
Creamy, spicy buffalo-flavored dip loaded with shredded chicken and melty cheese — a crowd-pleasing favorite for game day, parties, and cozy nights in.

This buffalo chicken dip has been my go-to party starter for years. I first made it on a chilly Sunday afternoon when a last-minute crew of friends announced they'd stop by to watch a game. I grabbed a rotisserie chicken from the grocery store, raided the fridge for cream cheese and cheddar, and within an hour the house smelled like buttery heat and melted cheese — everyone dove in, plates went back for seconds, and the recipe became a permanent entry in my hosting shorthand. The texture is luxuriously creamy thanks to softened cream cheese and a generous splash of ranch, while the Buffalo sauce keeps it bright and tangy without overwhelming the chicken's savory bite.
What makes this preparation special is the balance: velvety base, shredded cooked chicken for substance, and a three-cheese finish that browns lightly on top for contrast. I often reach for Frank's RedHot because of its classic vinegar-forward tang, but I also adjust the heat depending on guests — milder for kids and ramped up for heat lovers. The dip’s appeal is universal: it’s easy to assemble, bakes quickly, and pairs perfectly with crunchy dippers like celery or sturdy tortilla chips. Over the years I’ve learned a few small technique tweaks that keep the dip creamy and avoid oil separation; I’ll share those in the steps below so it turns out great every time.
Why You'll Love This Recipe
- Ready in about 35 minutes from start to oven-ready — perfect for last-minute entertaining or game-day snacking.
- Uses pantry and fridge staples: shredded cooked chicken (rotisserie saves time), cream cheese, ranch, and cheddar.
- Make-ahead friendly: assemble the base up to 24 hours in advance and bake just before serving for a freshly bubbly top.
- Crowd-pleasing heat level: Frank’s RedHot provides classic Buffalo flavor; adjust the amount for milder or hotter results.
- Versatile serving options: serve with tortilla chips, celery sticks, crackers, or toasted baguette slices for different textures and diets.
- Customizable finishes: sprinkle blue cheese crumbles for tang, or add extra mozzarella for more melt and stretch.
In my experience, guests always remember the contrast between the creamy interior and the lightly browned, slightly crisp top. Family members from picky teens to spice lovers have all asked for this again and again — one college buddy even swore it got him through finals week when I sent a tub to his study group. It’s one of those reliably comforting dishes that feels indulgent but is incredibly simple.
Ingredients
- Shredded cooked chicken: Use about 2 cups (roughly one large rotisserie chicken breast worth, shredded). Rotisserie works great for quick prep and deep poultry flavor; if using leftover roast chicken, remove excess skin and shred by hand or with two forks for the best texture.
- Cream cheese: 8 ounces (225 g), softened. Full-fat cream cheese gives the creamiest mouthfeel; soften at room temperature for 20–30 minutes so it blends without lumps.
- Buffalo sauce: 1/2 cup; Frank’s RedHot is my pick for classic tang and reliable heat. If you prefer milder flavor, reduce to 1/3 cup and add more to taste after baking.
- Ranch dressing: 1/2 cup for creaminess and cooling herbs. Blue cheese dressing is a swap for a deeper sharpness if you love blue cheese.
- Cheddar cheese: 1 cup shredded (about 4 ounces). Sharp cheddar adds character and color; shred your own for better melt.
- Mozzarella cheese: 1/2 cup shredded (about 2 ounces) to add stretch and a nicely melted top layer.
- Blue cheese crumbles (optional): 1/4 cup for garnish and bold savory notes that echo classic Buffalo wings.
- Seasonings: 1 teaspoon garlic powder and 1 teaspoon onion powder to round out the flavor profile.
- Garnish: Sliced green onions (optional) for freshness and color when serving.
Instructions
Preheat the oven: Set the oven to 375°F (190°C). Use a rack positioned in the center of the oven to allow even browning on top. If you plan to broil for a few seconds at the end to crisp the top, leave the rack in the center and move the dish to a higher rack only briefly at the end. Combine the base: In a medium mixing bowl, beat the softened cream cheese until smooth using a rubber spatula or electric mixer on low. Add 1/2 cup Buffalo sauce, 1/2 cup ranch dressing, 1 teaspoon garlic powder, and 1 teaspoon onion powder. Mix until completely homogenous and creamy — this prevents streaks and ensures an even flavor throughout. If the cream cheese is too cold, the mixture will be lumpy. Fold in chicken and cheese: Stir in 2 cups shredded cooked chicken until the strands are evenly coated. Add 1 cup shredded cheddar and 1/2 cup shredded mozzarella, reserving a small handful (about 1/4 cup) of the cheddar for the top. Folding gently keeps larger chicken pieces intact, which improves texture. Transfer and top: Spoon the mixture into a 9-inch (23 cm) oven-safe baking dish and spread it to an even layer. Sprinkle the reserved cheddar evenly over the surface to encourage browning and a slightly crisp edge after baking. Bake until bubbly: Bake at 375°F (190°C) for 20–25 minutes, until the mixture is bubbling around the edges and the cheese on top is lightly golden. Look for tiny brown flecks forming on the cheddar; that signals readiness. If you want a bronzed top, switch to broil for 1–2 minutes — watch closely to avoid burning. Garnish and serve: Remove from the oven and let rest 5 minutes. Scatter sliced green onions and blue cheese crumbles over the top if using. Serve warm with tortilla chips, celery sticks, crackers, or toasted baguette slices.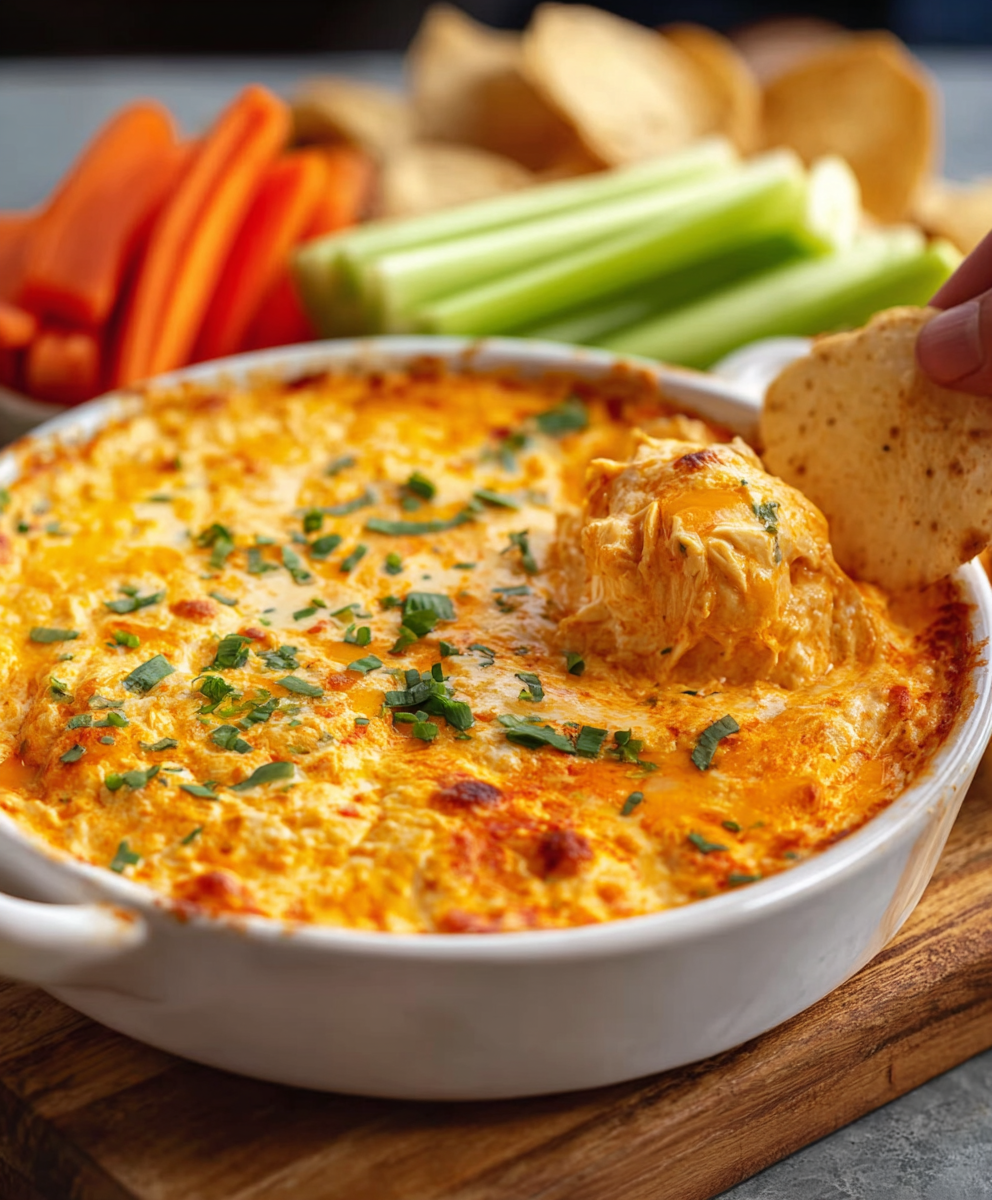
You Must Know
- This dish freezes well: store in an airtight container up to 3 months; thaw overnight in the refrigerator and reheat in a 350°F (175°C) oven until warmed through.
- High in protein from the chicken — expect about 25 g protein per serving; it’s also calorie-dense, so portion accordingly for lighter meals.
- If you need gluten-free options, serve with gluten-free tortilla chips or raw vegetables instead of bread or crackers.
- Make-ahead shortcut: assemble in the baking dish, cover, and refrigerate up to 24 hours; add the final cheese topping just before baking for the best texture.
My favorite aspect of this dish is how it brings people together — casual hands-in, shared plates, and conversations that stretch longer than planned. A neighbor once brought a jar of homemade pickled jalapeños after trying this dip, which we happily chopped into the next batch. Those small community food moments are exactly why I keep this recipe in heavy rotation.
Storage Tips
To store leftovers, cool the dip to room temperature for no more than 1 hour, then cover tightly and refrigerate for up to 4 days. Use airtight glass containers for best flavor retention. For freezing, spoon portions into freezer-safe containers or a single larger tub and freeze for up to 3 months. Reheat from frozen at 350°F (175°C) for 25–35 minutes, or thaw overnight and reheat until warm and bubbling. For quick microwave reheating, use medium power and stir every 45–60 seconds to avoid hot spots and separated oils.
Ingredient Substitutions
Want to swap ingredients? Use Greek yogurt (about 1 cup) combined with 4 ounces of softened cream cheese to reduce fat while keeping creaminess, though the texture will be tangier. Replace ranch with blue cheese dressing for a bolder finish and omit the optional blue crumbles. For a dairy-free version, use dairy-free cream cheese and shredded dairy-free cheeses, though melt and texture will vary. To make it spicier, add 1–2 tablespoons of hot sauce or 1/4 cup chopped pickled jalapeños; for milder, reduce Buffalo sauce to 1/3 cup.
Serving Suggestions
Serve warm in the baking dish as a communal dip or spoon into individual ramekins for plated appetizers. Pair with sturdy dippers like kettle-cooked tortilla chips, pita chips, or toasted baguette slices to balance the creamy richness. For a lighter plate, offer celery and carrot sticks and a simple green salad with lemon vinaigrette. For a loaded appetizer board, place the dip alongside sliced deli meats, pickles, and an assortment of crackers to give guests variety.
Cultural Background
Buffalo-style flavors originate from Buffalo, New York, and were popularized by the well-known Buffalo wing. The classic wing sauce — a blend of hot sauce and butter — has inspired many adaptations, including this creamy dip variant that captures the wing’s heat and tang without the mess. Over time, this dip has become a staple at American gatherings, especially sports events and potlucks, where hand-held, shareable bites are prized.
Seasonal Adaptations
In cooler months, serve this dip at the center of a cozy football night spread with warm pretzel bites and roasted root vegetables. In summer, lighten it by mixing in chopped grilled chicken and serving straight from a chilled bowl alongside crisp cucumber slices. For holiday gatherings, elevate presentation by piping the hot dip into a hollowed sourdough boule or mini bread bowls and placing the dish on a garnished platter.
Meal Prep Tips
For meal prep, portion the dip into 6–8 small containers, bake or reheat as needed, and serve with fresh-cut vegetables for a protein-rich snack or quick lunch. Assemble the base in one large bowl and separate into containers before baking; this shortens reheating time. Use silicone muffin cups for single-serve baked cups — they make portable, individual portions and crisp edges perfectly.
This Buffalo chicken dip is comfort food that’s easy to make, endlessly adaptable, and always a hit with friends and family. Whether you’re feeding a crowd or looking for a decadent snack, this version delivers consistent results and plenty of smiles — give it a try and adjust the heat to suit your crowd.
Pro Tips
Soften the cream cheese at room temperature for 20–30 minutes to ensure a smooth base without lumps.
Reserve a small amount of shredded cheddar to sprinkle on top for better browning and a slightly crisp surface.
If the dip separates when reheating, stir in a tablespoon of sour cream or a splash of ranch to re-emulsify.
When broiling for color, watch closely and do it for no more than 1–2 minutes to avoid burning.
This nourishing buffalo chicken dip classic recipe is sure to be a staple in your kitchen. Enjoy every moist, high protein slice — it is perfect for breakfast or as a wholesome snack any time.
FAQs about Recipes
Can I make this ahead?
Yes. You can assemble the mixture in the baking dish, cover, and refrigerate for up to 24 hours. Add the final cheese topping just before baking for best texture.
Can I freeze leftovers?
Freeze cooled dip in an airtight container for up to 3 months. Thaw overnight in the refrigerator and reheat in a 350°F oven until warmed through.
Tags
Buffalo Chicken Dip Classic
This Buffalo Chicken Dip Classic recipe makes perfectly juicy, tender, and flavorful steak every time! Serve with potatoes and a side salad for an unforgettable dinner in under 30 minutes.
Ingredients
Main
Toppings & Garnish
To Serve
Instructions
Preheat the oven
Preheat oven to 375°F (190°C) and place rack in the center position so the top can brown evenly.
Make the base
Beat softened cream cheese until smooth. Add Buffalo sauce, ranch, garlic powder, and onion powder, mixing until creamy and fully combined to avoid lumps.
Fold in chicken and cheese
Stir in shredded chicken, shredded cheddar, and mozzarella. Reserve about 1/4 cup cheddar for topping to encourage browning.
Bake
Spread mixture into a 9-inch oven-safe dish and top with reserved cheddar. Bake at 375°F (190°C) for 20–25 minutes until bubbly and lightly golden; broil 1–2 minutes if desired for color.
Garnish and serve
Let dip rest 5 minutes, then top with green onions and blue cheese crumbles if using. Serve warm with your choice of dippers.
Last Step: Please leave a rating and comment letting us know how you liked this recipe! This helps our business to thrive and continue providing free, high-quality recipes for you.
Nutrition
Did You Make This?
Leave a comment & rating below or tag
@royalrecipe on social media!
Categories:
You might also like...

5-Minute Air Fryer Roasted Garlic Magic That Wows
Learn how a 5-minute prep transforms a whole garlic bulb into silky, caramelized cloves in the air fryer. Perfect as a spread, mix-in, or flavor booster that elevates weeknight meals and party plates.

Air-Fried Pizza Rolls
Golden, melty pizza rolls made in the air fryer—crispy outside, gooey inside, ready in under 20 minutes. Perfect for snacks, parties, or quick dinners.

Air-Fried Rice Paper Noodle Rolls
Crispy, light rolls filled with vermicelli, tofu or shrimp, and crisp vegetables—air-fried for a healthier crunch and quick prep.
Did You Make This?
Leave a comment & rating below or tag @royalrecipe on social media!
Rate This Recipe
Share This Recipe
Enjoyed this recipe? Share it with friends and family, and don't forget to leave a review!
Comments (1)
This recipe looks amazing! Can't wait to try it.
Comments are stored locally in your browser. Server comments are displayed alongside your local comments.

Hi, I'm Riley!
What's Popular

30-Minute Meals!
Join to receive our email series which contains a round-up of some of our quick and easy family favorite recipes.