
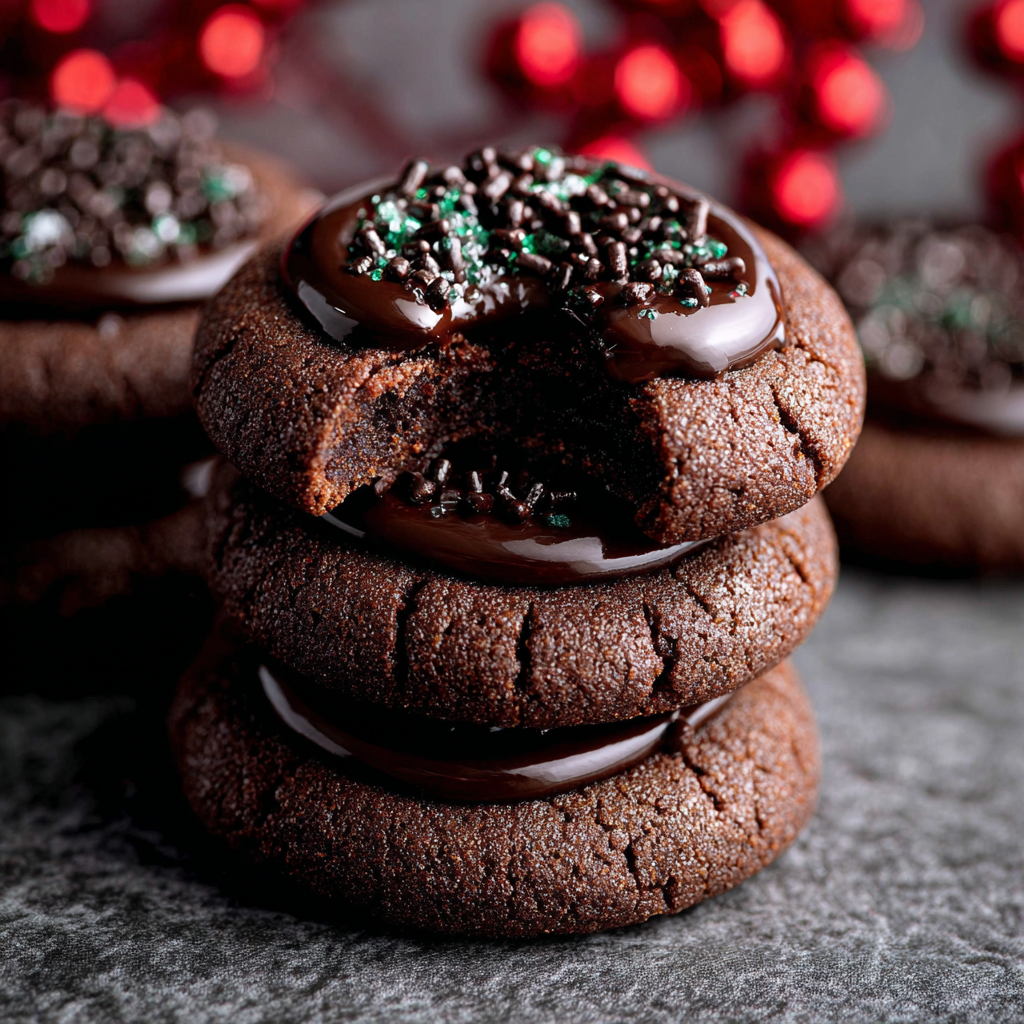
Chocolate Thumbprint Cookies

Buttery cocoa cookies with a glossy chocolate ganache center — a simple, crowd-pleasing treat perfect for gifts, holiday trays, and cozy nights in.
This collection of chocolate thumbprint cookies began as an experiment on a rainy December afternoon when I wanted a small, elegant cookie that felt special without requiring hours of baking. The dough is tender and buttery, with a deep cocoa note that makes every bite feel indulgent but balanced. I discovered the technique of using just egg yolks for richness and a touch of vanilla bean paste for floral depth; that adjustment elevated the texture from ordinary to bakery-level. These cookies have become my go-to for giving away in pretty tins and for last-minute dessert trays because they look finished and festive with very little effort.
What makes these cookies memorable is the contrast between slightly crisp edges and a soft, shortbread-like interior, finished with a glossy spoonful of warm ganache that sets with a slight sheen. The chocolate center maintains a creamy mouthfeel without becoming too soft, thanks to the ratio of chocolate to cream. I still remember my neighbor’s face the first time she tried one — a slow, delighted smile and the question, "Did you buy these?" That’s the kind of reaction these create: deceptively simple but undeniably special.
Why You'll Love This Recipe
- Ready in about 45 minutes from start to finish (including a short cooling period), making it ideal for quick holiday trays or an afternoon baking session.
- Uses pantry-friendly staples — flour, cocoa, butter, and sugars — with an optional splash of vanilla bean paste for a bakery-quality aroma.
- Hands-on shaping is minimal: press with your thumb to create uniform wells, perfect for baking with kids or for a relaxed baking afternoon.
- Make-ahead friendly: the dough can be chilled overnight for better flavor development and easier shaping, or the baked cookies freeze beautifully for up to 3 months.
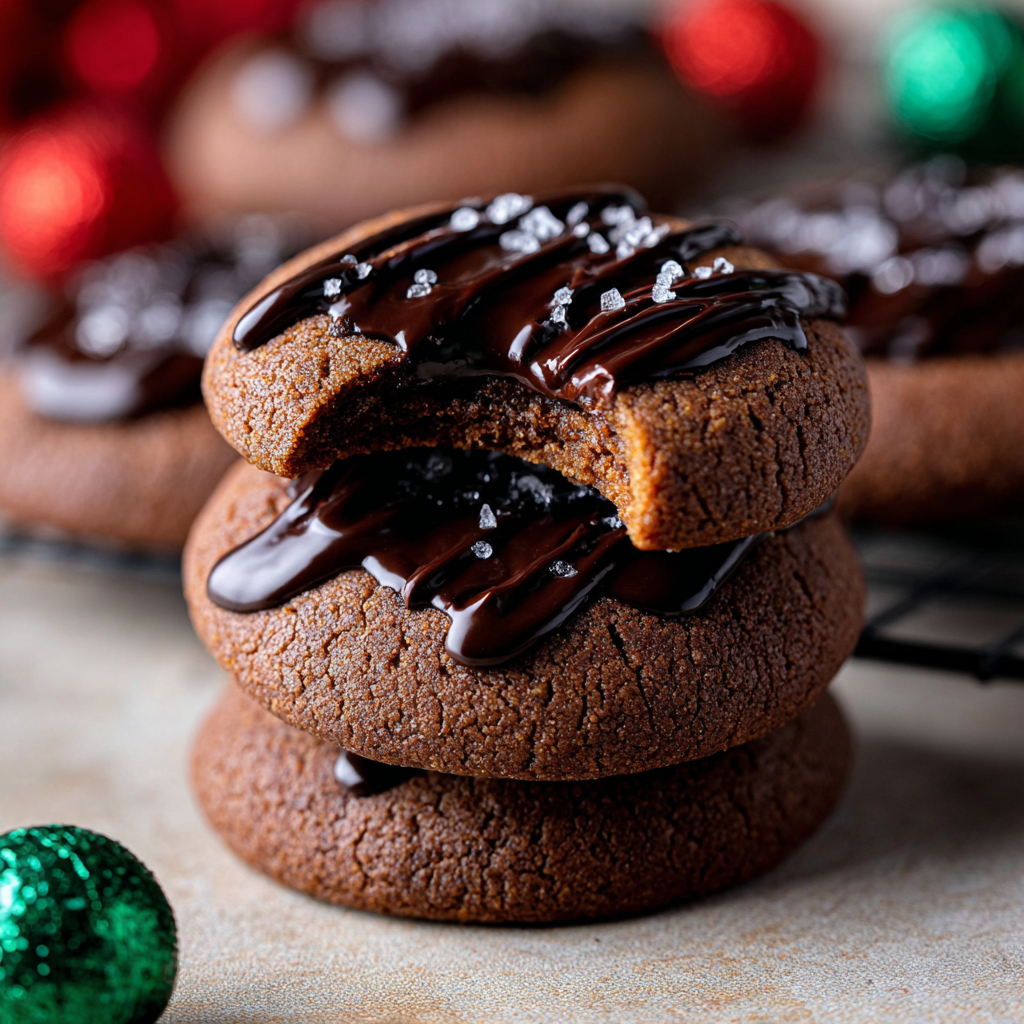
- Crowd-pleasing and customizable — top the ganache with nonpareils, flaky sea salt, or chopped nuts to fit the occasion.
In my kitchen these cookies became a staple the first winter I made them for a block party. I mixed the dough the night before, baked the next morning, and filled the centers while my kids decorated nearby. Everyone asked for the recipe, and after a few batches I perfected the timing so the centers remain glossy but set. They travel well and always disappear quickly.
Ingredients
- All-purpose flour: 1 1/2 cups — spooned and leveled when measuring to avoid compacting. Choose a reliable brand like King Arthur for consistent texture; this provides the tender base without weighing down the dough.
- Dutch-process cocoa powder: 1/2 cup — offers a deep, mellow chocolate flavor. Dutch-process is less acidic than natural cocoa and gives darker color and a smoother taste.
- Salt: 1/2 teaspoon — balances sweetness; use fine sea salt for easiest distribution.
- Baking powder: 1/2 teaspoon — a small lift keeps the texture tender rather than cakey.
- Unsalted butter: 3/4 cup softened — room temperature for proper creaming. I prefer European-style butter when available for a slightly richer flavor.
- Light brown sugar: 3/4 cup packed — adds moisture and caramel notes; use light brown for a milder molasses flavor.
- Granulated sugar: 1/4 cup — adds structure and helps the edges crisp.
- Egg yolks: 2 yolks at room temperature — yolks provide richness and a tender crumb without extra liquid from whites.
- Vanilla bean paste or extract: 1 1/2 teaspoons — paste brings flecks and floral notes; pure extract works well too.
- Semisweet chocolate chips: 1 cup for ganache — choose a quality 60% cacao chip (Ghirardelli or similar) for balanced sweetness.
- Heavy whipping cream: 1/2 cup — warms the ganache and creates a glossy, spreadable filling.
- Nonpareils: Optional for sprinkling — adds festive texture and a pop of color.
Instructions
Step 1 — Prepare and preheat: Preheat the oven to 350°F (175°C). Line two baking sheets with parchment or silicone mats and set aside. Bring butter to soft room temperature — it should yield slightly when pressed but not be oily. Room-temperature yolks mix more evenly into the creamed butter and reduce graininess. Step 2 — Combine dry ingredients: Whisk together 1 1/2 cups all-purpose flour, 1/2 cup Dutch-process cocoa powder, 1/2 teaspoon baking powder, and 1/2 teaspoon salt in a bowl. Sifting together is optional but helps remove lumps in cocoa and ensures even distribution of leavening. Step 3 — Cream butter and sugars: In a stand mixer fitted with the paddle or using a hand mixer, beat 3/4 cup softened unsalted butter with 3/4 cup packed light brown sugar and 1/4 cup granulated sugar on medium speed until pale and fluffy, about 2 to 3 minutes. Scrape the bowl once to ensure even mixing. This step incorporates air for light texture. Step 4 — Add yolks and vanilla: Beat in the two room-temperature egg yolks one at a time, then mix in 1 1/2 teaspoons vanilla bean paste or extract. Beat just until combined to prevent overmixing, which can toughen the dough. Step 5 — Combine and chill: With the mixer on low, add the dry ingredients in two batches until just combined and a cohesive dough forms. Avoid overmixing — stop when no dry streaks remain. If the dough feels very soft, chill 15–20 minutes; slightly firmer dough holds shape better when baking. Step 6 — Shape and press: Roll heaping tablespoons of dough into 1-inch balls and arrange 2 inches apart on prepared sheets. Use your thumb or the back of a small measuring teaspoon to press an indentation into the center of each ball about 1/2-inch deep, creating a well for the ganache. Step 7 — Bake: Bake at 350°F (175°C) for 10–12 minutes, until edges are set and slightly firm but centers remain soft. The cookies will firm as they cool. Remove from oven and allow to cool on the baking sheet for 5 minutes before transferring to a wire rack to cool completely. Step 8 — Make ganache and fill: Place 1 cup semisweet chocolate chips in a heatproof bowl. Warm 1/2 cup heavy whipping cream in a small saucepan until it just begins to simmer (do not boil). Pour the hot cream over the chips, let sit 1 minute, then stir until smooth and glossy. Spoon or pipe a small amount of ganache into each cooled indentation. Sprinkle with nonpareils while ganache is still soft if using.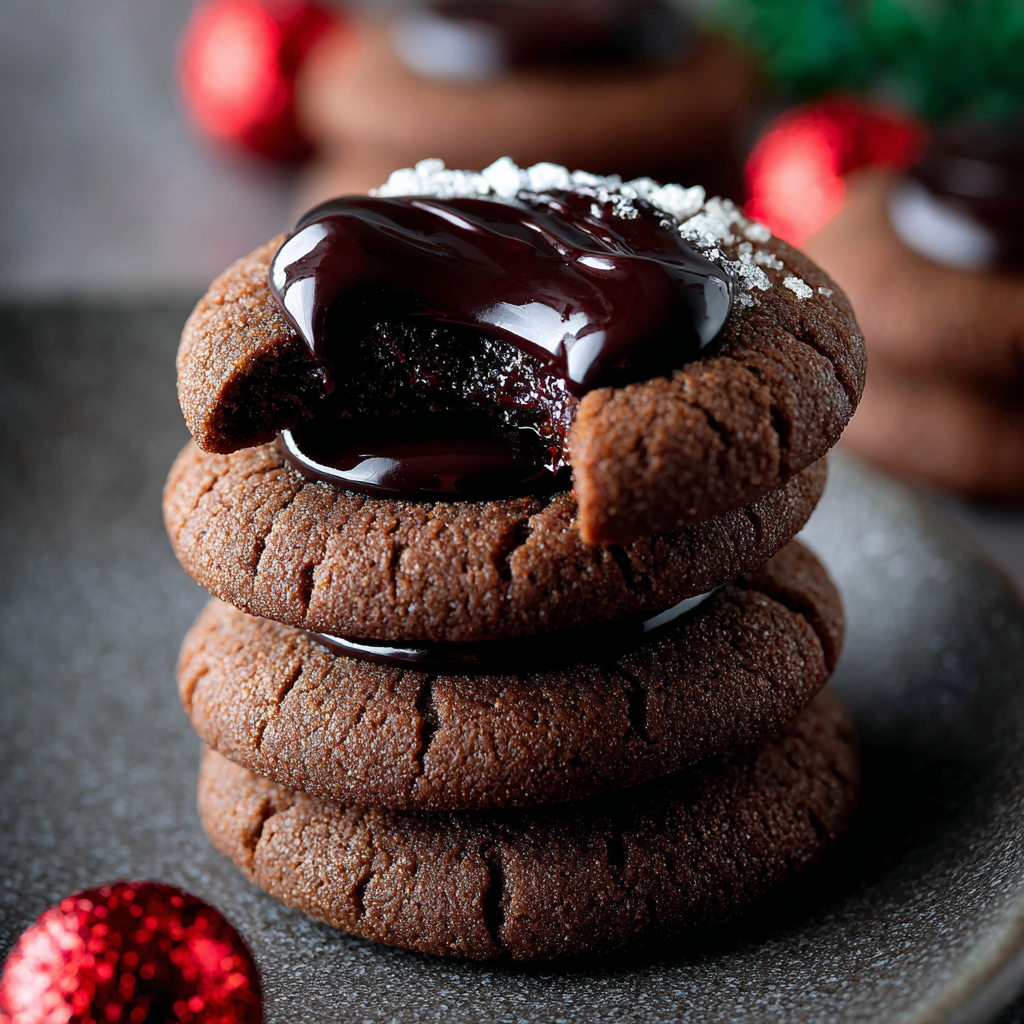
You Must Know
- These cookies are rich in calories and fat (butter, cream, chocolate) — they’re best enjoyed in small portions and are high-energy treats for sharing.
- The dough can be made ahead and refrigerated up to 48 hours; let it sit at room temperature 15 minutes before shaping for easier rolling.
- Baked cookies freeze well: flash-freeze on a tray, then transfer to an airtight container for up to 3 months. Thaw at room temperature and fill with ganache after thawing for best texture.
- If using nonpareils, add them immediately after filling while ganache is still warm so they adhere smoothly.
My favorite part is how the ganache sets just enough to stay glossy but still yields under your teeth. On a cold night, I’ll bake a batch and bring a tin to a neighbor — the cookies always spark conversation and smiles. They’re forgiving enough for bakers of any level and flexible for holiday decorating or gift-giving.
Storage Tips
Store filled cookies in a single layer in an airtight container at room temperature for up to 3 days; the ganache may soften in warm kitchens. For longer storage, refrigerate up to 1 week or freeze unfilled baked cookies for 2–3 months. If freezing, space cookies on a tray to flash-freeze for 30 minutes, then stack with parchment between layers in a freezer-safe container. Reheat frozen filled cookies briefly (20–30 seconds) in a microwave on low to revive gloss, or bring to room temperature before serving to maintain texture.
Ingredient Substitutions
For a dairy-free version, substitute the butter with a high-quality vegan butter and use coconut cream warmed with dairy-free chocolate chips for the ganache; note the texture and flavor will shift slightly toward coconut. To reduce sugar, replace half the granulated sugar with a sugar substitute suitable for baking, but keep the brown sugar for moisture. Swap Dutch-process cocoa for natural cocoa if that’s what you have — expect a slightly brighter acidity and lighter color. For a nutty twist, fold 1/3 cup finely chopped toasted pecans into the dough just before shaping.
Serving Suggestions
Serve these on a dessert platter with an assortment of cookies for contrast — shortbread, jam thumbprints, and a citrus biscotti pair beautifully. For holidays, dust powdered sugar lightly around the edges or top with crushed peppermint. Accompany with hot coffee or a robust black tea to counterbalance the sweetness, or a small glass of milk for a nostalgic pairing. They’re sized well for afternoon tea, cookie exchanges, or plated as a petit four after dinner.
Cultural Background
Thumbprint-style cookies trace their roots to Scandinavian and Central European baking traditions where small jam-filled cookies were pressed with a thumb before baking. Chocolate-filled variations emerged as chocolate became more accessible, combining shortbread techniques with chocolate centers. This version leans on classic shortbread structure but uses cocoa in the dough and a ganache center, merging old-world technique with modern chocolate sensibilities familiar to many American holiday traditions.
Seasonal Adaptations
Adapt these for seasons by adjusting garnishes: in winter add crushed candy canes or edible gold dust; in spring use pastel nonpareils; in autumn fold 1/2 teaspoon ground cinnamon and a pinch of nutmeg into the dry mix and top with toasted pumpkin seeds. For Valentine’s Day, fill with a raspberry ganache (blend melted raspberries into the warm cream before pouring over chocolate) to add a bright, fruity note.
Meal Prep Tips
To batch-produce for gifts, make the dough and form balls ahead of time, then freeze the shaped balls on a sheet and transfer to a bag. Bake directly from frozen adding an extra 1–2 minutes. For event service, fill centers the day of to prevent the ganache from softening adjacent cookies in stacked containers. Pack baked, unfilled cookies in airtight boxes with parchment layers and include a small tube of ganache for on-site filling if transporting long distances.
In short, these chocolate thumbprint cookies are dependable, adaptable, and endlessly giftable. They’ve become a staple in my holiday rotation and a comfort on quiet evenings; I hope they find a place in your baking repertoire too.
Pro Tips
Chill the dough 15–20 minutes if too soft — slightly firm dough shapes and bakes better.
Use room-temperature egg yolks to ensure even incorporation and a smooth texture.
Warm the cream just until simmering for ganache; overheating can make the chocolate seize.
Flash-freeze shaped dough balls on a tray before storing to prevent them sticking together.
This nourishing chocolate thumbprint cookies recipe is sure to be a staple in your kitchen. Enjoy every moist, high protein slice — it is perfect for breakfast or as a wholesome snack any time.
Tags
Chocolate Thumbprint Cookies
This Chocolate Thumbprint Cookies recipe makes perfectly juicy, tender, and flavorful steak every time! Serve with potatoes and a side salad for an unforgettable dinner in under 30 minutes.
Ingredients
Cookies
Ganache & Finish
Instructions
Preheat and prep
Preheat oven to 350°F (175°C). Line baking sheets with parchment and set aside. Ensure butter and yolks are at room temperature for even creaming.
Mix dry ingredients
Whisk together flour, cocoa powder, baking powder, and salt to ensure even distribution and remove lumps from the cocoa.
Cream butter and sugars
Beat butter with brown and granulated sugar until pale and fluffy, about 2–3 minutes. Scrape the bowl to incorporate all ingredients for a consistent texture.
Add yolks and vanilla
Beat in egg yolks one at a time, then add vanilla. Mix until just combined to avoid overworking the dough.
Combine dough
Add dry ingredients in two additions on low speed and mix until just combined. Chill briefly if the dough is too soft to handle.
Shape and indent
Form tablespoon-sized balls, place on prepared sheets, and press a 1/2-inch deep well into each ball with your thumb or the back of a spoon.
Bake
Bake at 350°F (175°C) for 10–12 minutes until edges are set. Let cool on the sheet 5 minutes, then transfer to a rack to cool completely.
Prepare ganache and fill
Heat cream until just simmering, pour over chocolate chips, wait 1 minute, then stir until smooth. Fill each well with warm ganache and add nonpareils if desired.
Last Step: Please leave a rating and comment letting us know how you liked this recipe! This helps our business to thrive and continue providing free, high-quality recipes for you.
Nutrition
Did You Make This?
Leave a comment & rating below or tag
@royalrecipe on social media!
Categories:
You might also like...

5-Minute Air Fryer Roasted Garlic Magic That Wows
Learn how a 5-minute prep transforms a whole garlic bulb into silky, caramelized cloves in the air fryer. Perfect as a spread, mix-in, or flavor booster that elevates weeknight meals and party plates.

Air-Fried Pizza Rolls
Golden, melty pizza rolls made in the air fryer—crispy outside, gooey inside, ready in under 20 minutes. Perfect for snacks, parties, or quick dinners.

Air-Fried Rice Paper Noodle Rolls
Crispy, light rolls filled with vermicelli, tofu or shrimp, and crisp vegetables—air-fried for a healthier crunch and quick prep.
Did You Make This?
Leave a comment & rating below or tag @royalrecipe on social media!
Rate This Recipe
Share This Recipe
Enjoyed this recipe? Share it with friends and family, and don't forget to leave a review!
Comments (1)
This recipe looks amazing! Can't wait to try it.
Comments are stored locally in your browser. Server comments are displayed alongside your local comments.

Hi, I'm Riley!
What's Popular

30-Minute Meals!
Join to receive our email series which contains a round-up of some of our quick and easy family favorite recipes.