
Christmas Cookie Bars

A festive, chewy bar studded with chocolate chips and Christmas M&M’s — easy to make and perfect for holiday sharing.

This recipe for Christmas Cookie Bars has become my holiday safety net over the years. I first made these during a chaotic December when I needed something that felt festive, traveled well to parties, and could be pulled from pantry staples at a moment’s notice. The texture sits somewhere between a chewy cookie and a tender blondie, with pockets of melted semi-sweet chocolate and colorful candy crunch that everyone recognizes and loves. The balance of brown sugar depth and vanilla warmth makes the bars feel homemade and nostalgic, without demanding complicated techniques or unusual ingredients.
I discovered the beauty of a single-pan sweet treat one winter afternoon while prepping for a cookie exchange. I wanted bright colors for the season, a sturdy bar that slices cleanly, and a batter forgiving enough to tolerate impatient helpers. These bars answered the brief perfectly. They slice into transportable squares that look seasonal, taste indulgent, and hold up well on a platter. Over the years I’ve learned small tricks that improve texture and appearance, and I share those details below so you’ll have the same success the first time.
Why You'll Love This Recipe
- Ready with minimal fuss: active hands-on time is under 20 minutes, and the oven does the rest, making it ideal for busy holiday mornings.
- Pan-friendly format: baked in a 9 by 13 pan so you can slice, stack, and transport without losing shape — no individual scooping required.
- Uses pantry staples: common baking ingredients like flour, butter, eggs, brown sugar, and chocolate chips plus a bag of festive M&M’s are all you need.
- Make-ahead friendly: bars chill and slice cleanly after cooling and can be kept in an airtight container for several days.
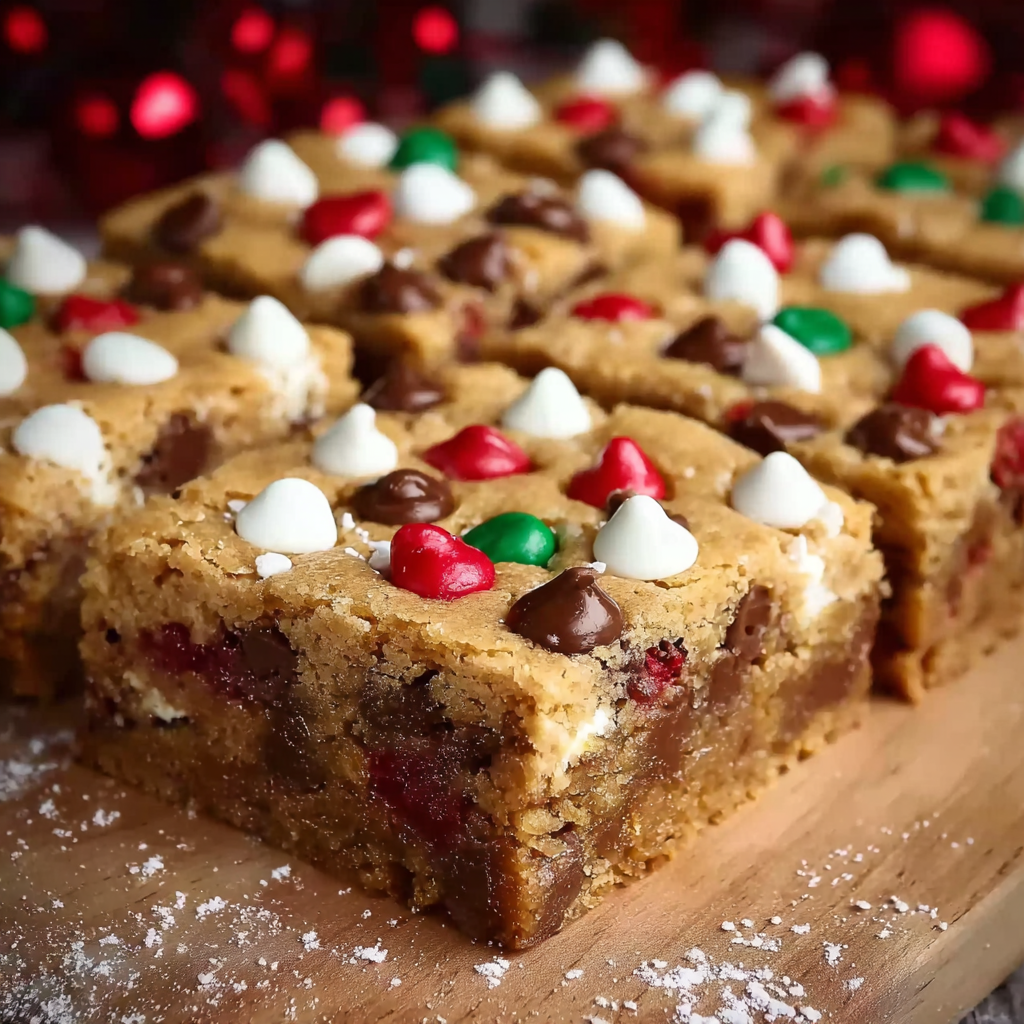
- Crowd-pleaser: the mix of semi-sweet and white chocolate with colorful candy makes these universally appealing at family gatherings and cookie swaps.
- Adaptable: swap in nutty add-ins or seasonal candies for a personal twist while keeping the same simple method.
When I serve these at holiday parties, family members immediately ask for the recipe. The bright candies make the tray disappear first, and I love that even picky eaters who avoid traditional cookies often reach for these because they look fun. I find myself making a double batch most years so there’s always a few extras to tuck into gift tins.
Ingredients
- Unsalted butter: 3/4 cup softened (1 1/2 sticks). Use a good-quality American brand for consistent fat content; unsalted gives you better control over seasoning and results in a tender crumb.
- Vanilla extract: 2 teaspoons. Pure vanilla extract is worth it here — it adds depth and rounds the sugars so the bars taste homemade rather than overly sweet.
- Granulated sugar: 2/3 cup. Works with brown sugar to create chewiness while helping edges crisp lightly.
- Large eggs: 2 eggs at room temperature. Room-temperature eggs emulsify better with butter for a smoother batter and more even rise.
- All-purpose flour: 3 cups. Spoon and level into the cup for accuracy to avoid a dry, dense result; pick a mid-range protein flour for balanced structure.
- Salt: 1 teaspoon. Balances sweetness and enhances the chocolate flavor; if using salted butter, reduce to 1/4 teaspoon.
- Packed brown sugar: 1 cup. Adds moisture and a rich, caramel note that creates the chewy interior when combined with granulated sugar.
- Semi-sweet chocolate chips: 1 cup plus extra for garnish. Chips retain shape and give melty pockets of chocolate with controlled sweetness.
- Baking soda: 1 teaspoon. Lightens texture slightly so bars are tender, not cake-like.
- Christmas M&M’s: 1 cup divided, 1/2 cup mixed into the dough and 1/2 cup for topping. The candy adds festive color and a crisp shell contrast; reserve some for the surface to keep them bright after baking.
- White chocolate chips: 1/4 cup for topping. Melts on the surface to create pretty white flecks and sweet counterpoint to semi-sweet chips.
Instructions
Preheat and prepare pan:Preheat oven to 325 degrees Fahrenheit and prepare a 9 by 13-inch pan by greasing lightly or lining with parchment so you can lift the bars out for easier slicing. A slightly lower temperature helps these brown gently while keeping the center chewy.Cream butter and sugars:In a large bowl, cream the softened butter with both the brown sugar and granulated sugar on medium speed for about three minutes until light, aerated, and noticeably paler. Proper creaming traps small air pockets that help texture while distributing sugars evenly.Incorporate eggs and vanilla:Add the eggs one at a time and the vanilla extract, beating each egg into the mixture until fully blended. Scrape the bowl sides to ensure even mixing; the batter should be glossy and cohesive.Add dry leaveners and salt:Stir in the baking soda and salt until combined. This small amount of leavening creates a gentle lift without a cake-like crumb — you want a dense, chewy bar rather than a soft cake.Fold in flour to form dough:Gradually add the flour, mixing on low or folding by hand until a uniform dough forms. Avoid overmixing which develops gluten and makes the bars tough; stop when streaks of flour disappear.Mix in chips and candies:Gently fold in one cup of the semi-sweet chocolate chips and one half-cup of the Christmas M&M’s, distributing them without pounding the dough. The candy shells will hold a bit of color inside the bars but reserve half for the topping to keep them bright.Press into pan and top:Spread the dough evenly in the prepared pan using a spatula or slightly damp fingers to smooth the surface. Sprinkle the remaining one half-cup of M&M’s and the white chocolate chips across the top so they stay visible after baking.Bake until golden:Bake for 26 to 30 minutes. The edges should be lightly golden while the center still looks set but not dry. A toothpick inserted near the center should come out with a few moist crumbs — overbaking will dry them out.Cool and slice:Remove the pan from the oven and allow the bars to cool completely on a wire rack. Cooling fully ensures clean slices; lift from the pan, cut into squares, and serve. For neat edges chill briefly before slicing.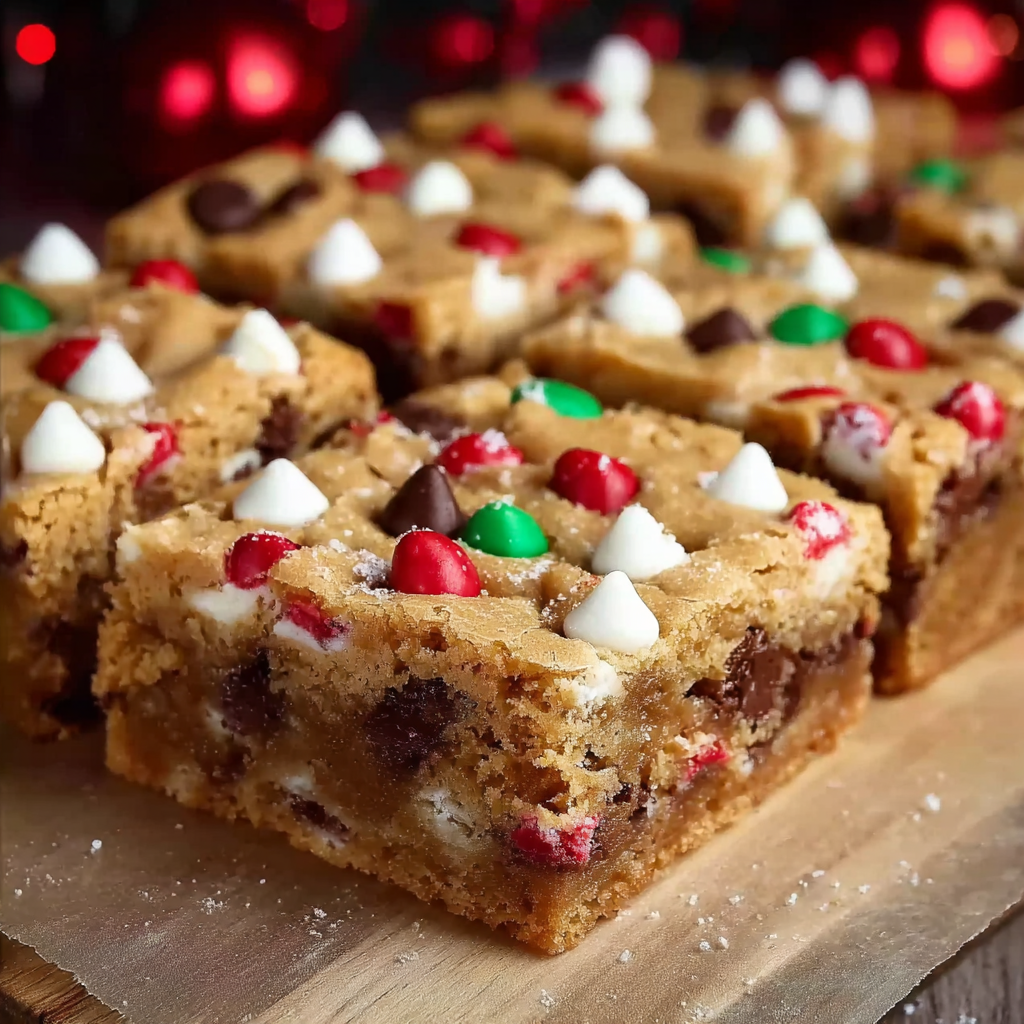
You Must Know
- These bars store well at room temperature for up to three days in an airtight container, or in the refrigerator for up to one week to extend freshness.
- They freeze beautifully for up to three months; wrap the cooled slab in plastic wrap and foil, then thaw in the refrigerator before slicing to retain clean edges.
- Because of the eggs and butter, they are not suitable for strict dairy-free or vegan diets without substitutions.
- Color from the M&M’s fades if fully mixed into the batter; placing some candies on top preserves the festive look after baking.
My favorite aspect of this formula is how forgiving it is. Once, I rushed and slightly overmixed then underbaked, and the bars still turned out chewy and delicious after a short chill. Family members remark on how these taste homemade yet look celebratory, and they make a reliable addition to holiday cookie plates or gift boxes. The balance of semi-sweet and white chocolate gives something for everyone, and the simplicity of assembly earns you time back for other holiday tasks.
Storage Tips
To keep the bars tender, store them in a single layer in an airtight container at room temperature for up to three days. If you need longer storage, refrigerate for up to seven days; cold bars slice more cleanly but bring to room temperature before serving for the best flavor. For freezing, wrap the completely cooled slab tightly in plastic and then in foil, or slice and separate layers with parchment to freeze individual portions. Thaw overnight in the refrigerator and then sit at room temperature for 30 minutes before serving to restore chewiness.
Ingredient Substitutions
If you need to make adjustments, swap light brown sugar for dark brown for a deeper molasses flavor; reduce the granulated sugar by one to two tablespoons if using very sweet add-ins. For a dairy-free version, use a vegan stick butter substitute and plant-based chocolate chips, but expect a slightly different texture and flavor profile. To add nuts, fold in one cup of chopped pecans or walnuts; toast them first for nuttier depth. If avoiding eggs, use a commercial egg replacer following package guidelines — bake time and texture will vary.
Serving Suggestions
These bars are festive on a dessert board paired with peppermint bark, spiced nuts, and a small bowl of cocoa for dunking. Serve room temperature with a dusting of powdered sugar for a classic holiday look or add a drizzle of warmed salted caramel across the top for a richer finish. They also pair well with hot chocolate or coffee and make thoughtful additions to holiday gift tins or potluck platters.
Cultural Background
Bar-style sweets are a staple in American holiday baking because they scale easily and travel well. This version combines the nostalgic charm of candy-studded cookies with the convenience of a sheet-baked treat. The use of brightly colored candies is a modern twist on traditional cookie decorations, reflecting the festive emphasis on visual appeal during holiday celebrations. Many families have their own signature bar or cookie to share each year, and these often become heirloom favorites passed down through gatherings.
Seasonal Adaptations
For a winter spice variation, add 1/2 teaspoon ground cinnamon and a pinch of nutmeg into the dough. At Thanksgiving, swap the M&M’s for chopped dried cranberries and white chocolate for a tart-sweet contrast. For Valentine’s Day, use pink and red candies and a higher proportion of white chocolate chips. The base is versatile, so altering the color palette and complementary flavors is an easy way to adapt the bars to different holidays.
Meal Prep Tips
Make the dough up to one day ahead and keep it chilled in the refrigerator wrapped tightly; bring to room temperature slightly before pressing into the pan. You can also bake a double batch and freeze individual squares for quick snacks — pack a few in small containers for packed lunches or to grab on the go. For neat gifting, slice chilled bars with a sharp knife warmed under hot water, wiping the blade clean between cuts to maintain tidy edges.
These Christmas Cookie Bars are a holiday workhorse: simple, forgiving, and celebratory. They bridge the gap between traditional cookies and easy sheet-baked desserts, and I hope they become a reliable part of your seasonal baking roster.
Pro Tips
Use room-temperature eggs so they emulsify smoothly with the butter and create an even batter.
Reserve half of the M&M’s for the top to preserve bright color after baking.
Allow the bars to cool completely before slicing for the cleanest edges; refrigerate briefly if needed.
This nourishing christmas cookie bars recipe is sure to be a staple in your kitchen. Enjoy every moist, high protein slice — it is perfect for breakfast or as a wholesome snack any time.
Tags
Christmas Cookie Bars
This Christmas Cookie Bars recipe makes perfectly juicy, tender, and flavorful steak every time! Serve with potatoes and a side salad for an unforgettable dinner in under 30 minutes.
Ingredients
Base
Mix-ins
Topping
Instructions
Preheat and Prepare Pan
Preheat the oven to 325 degrees Fahrenheit and grease a 9 by 13-inch pan or line it with parchment for easy removal and neat slicing.
Cream Butter and Sugars
In a large bowl, beat the softened butter with the packed brown sugar and granulated sugar on medium speed for about three minutes until light and fluffy, which helps with a tender texture.
Add Eggs and Vanilla
Mix in the eggs one at a time and add the vanilla extract, scraping the bowl sides to ensure everything is fully incorporated and the batter is glossy.
Combine Dry Ingredients
Stir in the baking soda and salt, then gradually add the flour and mix until a dough forms; avoid overmixing to prevent toughness.
Fold in Mix-ins
Gently fold in 1 cup of semi-sweet chocolate chips and 1/2 cup of the Christmas M&M’s, distributing evenly without crushing the candies.
Press, Top, and Bake
Spread the dough evenly into the prepared pan, sprinkle the remaining 1/2 cup M&M’s and 1/4 cup white chocolate chips on top, and bake for 26 to 30 minutes until edges are lightly golden.
Cool and Slice
Remove from oven and cool completely on a wire rack before slicing into squares. For cleaner slices, chill briefly before cutting.
Last Step: Please leave a rating and comment letting us know how you liked this recipe! This helps our business to thrive and continue providing free, high-quality recipes for you.
Nutrition
Did You Make This?
Leave a comment & rating below or tag
@royalrecipe on social media!
Categories:
You might also like...

5-Minute Air Fryer Roasted Garlic Magic That Wows
Learn how a 5-minute prep transforms a whole garlic bulb into silky, caramelized cloves in the air fryer. Perfect as a spread, mix-in, or flavor booster that elevates weeknight meals and party plates.

Air-Fried Pizza Rolls
Golden, melty pizza rolls made in the air fryer—crispy outside, gooey inside, ready in under 20 minutes. Perfect for snacks, parties, or quick dinners.

Air-Fried Rice Paper Noodle Rolls
Crispy, light rolls filled with vermicelli, tofu or shrimp, and crisp vegetables—air-fried for a healthier crunch and quick prep.
Did You Make This?
Leave a comment & rating below or tag @royalrecipe on social media!
Rate This Recipe
Share This Recipe
Enjoyed this recipe? Share it with friends and family, and don't forget to leave a review!
Comments (1)
This recipe looks amazing! Can't wait to try it.
Comments are stored locally in your browser. Server comments are displayed alongside your local comments.

Hi, I'm Riley!
What's Popular

30-Minute Meals!
Join to receive our email series which contains a round-up of some of our quick and easy family favorite recipes.