
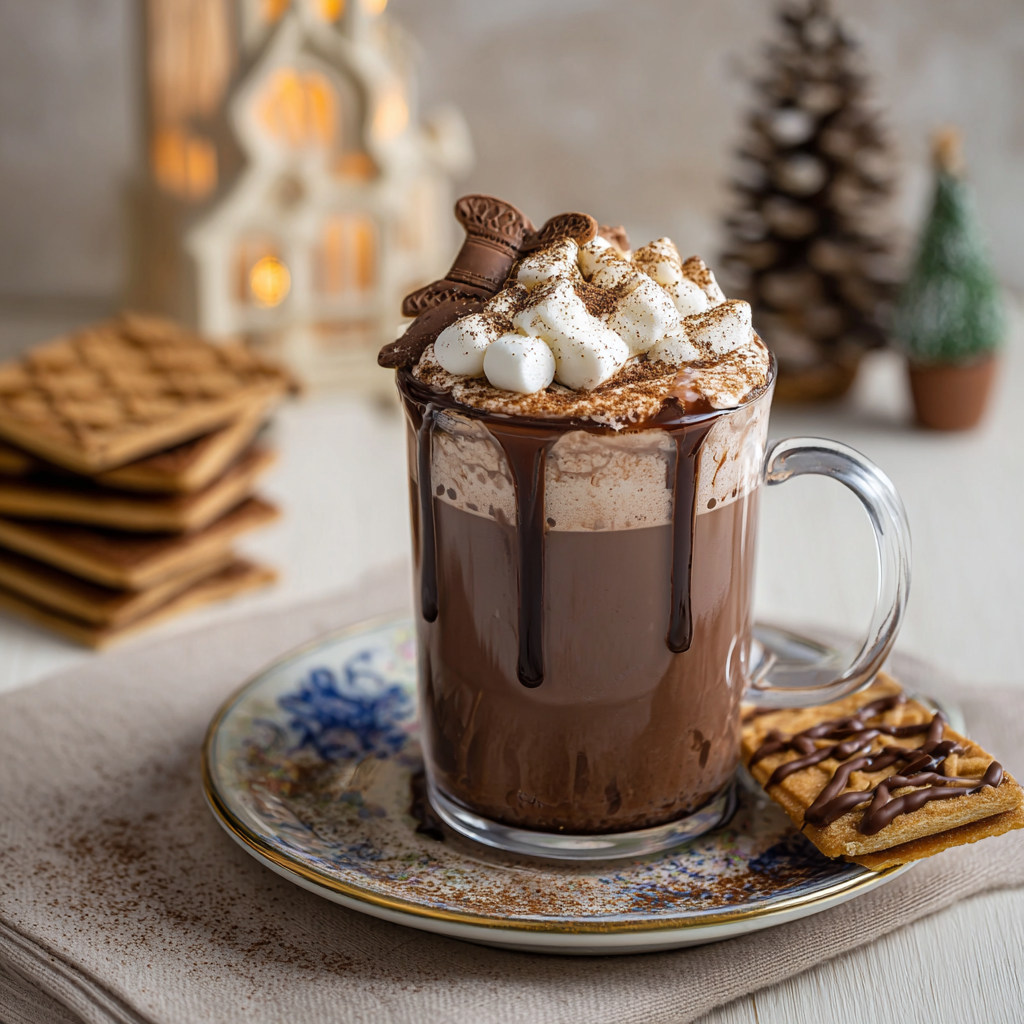
Creamy Stovetop Hot Chocolate

A luxuriously rich stovetop hot chocolate made with whole milk, heavy cream, cocoa, and sweetened condensed milk for an indulgent, velvety cup every time.

Why You'll Love This Recipe
- Exceptionally creamy with a small amount of heavy cream and sweetened condensed milk for a rich, velvety mouthfeel without needing dark chocolate bars.
- Ready in about 15 minutes on the stovetop, making it a quick weekend treat or an easy addition to a dinner party beverage menu.
- Uses pantry staples: cocoa powder, canned sweetened condensed milk, and grated milk chocolate. No bar chocolate required though it enhances the finish.
- Easy to scale up for a crowd. Multiply ingredients by two for a pot that serves 6 to 8 cups for gatherings.
- Make-ahead friendly: store in the refrigerator and reheat gently on the stove for the best texture and flavor retention.
- Customizable toppings such as whipped cream, cinnamon, and chocolate shavings let you tailor each cup to guests’ preferences.
My family reaction the first time I served this was unanimous applause. My partner declared it restaurant-quality, and my children asked for seconds before they even finished the first mug. Over time I refined the balance of cocoa to sweetness and the gentle warming technique that keeps the milk from scalding. It has become my staple when I want to impress without fuss.
Ingredients
- Whole milk: Use 2 to 3 cups depending on how many servings you want. Whole milk gives the best creamy mouthfeel. If you prefer a lighter cup, 2 percent works but the result is less luxurious.
- Heavy whipping cream: 1/2 cup adds silkiness and body. Heavy cream is what turns this from good to sublime; brands like Land O Lakes or Horizon produce reliable results.
- High-quality cocoa powder: 1/2 cup. Choose a dutch-processed or high-quality natural cocoa such as Valrhona, Ghirardelli, or Guittard for deeper chocolate flavor.
- Grated milk chocolate: 1 to 2 tablespoons. Grating a milk chocolate bar provides glossy finish accents and a slightly sweeter note. Use a 33 to 40 percent cocoa milk chocolate for best balance.
- Sweetened condensed milk: 14 ounce can. Eagle Brand or store-brand condensed milk both work. This is the primary sweetener and gives the drink its signature density.
- Vanilla extract: 1/8 teaspoon. A small touch of vanilla rounds the chocolate and lifts the aroma.
- Toppings: Whipped cream, ground cinnamon, and optional chocolate shavings for serving.
Instructions
Warm the dairy gently: Combine 2 to 3 cups whole milk and 1/2 cup heavy whipping cream in a medium saucepan. Warm over medium-low heat, stirring occasionally, until the milk is steamy and you see wisps of steam but before it reaches a boil. Target 170 to 180 degrees Fahrenheit as a visual cue of steaming temperature; small bubbles forming at the edge are perfect. Whisk in the cocoa: In a small bowl, blend 1/2 cup high-quality cocoa powder with a few tablespoons of the warm milk to make a smooth paste. This slurry prevents lumps. Pour the paste back into the saucepan and whisk vigorously until fully combined and smooth. Continue to heat gently for 1 to 2 minutes so the cocoa blooms and the flavors deepen. Add condensed milk and vanilla: Stir in the entire 14 ounce can of sweetened condensed milk and 1/8 teaspoon vanilla extract. Reduce heat to low and whisk constantly for 2 to 3 minutes to incorporate and prevent sticking. The condensed milk is both the sweetener and the thickening agent so keep the heat low to avoid scorching. Finish and adjust: Add 1 to 2 tablespoons grated milk chocolate, whisking until it melts into glossy ribbons. Taste and adjust sweetness or cocoa intensity by adding a little more cocoa dissolved in warm milk if you like it darker. Remove from heat when the mixture is hot, glossy, and slightly thickened. Serve immediately with whipped cream and a dusting of ground cinnamon.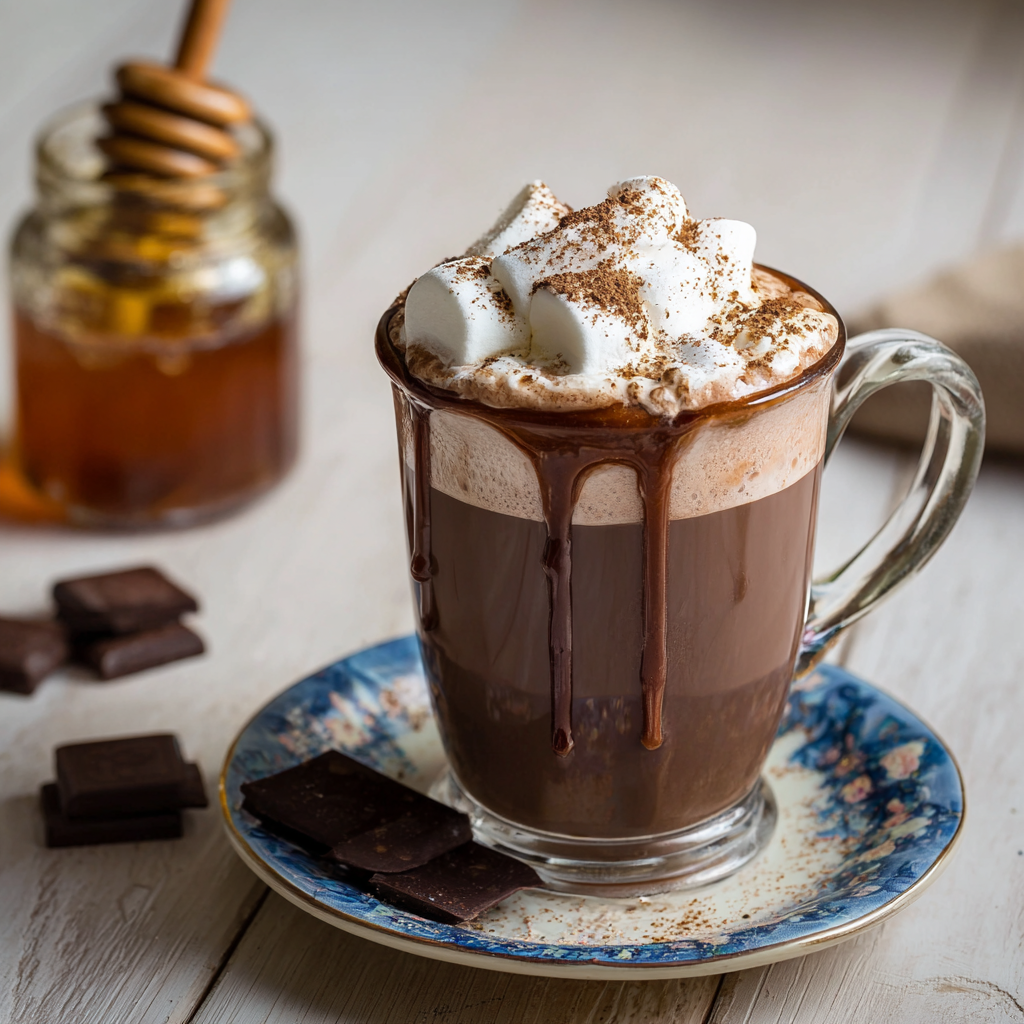
You Must Know
- Store in an airtight container in the refrigerator for up to three days. Reheat gently on the stovetop to preserve texture.
- High in calcium and energy; one 8 ounce mug provides a comforting calorie boost, roughly 400 to 450 calories depending on portion size and toppings.
- Freezes poorly. The dairy texture becomes grainy if frozen and thawed, so refrigerate instead of freezing.
- Quick to scale. For a crowd, double the recipe and keep warm in a heavy-bottomed pot on the lowest heat setting, stirring occasionally to prevent film formation.
- Best enjoyed fresh. The surface sheen and aroma are strongest immediately after making.
My favorite aspect is the moment the grated milk chocolate melts and creates glossy ribbons on the surface. It is a small flourish that always draws oohs and ahhs from friends. This drink has followed me through late-night study sessions, small New Year gatherings, and quiet reading afternoons; each time it brings that same warm, contented hush to the room.
Storage Tips
Allow the hot chocolate to cool slightly before transferring to an airtight container. Refrigerate for up to three days. When reheating, do so slowly on the stovetop over low heat with frequent stirring to reincorporate any fat that has separated. If the drink thickens in the refrigerator, whisk in a few tablespoons of warm milk while reheating. Avoid microwave reheating for large portions as it heats unevenly and can change texture.
Ingredient Substitutions
If you need dairy-free options, substitute full-fat coconut milk for whole milk and a coconut cream for the heavy cream though the flavor will shift to coconut and the texture will be slightly thinner. For a less sweet version, reduce the amount of condensed milk to three-quarters of the can and add a teaspoon of brown sugar to taste. To deepen the chocolate, use half natural cocoa and half dutch-processed cocoa or add 1 to 2 ounces of chopped dark chocolate in place of milk chocolate.
Serving Suggestions
Serve in pre-warmed mugs to keep the hot chocolate hot longer. Top with a generous swirl of whipped cream, a light dusting of ground cinnamon, and chocolate shavings for visual appeal. Pair with shortbread, ginger cookies, or a flaky croissant for breakfast. For an adult twist, stir in a splash of coffee liqueur or spiced rum just before serving.
Cultural Background
Hot chocolate has roots that stretch back to Mesoamerican cocoa drinks, which were often spiced and bitter. European adaptations introduced dairy and sugar, transforming the beverage into the creamy, sweet cup many of us know today. This version leans on condensed milk, which became popular globally for its shelf stability and sweetness, and which contributes a comforting, almost caramel-like character to the drink.
Seasonal Adaptations
In winter, add warming spices such as cinnamon, star anise, or a pinch of ground nutmeg to the cocoa as it warms. For spring and summer evenings, chill the mixture, strain out any solids, and serve as an iced chocolate with crushed ice and cold whipped cream. Around holidays, stir in orange zest or a stick of cinnamon during warming and remove before serving for festive aroma without overpowering the chocolate.
Meal Prep Tips
Make a double batch and refrigerate in two large airtight containers for two to three days. Portion into 8 ounce mason jars for easy grab-and-reheat servings. For travel-friendly thermoses, reheat to steaming and fill the thermoses immediately; they will stay warm for a couple of hours but will settle, so give them a quick swirl before drinking.
Success Stories
I once brought a pot of this to a neighborhood book club and returned with an empty saucepan and several new recipe requests. On a frigid New Year’s Eve, my friends declared it the best midnight cup we had ever shared. A picky teenager who barely drinks dairy took a tentative sip and asked for the recipe the next day. Those moments of simple joy keep me making this often.
There is real pleasure in a well-made cup of hot chocolate. It’s a small, repeatable luxury that asks for minimal effort and gives abundant comfort. Make it your own by adjusting the cocoa intensity, the level of sweetness, and the choice of toppings. Enjoy slowly.
Pro Tips
Warm the milk slowly over medium-low heat to avoid scalding and to develop flavor without boiling.
Make a slurry with cocoa powder and a little warm milk first to prevent lumps when adding to the pot.
Whisk constantly after adding condensed milk to prevent scorching on the bottom of the pan.
Grate a small amount of milk or dark chocolate at the end for glossy finish and enhanced aroma.
Reheat gently on the stovetop with a splash of milk if texture thickens after refrigeration.
This nourishing creamy stovetop hot chocolate recipe is sure to be a staple in your kitchen. Enjoy every moist, high protein slice — it is perfect for breakfast or as a wholesome snack any time.
FAQs about Recipes
How long can I keep leftover hot chocolate?
Yes. Refrigerate in an airtight container for up to three days and reheat gently on the stovetop.
Can I make this dairy-free?
Use full-fat coconut milk and coconut cream as substitutes, but expect a coconut flavor.
Tags
Creamy Stovetop Hot Chocolate
This Creamy Stovetop Hot Chocolate recipe makes perfectly juicy, tender, and flavorful steak every time! Serve with potatoes and a side salad for an unforgettable dinner in under 30 minutes.
Ingredients
Hot Chocolate Base
Topping and Serving
Instructions
Warm the dairy gently
Combine whole milk and heavy whipping cream in a medium saucepan and warm over medium-low heat until steamy and just before simmering. Watch for small bubbles at the edges as a visual cue. Avoid boiling to prevent scalding.
Whisk in the cocoa
Make a paste by mixing cocoa powder with a few tablespoons of warm milk. Return the paste to the saucepan and whisk until smooth. Heat for 1 to 2 minutes to allow the cocoa to bloom and release flavor.
Add condensed milk and vanilla
Stir in the sweetened condensed milk and vanilla extract. Reduce heat to low and whisk constantly for 2 to 3 minutes to fully incorporate and prevent sticking or scorching.
Finish and adjust
Add grated milk chocolate and whisk until melted and glossy. Taste and adjust sweetness or cocoa intensity. Remove from heat and serve immediately with whipped cream and a sprinkle of cinnamon.
Last Step: Please leave a rating and comment letting us know how you liked this recipe! This helps our business to thrive and continue providing free, high-quality recipes for you.
Nutrition
Did You Make This?
Leave a comment & rating below or tag
@royalrecipe on social media!
Categories:
You might also like...

5-Minute Air Fryer Roasted Garlic Magic That Wows
Learn how a 5-minute prep transforms a whole garlic bulb into silky, caramelized cloves in the air fryer. Perfect as a spread, mix-in, or flavor booster that elevates weeknight meals and party plates.

Air-Fried Pizza Rolls
Golden, melty pizza rolls made in the air fryer—crispy outside, gooey inside, ready in under 20 minutes. Perfect for snacks, parties, or quick dinners.

Air-Fried Rice Paper Noodle Rolls
Crispy, light rolls filled with vermicelli, tofu or shrimp, and crisp vegetables—air-fried for a healthier crunch and quick prep.
Did You Make This?
Leave a comment & rating below or tag @royalrecipe on social media!
Rate This Recipe
Share This Recipe
Enjoyed this recipe? Share it with friends and family, and don't forget to leave a review!
Comments (1)
This recipe looks amazing! Can't wait to try it.
Comments are stored locally in your browser. Server comments are displayed alongside your local comments.

Hi, I'm Riley!
What's Popular

30-Minute Meals!
Join to receive our email series which contains a round-up of some of our quick and easy family favorite recipes.