
Crispy Chicken Taquitos

Golden, crunchy taquitos filled with creamy, salsa-kissed shredded chicken—an easy crowd-pleaser you can bake for a healthier, hands-off finish.
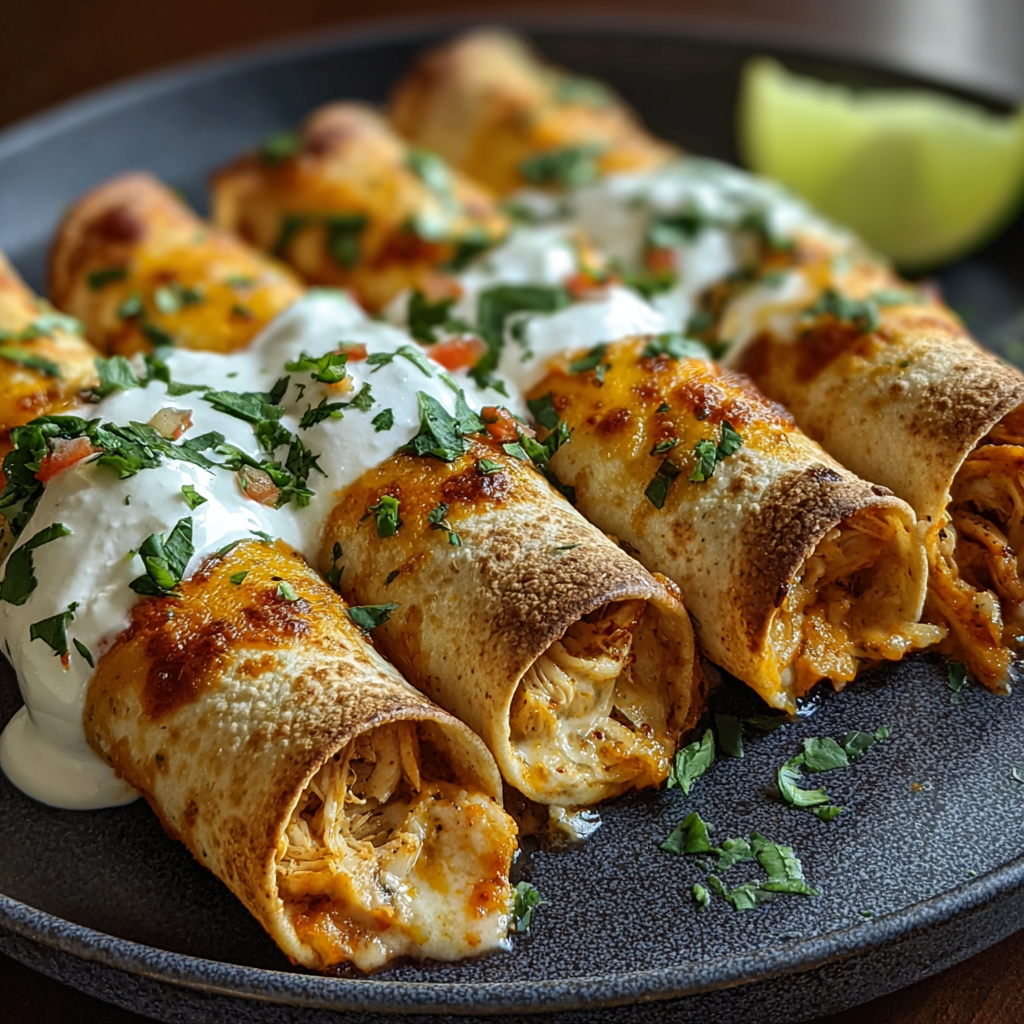
This recipe for crispy chicken taquitos has been my quick and irresistible weeknight solution for years. I first put this combination together the night after a big family barbecue when I wanted to stretch leftover rotisserie chicken into something everyone would eagerly devour. The contrast of warm, spiced shredded chicken bound with cream cheese and melted cheddar tucked inside a toasted tortilla is what keeps people coming back for more: the filling is creamy and savory while the outside turns satisfyingly crisp.
I discovered that baking the rolled tortillas rather than deep-frying them keeps the kitchen cleaner and the result lighter without sacrificing crunch—especially if you give them a quick broil at the end. These taquitos are perfect for casual dinners, potlucks, or game-day spreads and they reheat beautifully. I like to make a double batch and stash extras in the freezer so we always have a fast snack on hand. The aroma of warm cumin and garlic powder wafting through the house always brings everyone into the kitchen.
Why You'll Love This Recipe
- Fast assembly using pantry staples and 2 cups of cooked shredded chicken—rotisserie chicken works perfectly and reduces prep time substantially.
- Baked, not fried: ready in about 35 minutes total and much lighter than deep-fried versions while still delivering that craveable crunch.
- Make-ahead friendly: fill and roll, then freeze uncooked for up to 1 month; bake straight from frozen with a few extra minutes on the timer.
- Customizable heat and mix-ins—swap cheeses, add black beans, or use spicy salsa verde to dial flavor up or down for every eater.
- Kid-approved and party-ready: hold them with a napkin, serve with multiple dipping options, and watch them disappear during gatherings.
- Simple pantry spices (garlic powder, chili powder, cumin) create a layered savory profile without complicated prep.
I still remember the first time I served these to a skeptical teenager in my neighborhood—he went back for four. Family members who usually shy away from anything too spicy loved the balance of creamy cheese and mild salsa, and guests keep asking for the recipe. Over time I experimented with tortillas and found both corn and flour have their defenders; corn gives a more authentic bite while flour makes rolling easier for some. Either way, they make a dependable weeknight winner.
Ingredients
- Cooked shredded chicken (2 cups): Rotisserie chicken is my go-to for time savings and flavor—roughly two cups equals about 10–12 ounces shredded. Dark meat yields a more moist filling while white meat is leaner.
- Cream cheese (4 ounces), softened: Use full-fat block cream cheese for creaminess that binds the filling; soften at room temperature or zap 8–10 seconds in the microwave to make mixing effortless.
- Shredded cheddar or Mexican blend (1/2 cup): Sharp cheddar provides tang, while a Mexican blend adds melty complexity—use pre-shredded for speed or shred your own for better melt.
- Salsa (1/4 cup): Mild salsa keeps this family-friendly; swap for spicy or salsa verde to intensify heat and acidity. Drain a bit if it's very liquid.
- Seasonings: 1/2 teaspoon each garlic powder, chili powder, and ground cumin—these create the warm, savory backbone. Adjust salt and black pepper to taste.
- Tortillas (8 small): Eight 6-inch flour or corn tortillas—use corn to make them gluten-free, or flour for a pliable wrap that resists splitting.
- Cooking spray or oil: A light brush of oil or quick spray helps the outsides brown evenly in the oven.
- Optional toppings: Chopped cilantro, sour cream, guacamole, and extra shredded cheese for serving and garnish.
Instructions
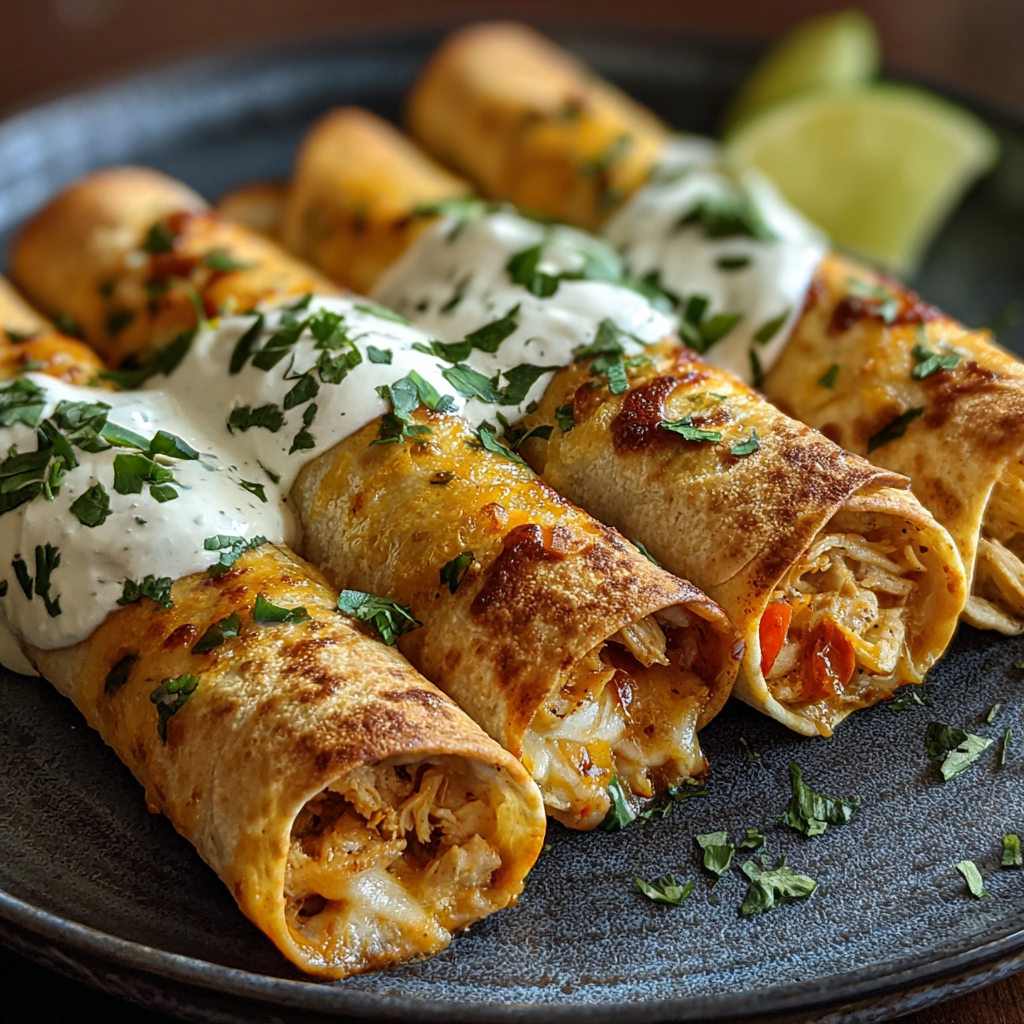
Preheat and prep: Preheat the oven to 425°F (220°C). Line a rimmed baking sheet with parchment paper or lightly grease it. Using a rimmed sheet keeps any drips contained and allows hot air to circulate for even browning. Place the rack in the upper third of the oven for better crisping. Make the filling: In a large bowl, combine 2 cups cooked shredded chicken, 4 ounces softened cream cheese, 1/2 cup shredded cheddar or Mexican blend, 1/4 cup salsa, 1/2 teaspoon each garlic powder, chili powder, and cumin, plus salt and black pepper to taste. Use a fork to mash and fold the mixture until evenly combined; the cream cheese should coat the chicken for a cohesive, scoopable filling. Warm the tortillas: Microwave the tortillas for about 20 seconds wrapped in a slightly damp paper towel to make them pliable and prevent cracking. Alternatively, warm them briefly in a skillet over medium heat. Pliability is the key visual cue—you want the tortillas flexible, not stiff. Fill and roll: Spoon about 2–3 tablespoons of filling onto one side of each tortilla and roll tightly, tucking the seam underneath to help them stay closed while baking. A tight roll prevents steam from making them soggy; if using corn tortillas, press them gently to keep shape. Arrange and oil: Place the rolled pieces seam-side down on the prepared baking sheet with a little space between them. Lightly brush the outsides with oil or spray with cooking spray to promote browning. The oil helps give the exterior a deep golden color in the oven. Bake to crisp: Bake for 15–20 minutes until golden brown and crisp. For an extra-crisp finish, broil on high for 1–2 minutes watching closely to avoid burning. Remove and let rest for 2 minutes before serving so the filling sets slightly. Serve: Serve warm with sour cream, guacamole, chopped cilantro, and extra shredded cheese. For dipping, a squeeze of lime brightens the flavors immediately.
You Must Know
- This yields eight 6-inch taquitos—plan on 2 per person as a main (serves 4) or more as an appetizer. Each one holds roughly 2–3 tablespoons of filling.
- Store cooled leftovers in an airtight container in the refrigerator for up to 3 days, or freeze uncooked rolls for up to 1 month and bake from frozen, adding 5–8 minutes to the bake time.
- Nutrition note: these are moderate in protein thanks to the chicken and cheese but can be high in fat if you use full-fat cheese and oil; use reduced-fat dairy and a light spray for a leaner version.
- To keep them crisp after baking, let them drain on a wire rack rather than stacking in a bowl which traps steam and softens the crust.
My favorite thing about these is how forgiving the filling is—salt, heat, and texture can all be tweaked without breaking the balance. I often make them a tad spicier for adults and set aside some milder ones for kids. Over the years I've learned that a quick broil, just until a few spots darken, gives the best texture contrast between the creamy interior and the crunchy shell.
Storage Tips
To preserve texture and flavor, cool baked pieces completely before refrigerating in a single layer or on a wire rack. Place in an airtight container with parchment layers to prevent sticking and use within 3 days. For longer storage, freeze uncooked rolled taquitos on a tray until firm, then transfer to a freezer bag for up to 1 month. Bake from frozen at 425°F (220°C), adding 5–8 minutes, then broil 1–2 minutes if desired. Reheat baked taquitos in a 350°F (175°C) oven for 8–10 minutes to restore crispness rather than microwaving, which softens the shell.
Ingredient Substitutions
If you need dairy-free options, swap the cream cheese and cheddar for a firm silken tofu blended with a little nutritional yeast and a dairy-free shredded cheese that melts. To make gluten-free, choose corn tortillas that are flexible—heat them in a damp towel to avoid cracking. For a lower-fat version, use light cream cheese and reduced-fat shredded cheese and brush sparingly with oil or use a light spray. Black beans or pinto beans can be folded into the filling (about 1/2 cup mashed) to stretch the protein and add fiber without overwhelming the texture.
Serving Suggestions
Serve as a main with a simple slaw, a squeeze of lime, and a side salad dressed in citrus vinaigrette for balance. For parties, arrange on a platter with bowls of guacamole, sour cream, pico de gallo, and pickled jalapeños for guests to customize. Garnish with chopped cilantro and a sprinkle of cotija or extra cheddar. For a Tex-Mex spread, add Mexican rice and refried beans, or set out a variety of salsas—roasted tomato, tomatillo, and mango salsa—to showcase different flavor pairings.
Seasonal Adaptations
In summer, use fresh corn kernels and diced grilled corn in the filling for a sweet pop and swap salsa for a fresh tomato pico. In fall or winter, mix in roasted poblano peppers or caramelized onions for warmth and depth. For holidays, make a batch with pumpkin-spiced black beans and a smoky chipotle salsa for an autumnal twist. The recipe scales well—double it for holiday gatherings and keep warm in a single layer on a low oven rack until ready to serve.
Meal Prep Tips
To prep for the week, make the filling up to two days in advance and store it chilled. Roll taquitos the night before and keep them covered on a tray in the fridge; bake fresh the next day for crispness. For freezer-ready snacks, roll and freeze uncooked on a tray, then bag them. Label with the date and bake straight from frozen. Portion into meal-prep containers with small tubs of guacamole or sour cream so reheating is quick and eating on the go is mess-free.
These taquitos bring a comfortable, hands-on eating experience to any meal—crispy fingers, cool dips, and a warm, savory interior. They’re adaptable, quick, and reliably loved by kids and adults alike. Make a batch, invite friends over, and watch them disappear.
Pro Tips
Warm tortillas slightly before rolling to avoid cracks and splitting; a damp paper towel in the microwave for 20 seconds works well.
Press the seam of each roll onto the baking sheet to seal them and keep the filling from leaking during baking.
For the crispiest finish, place rolls on a wire rack set over the baking sheet so air can circulate underneath while baking.
Broil at the end for 1–2 minutes to get a deeper golden crunch—watch closely to prevent burning.
This nourishing crispy chicken taquitos recipe is sure to be a staple in your kitchen. Enjoy every moist, high protein slice — it is perfect for breakfast or as a wholesome snack any time.
FAQs about Recipes
Can I make these gluten-free?
Yes—use corn tortillas for gluten-free. Warm them first in a damp paper towel to make them pliable and prevent cracking.
How do I freeze and bake from frozen?
Freeze uncooked rolled taquitos on a tray until firm, then transfer to a freezer bag for up to 1 month. Bake from frozen, adding 5–8 minutes to the bake time.
Tags
Crispy Chicken Taquitos
This Crispy Chicken Taquitos recipe makes perfectly juicy, tender, and flavorful steak every time! Serve with potatoes and a side salad for an unforgettable dinner in under 30 minutes.
Ingredients
Filling
Wraps & Finish
Instructions
Preheat and prepare baking sheet
Preheat oven to 425°F (220°C). Line a rimmed baking sheet with parchment paper or lightly grease to prevent sticking and ensure even browning.
Combine filling ingredients
In a large bowl, mix shredded chicken, softened cream cheese, shredded cheese, salsa, garlic powder, chili powder, cumin, and salt and pepper until well combined and scoopable.
Warm tortillas
Microwave tortillas wrapped in a slightly damp paper towel for about 20 seconds to make them pliable, or warm briefly in a skillet.
Fill and roll
Place 2–3 tablespoons of filling on one side of each tortilla and roll tightly, placing each roll seam-side down on the prepared sheet.
Oil and bake
Lightly brush or spray the taquitos with oil and bake for 15–20 minutes until golden and crisp; broil for 1–2 minutes at the end for extra crunch, watching closely.
Serve warm
Let rest 1–2 minutes, then serve with sour cream, guacamole, chopped cilantro, and lime wedges.
Last Step: Please leave a rating and comment letting us know how you liked this recipe! This helps our business to thrive and continue providing free, high-quality recipes for you.
Nutrition
Did You Make This?
Leave a comment & rating below or tag
@royalrecipe on social media!
Categories:
You might also like...

5-Minute Air Fryer Roasted Garlic Magic That Wows
Learn how a 5-minute prep transforms a whole garlic bulb into silky, caramelized cloves in the air fryer. Perfect as a spread, mix-in, or flavor booster that elevates weeknight meals and party plates.

Air-Fried Pizza Rolls
Golden, melty pizza rolls made in the air fryer—crispy outside, gooey inside, ready in under 20 minutes. Perfect for snacks, parties, or quick dinners.

Air-Fried Rice Paper Noodle Rolls
Crispy, light rolls filled with vermicelli, tofu or shrimp, and crisp vegetables—air-fried for a healthier crunch and quick prep.
Did You Make This?
Leave a comment & rating below or tag @royalrecipe on social media!
Rate This Recipe
Share This Recipe
Enjoyed this recipe? Share it with friends and family, and don't forget to leave a review!
Comments (1)
This recipe looks amazing! Can't wait to try it.
Comments are stored locally in your browser. Server comments are displayed alongside your local comments.

Hi, I'm Riley!
What's Popular

30-Minute Meals!
Join to receive our email series which contains a round-up of some of our quick and easy family favorite recipes.