
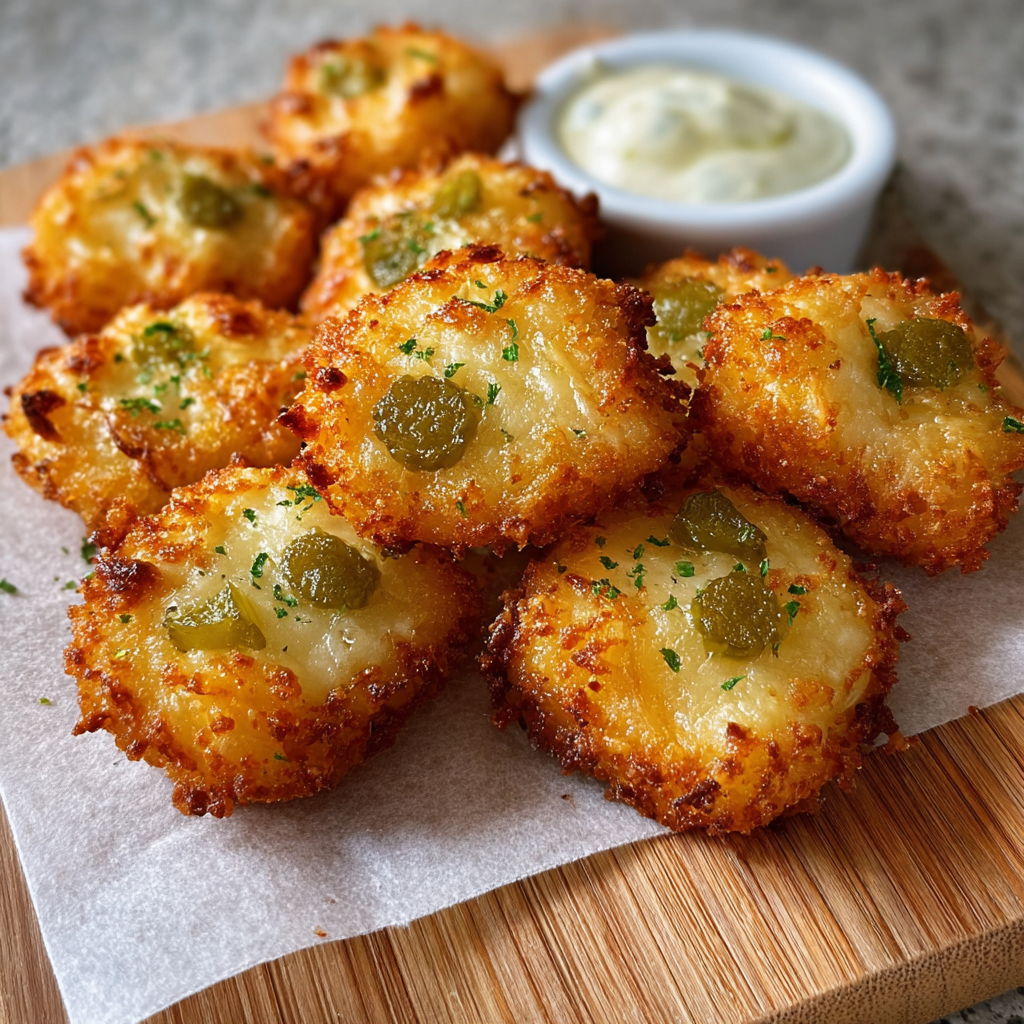
Crispy Pickle Cheese Bites

Crunchy, golden bites of melted cheddar and mozzarella studded with dill pickles for a tangy pop. Perfect for party trays and easy weeknight snacks.
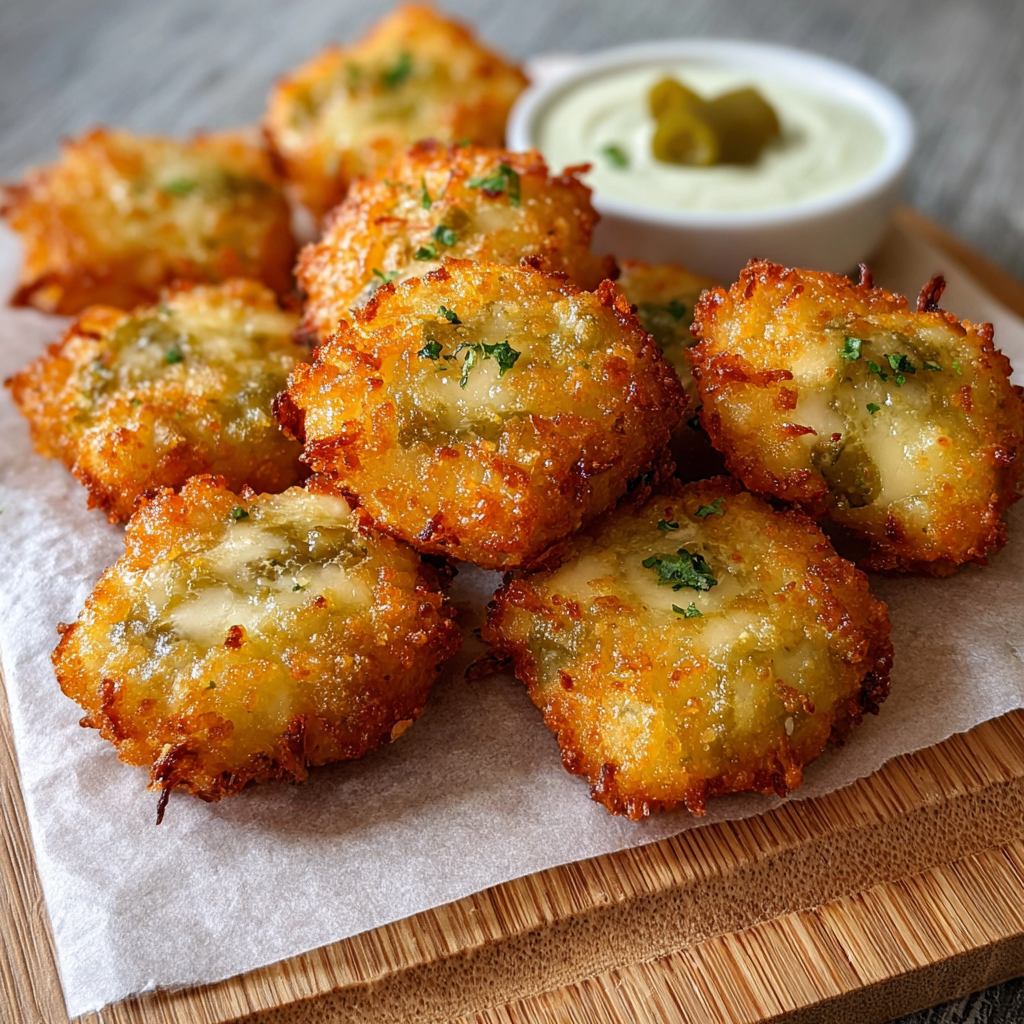
This recipe for Crispy Pickle Cheese Bites has become my personal shortcut to instant satisfaction when I want something crunchy salty and a little tangy. I first put this combination together on a busy weeknight when I had a craving for warm melted cheese and only a jar of dill pickles and a couple of cheeses in the fridge. The contrast between the creamy melted interior and the crisp exterior surprised everyone at the table and it quickly earned a place in my rotation for gatherings and solo snacks alike. It is simple enough to make on a whim and special enough to bring out for guests.
What makes these bites stand out is the texture contrast and the burst of acidity from the pickles. The cheese forms a golden crisp shell that gives way to a chewy center that carries the pickle flavor through each bite. They are incredibly forgiving and quick to assemble which makes them a go to for last minute entertaining. The recipe is adaptable which means you can scale it up for a crowd or trim it down for a small family snack run. I often pair them with a small bowl of extra chopped pickles or a mustard dipping sauce and they are always the first thing to disappear.
Why You'll Love This Recipe
- Ready in roughly 20 minutes from start to finish making it ideal for busy afternoons or impromptu gatherings.
- Uses pantry and fridge staples like shredded cheddar and mozzarella and a jar of dill pickles so you rarely need a special trip to the store.
- Makes a crisp exterior without deep frying by relying on oven heat and optional breadcrumbs for extra crunch.
- Highly adaptable for dietary needs by swapping breadcrumbs for gluten free crumbs or omitting them for a naturally lower carb nibble.
- Perfect as a shareable party bite or a solo comfort snack that pairs well with beer soft drinks or a tangy dipping sauce.
- Simple assembly with no special equipment and straightforward steps that any home cook can follow with confidence.
In my first test I served these to a group that included picky eaters and more adventurous palates. The texture convinced the skeptics and the pickle lovers reached for second helpings. They worked equally well as a quick demo at a neighborhood potluck and as a late night snack when I wanted something warm and savory that did not require much cleanup.
Ingredients
- Shredded cheddar cheese 1/2 cup Choose a sharp cheddar for more tang and flavor. I like a medium sharp from a reputable brand for melting performance. Freshly shredded cheese melts better than pre shredded since it has no anti caking coating.
- Shredded mozzarella cheese 1/2 cup Use low moisture mozzarella for a stretchy melt. Freshly shredded part skim mozzarella provides a nice balance with the cheddar and helps create that golden crust.
- Finely chopped dill pickles 1/4 cup Drain them well and chop small so you get bursts of pickle in each bite. Choose crunchy dill slices or spears for texture and a bright acidic lift.
- Garlic powder 1/2 teaspoon Adds a warm savory note. Measure carefully since powdered garlic concentrates quickly and you do not want it to overpower the pickle tang.
- Breadcrumbs 1 tablespoon optional Use plain or panko for extra crisp. This is optional. If you prefer gluten free choose gluten free crumbs or omit to keep them simpler and slightly softer.
- Nonstick spray or parchment paper These protect the baking sheet and make it easy to lift the bites once crisp and golden.
Instructions
Preheat the oven Set your oven to 375°F 190°C and position a rack in the middle. Line a baking sheet with parchment paper or coat lightly with nonstick spray. A preheated tray ensures the cheese starts to crisp on contact which gives a reliable golden finish in about 10 minutes. Mix the filling Combine 1/2 cup shredded cheddar 1/2 cup shredded mozzarella 1/4 cup finely chopped dill pickles 1/2 teaspoon garlic powder and 1 tablespoon breadcrumbs if using in a medium bowl. Use a fork to blend so you do not overwork the cheese. Taste a tiny pinch to check seasoning and adjust the garlic powder if you prefer a more pronounced savory background. Form the bites Use a heaping 1 tablespoon measure to form small mounds then roll gently into ball shapes or flatten lightly for a disc form. Space them at least one inch apart on the prepared sheet. If the mixture feels very loose chill for 10 minutes on the tray to firm up which helps the exterior set during baking. Bake until crisp Place the baking sheet in the preheated oven and bake for 10 minutes watching for a golden brown color at the edges. Ovens vary so begin checking at 8 minutes. The cheese should be bubbling and the outer rim should look crisp and lightly browned which tells you they are ready. Cool and serve Remove from the oven and let cool on the tray for 3 to 5 minutes. The bites firm up as they cool and become easier to remove. Serve warm with optional mustard or extra chopped pickles on the side.
You Must Know
- These bites are high in protein and fat due to the cheese and keep well refrigerated for up to three days in an airtight container.
- If you choose to freeze them arrange them on a tray first then transfer to a freezer safe container. They keep well for up to three months and reheat directly from frozen at 350°F 175°C until warmed through.
- Omitting breadcrumbs creates a slightly softer exterior while adding panko increases crunch. Use gluten free crumbs for a gluten free option.
- Because they contain dairy they are not suitable for dairy free diets but a plant based cheese alternative will work for those avoiding dairy though texture will vary.
My favorite part is how these bites bring everyone to the counter when they come out of the oven. The family always comments on the pickle crunch which cuts the richness and makes the bites addictive. The first time I served these at a small gathering they were gone in minutes and the recipe has been requested multiple times since which always makes me smile.
Storage Tips
For short term storage place cooled bites in a single layer inside an airtight container and refrigerate for up to three days. To maintain crispness reheat in a 375°F 190°C oven for four to six minutes rather than using a microwave so the exterior regains its texture. For long term storage freeze the formed uncooked bites on a sheet until solid then transfer to a freezer bag. To reheat from frozen place on a baking sheet and bake at 350°F 175°C until warmed and crisp approximately 10 to 12 minutes.
Ingredient Substitutions
If you want a sharper flavor swap half of the mozzarella for an equal amount of fontina or gouda which melts beautifully. For a dairy free version try a mature plant based cheddar and a melting style vegan mozzarella bearing in mind texture will differ a bit. Replace breadcrumbs with crushed pork rinds for a low carb gluten free crunch or simply omit for a softer bite. If you love more pickle flavor increase chopped pickles to 1/3 cup but drain them thoroughly to avoid excess moisture.
Serving Suggestions
Serve these as a casual appetizer on a platter with toothpicks alongside a mustard dipping sauce or a spicy aioli. They pair well with pickled vegetables and crisp raw veg such as cucumber and celery. For a party I like to present them with small bowls of extra chopped pickles honey mustard and a tangy yogurt dip. They are excellent with beers and light wines or as part of a snack board with cured meats and crusty bread.
Cultural Background
Combining warm melted cheese with pickles is a simple example of contrast driven comfort food often found in American home cooking. The use of dill pickles adds a preservation based tang rooted in traditional vegetable curing practices. Bite sized cheese morsels became popular as finger food while advances in quick melting cheeses and panko crumbs helped home cooks create crunchy textures in an oven with minimal oil. This small dish reflects an inventive kitchen approach turning pantry staples into shareable snacks.
Seasonal Adaptations
In summer use fresh quick pickled cucumbers for a brighter more herbaceous flavor. In autumn try adding a pinch of smoked paprika to the cheese mix to introduce a warm smoky note. For winter entertaining include roasted red peppers or caramelized onions in the mixture for added depth. These changes are easy to make while keeping the basic assembly unchanged which makes this a versatile year round nibble.
Meal Prep Tips
Assemble the mixture and form the bites up to a day in advance then cover and refrigerate. This saves time on the day of serving and makes oven timing predictable. Freeze a batch of formed bites for quick snacks during the week. Use a silicone mat for easy cleanup and place the tray in the fridge for 10 minutes before baking if you find the shapes spreading too much in your oven.
These Crispy Pickle Cheese Bites are small simple and satisfying. They are the kind of recipe that invites experimentation while reliably pleasing a range of palates. I hope you make them your own and enjoy the warm crunch that made them a favorite at my table.
Pro Tips
Use freshly shredded cheese for the best melt and to avoid anti caking agents that inhibit browning
Drain and pat pickles dry so excess moisture does not make the mixture runny
Chill formed bites for 10 minutes before baking if the mixture feels too loose
Watch carefully in the last few minutes to avoid over browning as ovens vary
This nourishing crispy pickle cheese bites recipe is sure to be a staple in your kitchen. Enjoy every moist, high protein slice — it is perfect for breakfast or as a wholesome snack any time.
FAQs about Recipes
Can I omit the breadcrumbs?
Yes you can leave out breadcrumbs for a naturally softer exterior. For extra crunch try panko or gluten free breadcrumbs.
How do I freeze and reheat these?
Form the bites and freeze them on a tray until firm then transfer to a freezer bag. Bake from frozen at 350°F 175°C until heated and crisp.
Tags
Crispy Pickle Cheese Bites
This Crispy Pickle Cheese Bites recipe makes perfectly juicy, tender, and flavorful steak every time! Serve with potatoes and a side salad for an unforgettable dinner in under 30 minutes.
Ingredients
Main
Instructions
Preheat the oven
Preheat to 375°F 190°C and line a baking sheet with parchment paper or spray with nonstick spray. Position the rack in the center for even browning.
Combine ingredients
In a mixing bowl combine 1/2 cup shredded cheddar 1/2 cup shredded mozzarella 1/4 cup finely chopped dill pickles 1/2 teaspoon garlic powder and 1 tablespoon breadcrumbs if using. Stir gently until evenly distributed.
Form bites
Scoop heaping tablespoons of the mixture and form into small balls or flatten slightly. Place them on the prepared sheet at least one inch apart. Chill for 10 minutes if the mix feels loose.
Bake until golden
Bake in the preheated oven for about 10 minutes until the edges are golden and the cheese is bubbling. Begin checking at 8 minutes to prevent over browning.
Cool and serve
Let the bites cool on the sheet for 3 to 5 minutes so they firm up. Serve warm with mustard or extra chopped pickles on the side.
Last Step: Please leave a rating and comment letting us know how you liked this recipe! This helps our business to thrive and continue providing free, high-quality recipes for you.
Nutrition
Did You Make This?
Leave a comment & rating below or tag
@royalrecipe on social media!
Categories:
You might also like...

5-Minute Air Fryer Roasted Garlic Magic That Wows
Learn how a 5-minute prep transforms a whole garlic bulb into silky, caramelized cloves in the air fryer. Perfect as a spread, mix-in, or flavor booster that elevates weeknight meals and party plates.

Air-Fried Pizza Rolls
Golden, melty pizza rolls made in the air fryer—crispy outside, gooey inside, ready in under 20 minutes. Perfect for snacks, parties, or quick dinners.

Air-Fried Rice Paper Noodle Rolls
Crispy, light rolls filled with vermicelli, tofu or shrimp, and crisp vegetables—air-fried for a healthier crunch and quick prep.
Did You Make This?
Leave a comment & rating below or tag @royalrecipe on social media!
Rate This Recipe
Share This Recipe
Enjoyed this recipe? Share it with friends and family, and don't forget to leave a review!
Comments (1)
This recipe looks amazing! Can't wait to try it.
Comments are stored locally in your browser. Server comments are displayed alongside your local comments.

Hi, I'm Riley!
What's Popular

30-Minute Meals!
Join to receive our email series which contains a round-up of some of our quick and easy family favorite recipes.