>>
30-MINUTE MEALS! Get the email series now →


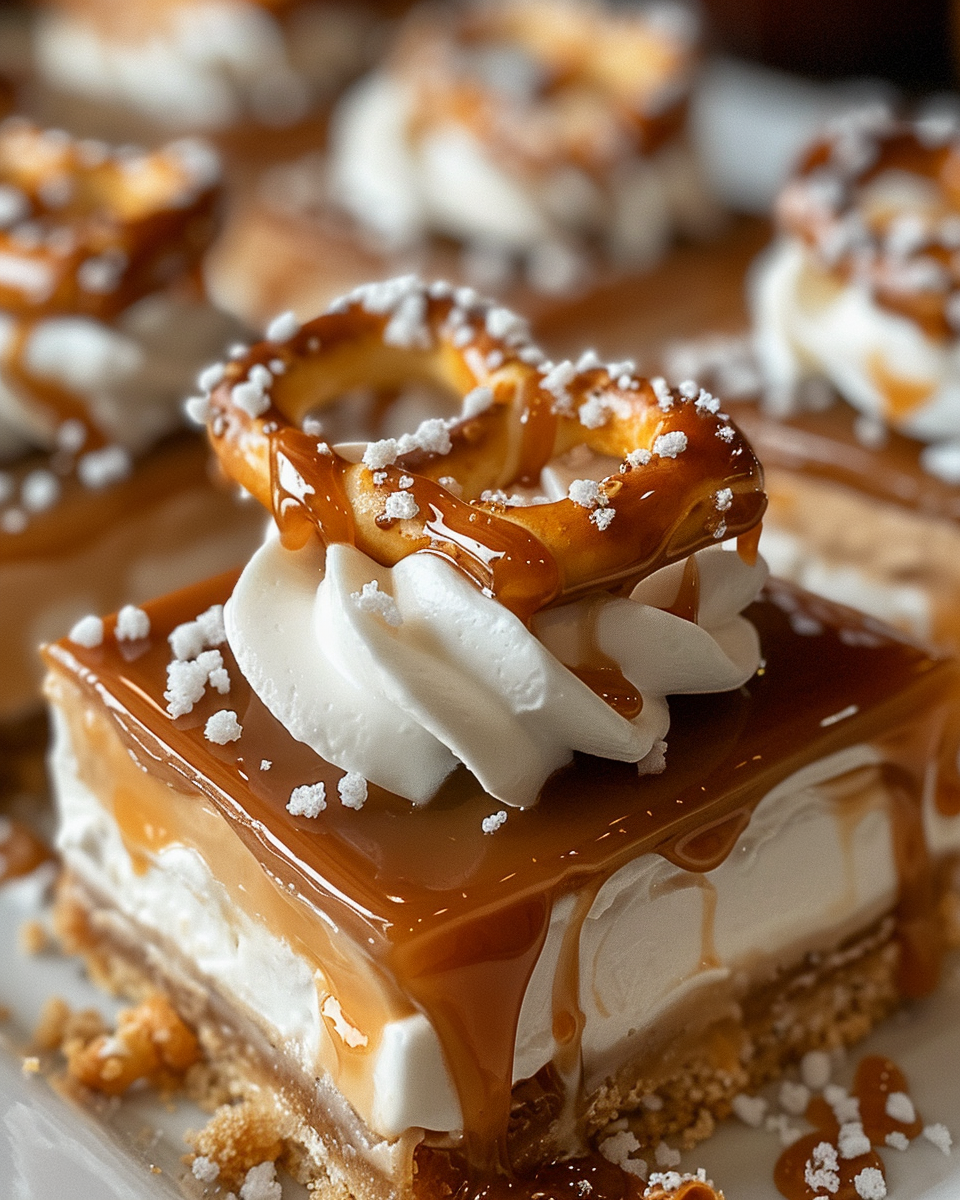
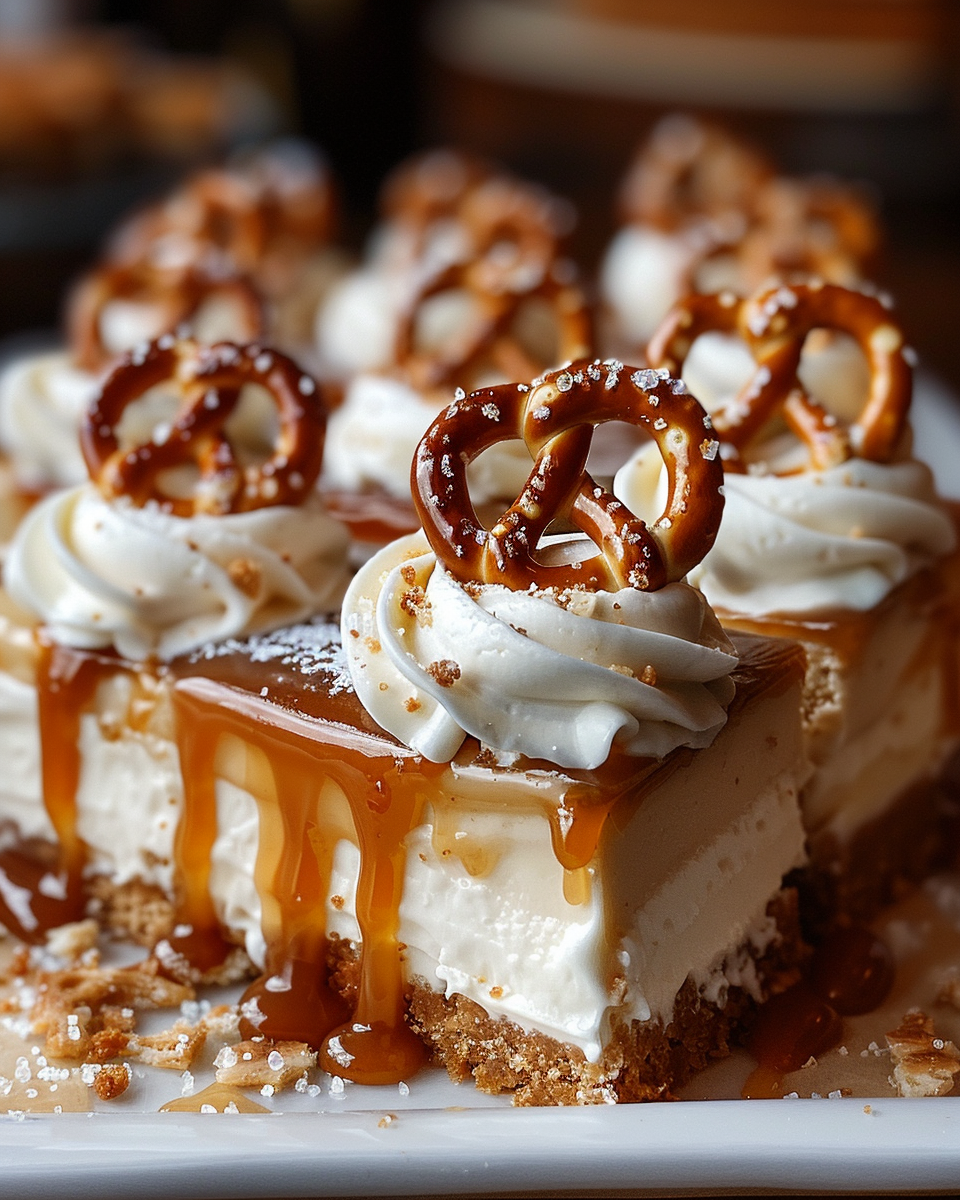
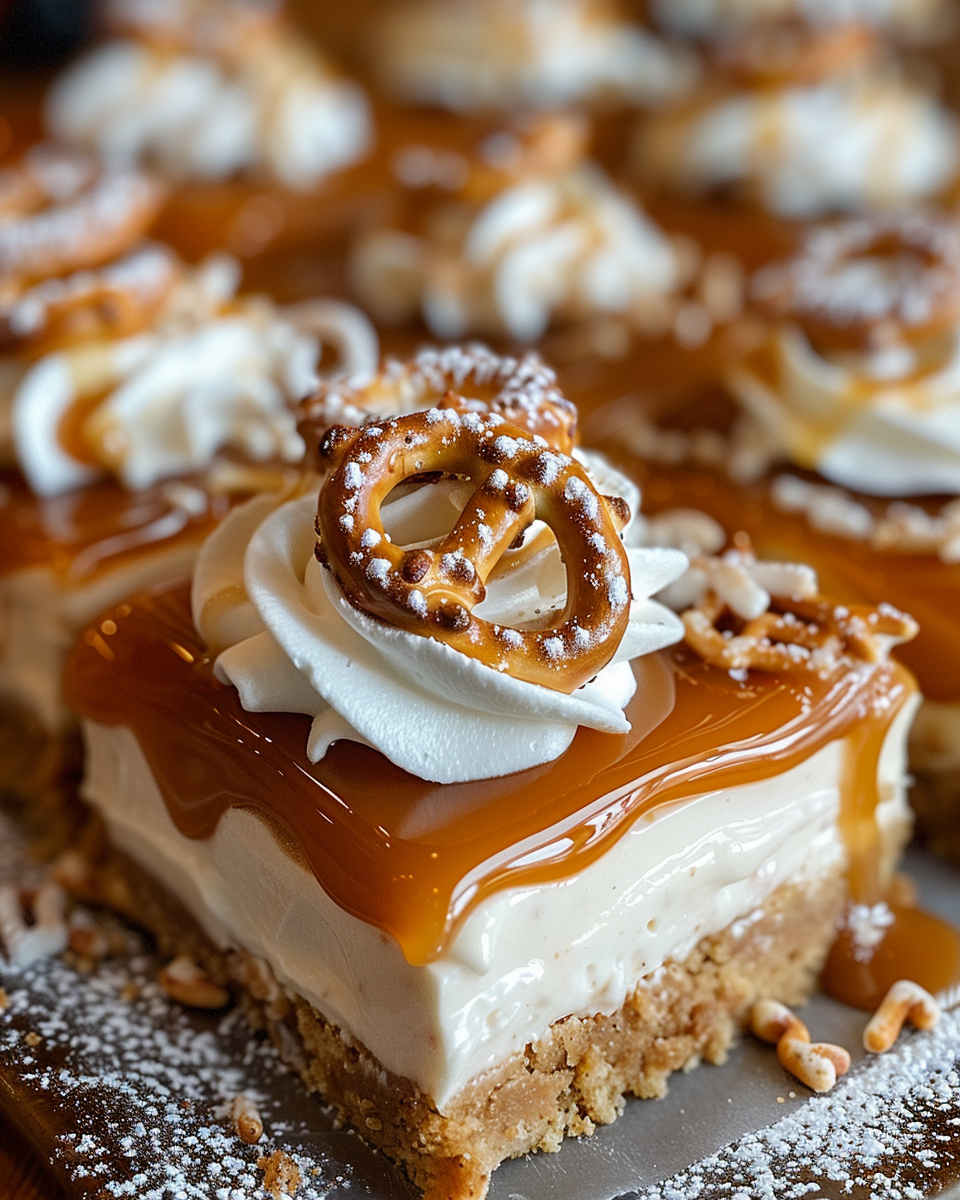
Sweet, salty, and utterly simple: no-bake pretzel bars layered with buttery pretzel crust, gooey salted caramel, and a silky whipped topping—ready after chilling.
I still laugh remembering how my skeptical neighbor took a bite and immediately asked for the recipe. We fine-tuned the sea salt amount through family taste tests until everyone agreed it hit the sweet-salty sweet spot. The accessibility of ingredients—pretzels, butter, a jar of caramel, and heavy cream—means you rarely need a grocery run to satisfy last-minute dessert requests.

My favorite part is the contrast between the crisp, slightly salty crust and the lush whipped topping—every time friends get the first bite they smile. These bars became the dessert I bring to summer barbecues when ovens are off-limits. Over the years I learned small details—warming the caramel just slightly helps it spread, and chilling the mixing bowl makes whipping effortless—that make the difference between good and great.
Store assembled bars in an airtight container or tightly covered pan in the refrigerator for up to 4 days. To freeze, cut into individual bars, wrap each piece tightly in plastic wrap and then place in a freezer bag; remove excess air to prevent freezer burn. For best texture, thaw wrapped bars overnight in the refrigerator before unwrapping. To re-firm after a few hours at room temperature, chill briefly until the topping resets. Avoid leaving bars at room temperature longer than two hours to preserve cream quality.
If you need gluten-free bars, use certified gluten-free pretzels and verify the caramel is gluten-free. Swap unsalted butter for a plant-based butter alternative for a dairy-reduced version, but note the topping will no longer be dairy-free unless you replace heavy cream with whipped coconut cream (chill cans overnight and use the solid portion). For a deeper flavor, stir 1/2 teaspoon espresso powder into the caramel layer. If store-bought caramel is not available, make a quick stovetop caramel using sweetened condensed milk heated gently in a water bath or use dulce de leche.
Serve these bars chilled with a small scoop of vanilla ice cream for contrast, or alongside fresh berries to cut the richness. For a party platter, cut into bite-sized squares and garnish with a mini pretzel and a light sprinkle of flaky sea salt. They pair nicely with coffee or a lightly sweet dessert wine. For a brunch buffet, present them on a cake stand to show off the layers—visually appealing bars invite guests to indulge.
These bars are an American-style no-bake treat that draws on familiar influences—salted caramel and snack-element crusts are staples of modern dessert tables. The use of pretzels as a crust echoes the sweet-and-salty trend popularized in recent decades, and no-bake bars have roots in mid-century convenience cooking when quick, stoveless desserts gained popularity. Variations combine elements from candy bars, tarts, and layered desserts to create an approachable, crowd-pleasing offering.
In summer, keep it simple with the classic version to avoid turning on the oven. For fall, fold a pinch of ground cinnamon into the crust and swap vanilla for maple extract in the topping. For holidays, drizzle warmed chocolate over the top and add chopped toasted pecans. For a spring twist, top with thinly sliced strawberries or a citrus curd ribbon to lift the richness and add bright acidity to each bite.
Make the crust and caramel layer up to 2 days ahead and keep chilled; whip the cream topping just before serving for maximum loft. If you plan to transport to an event, assemble fully, then place in a cooler with ice packs. Use parchment overhang to lift the whole slab from the pan for easy slicing and presentation. Label containers with the date and contents if freezing multiple batches to keep track of freshness.
These bars are a simple pleasure that every home cook can master: minimal technique, maximum impact, and endless moments of sharing. Try them once and you’ll find as I did that the combination of textures and flavors makes these a repeat favorite.
Chill the mixing bowl and beaters before whipping cream to speed up the whipping process and improve texture.
Warm caramel slightly (10–15 seconds in microwave) to make spreading easier but avoid overheating which thins it too much.
Press the pretzel crust firmly and evenly into the pan—using the bottom of a measuring cup helps achieve a compact base.
Use a sharp knife warmed under hot water and wiped dry between cuts for clean slices.
This nourishing quick no-bake salted caramel pretzel bars for sweet cravings recipe is sure to be a staple in your kitchen. Enjoy every moist, high protein slice — it is perfect for breakfast or as a wholesome snack any time.
This Quick No-Bake Salted Caramel Pretzel Bars for Sweet Cravings recipe makes perfectly juicy, tender, and flavorful steak every time! Serve with potatoes and a side salad for an unforgettable dinner in under 30 minutes.
Crush pretzels to fine crumbs using a food processor or sealed bag and rolling pin. Mix crumbs with melted butter and granulated sugar until combined. Press mixture firmly into an 8x8-inch pan lined with parchment until compact and even.
Slightly warm 1 cup caramel sauce to make it pourable, then pour evenly over the pressed crust. Smooth with an offset spatula and sprinkle 1/2 teaspoon sea salt evenly over the caramel layer.
Chill a mixing bowl and beaters. Whip cold heavy cream with powdered sugar and vanilla until soft peaks form. Avoid over-whipping to keep the topping silky and spreadable.
Gently spread the whipped topping over the caramel, smoothing the surface. Optionally drizzle extra caramel on top and sprinkle crushed pretzel pieces for garnish.
Cover and refrigerate the assembled pan for at least 2–3 hours, preferably longer, until the layers are firm enough to slice cleanly.
Use a sharp knife warmed and wiped between cuts to slice into 12 bars. Serve chilled and store leftovers in an airtight container in the refrigerator.
Last Step: Please leave a rating and comment letting us know how you liked this recipe! This helps our business to thrive and continue providing free, high-quality recipes for you.
Leave a comment & rating below or tag
@royalrecipe on social media!

Learn how a 5-minute prep transforms a whole garlic bulb into silky, caramelized cloves in the air fryer. Perfect as a spread, mix-in, or flavor booster that elevates weeknight meals and party plates.

Golden, melty pizza rolls made in the air fryer—crispy outside, gooey inside, ready in under 20 minutes. Perfect for snacks, parties, or quick dinners.

Crispy, light rolls filled with vermicelli, tofu or shrimp, and crisp vegetables—air-fried for a healthier crunch and quick prep.
Leave a comment & rating below or tag @royalrecipe on social media!
Enjoyed this recipe? Share it with friends and family, and don't forget to leave a review!
This recipe looks amazing! Can't wait to try it.
Comments are stored locally in your browser. Server comments are displayed alongside your local comments.

Join to receive our email series which contains a round-up of some of our quick and easy family favorite recipes.
