>>
30-MINUTE MEALS! Get the email series now →


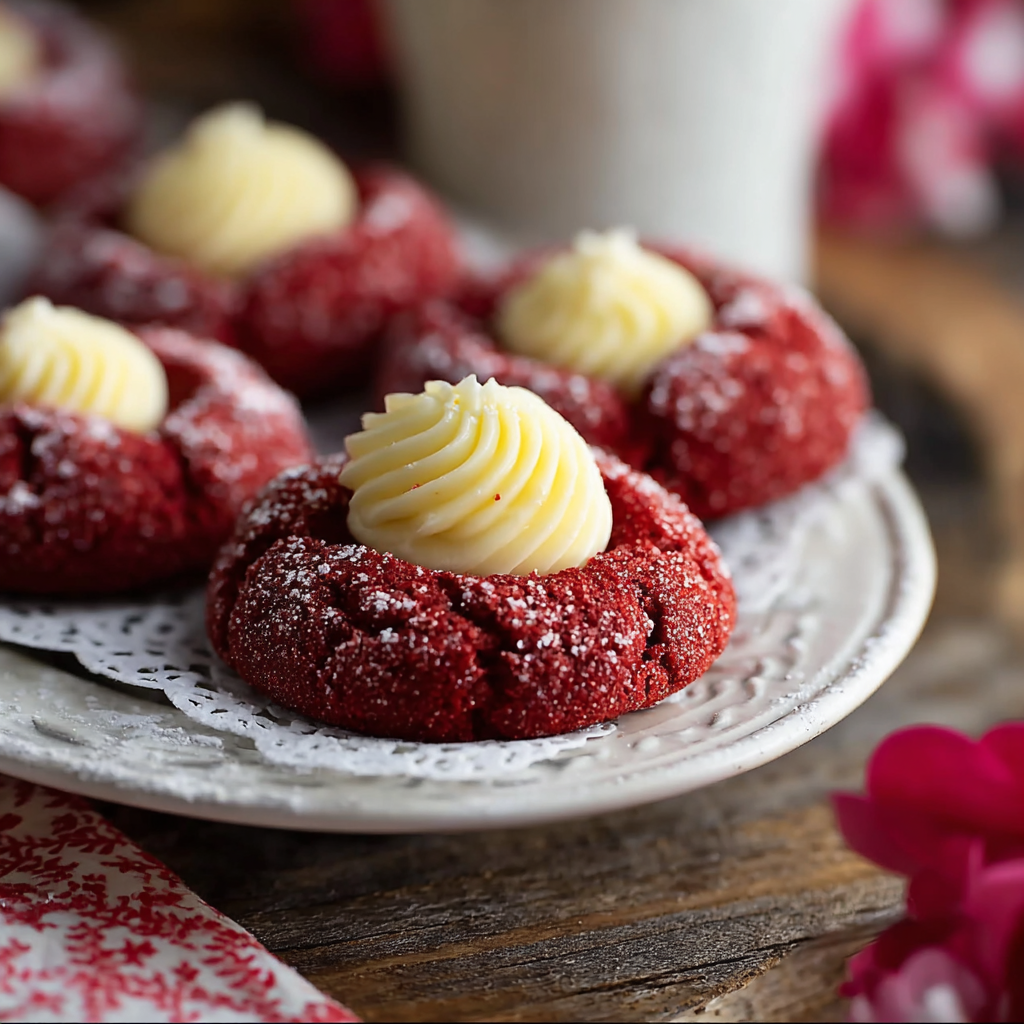
Soft, buttery red velvet thumbprint cookies filled with a tangy cream cheese center—classic comfort with an easy, make-ahead twist.

This batch of red velvet thumbprint cookies started as a holiday experiment and quietly became a year-round favorite in my kitchen. I discovered the combination when I wanted a small, elegant cookie that still felt indulgent and homemade. The dough is tender and buttery with a hint of cocoa, and the vibrant red color always makes them feel special. The cream cheese filling adds a tangy, silky contrast that cuts through the sweetness and keeps each bite balanced.
What I love most about these cookies is how approachable they are: simple ingredients, straightforward technique, and a result that looks like you spent hours baking. I originally made them for a family gathering and watched them disappear first from the cookie tray—my cousin called them "adult cookies" because they were sweet but not cloying. They hold their shape nicely, bake up with a delicate edge and soft center, and are one of those recipes I make when I want to bring something homey but a little showy to the table.
I still remember the first time I tried them straight from the oven: the house smelled like browned butter and cocoa, and my partner declared them the "best cookie I didn’t know I needed." Over several seasons I adjusted the cream cheese ratio and the amount of red food coloring to reach a balance where the color is festive but the cocoa flavor still comes through. Guests often ask for the recipe; it's become a small tradition to pack a tin for neighbors at the holidays.
One of my favorite aspects is how forgiving the recipe is: slight variations in cookie size or oven temperature still produce a pleasing result. At a holiday cookie swap, I once swapped fillings—lemon curd, raspberry jam, and cream cheese—and every version had fans. The cream cheese stays smooth when it’s not overbaked, and the combination of tang and cocoa makes these stand out among butter cookies.

Store cooled cookies in an airtight container layered with parchment to prevent sticking. At room temperature they keep well for up to 48 hours; for longer storage place them in the refrigerator for up to 5 days to maintain the cream cheese filling’s texture. For freezing, arrange unfilled dough balls on a baking tray and freeze solid, then transfer to a freezer-safe bag. When ready to bake, place frozen balls on a sheet and add baking time of 2–3 minutes. If freezing baked cookies, flash-freeze on a tray then bag—thaw in the fridge or at room temperature to keep the filling from sweating.
If you prefer a dairy-free version, substitute vegan butter and a dairy-free cream cheese alternative; note the texture and tang will be slightly different. To brighten the cocoa note without changing color, swap natural cocoa for Dutch-process cocoa and reduce food coloring slightly. For lower sugar, cut the granulated sugar by 15–20% and use a powdered sugar substitute for the filling; keep in mind sugar reduction affects spread and tenderness. For natural coloring, use 1 to 1 1/2 teaspoons beet powder instead of red food coloring and taste for subtle earthiness.
Serve these cookies on a festive platter lined with doilies or alongside a pot of coffee for afternoon company. They pair beautifully with a light whipped cream or a drizzle of dark chocolate for contrast. For a party, arrange with other small desserts—mini tarts, shortbread, and spiced nuts—for visual variety. Garnish the cookies with a dusting of powdered sugar, a tiny sprinkle of cocoa, or a fresh raspberry to add color and acidity that complements the cream cheese.
Thumbprint cookies date back to European baking traditions where simple butter doughs were pressed and filled with preserves—what made them special was the personal touch of the baker’s thumb. The red velvet variant evolved from classic red velvet cake traditions popularized in the United States in the early 20th century, combining cocoa and vinegar or buttermilk for a tender crumb. Translating that flavor into a cookie keeps the nostalgic red hue and the subtle chocolate flavor while adapting the format for individual servings.
These cookies are especially charming for winter holidays or Valentine’s Day thanks to their red color. In summer, swap the cream cheese filling for lemon curd or raspberry curd for a brighter, fruit-forward version. For autumn, add warm spices—1/4 teaspoon cinnamon and a pinch of nutmeg—to the dough and top the filling with a caramel drizzle. Small adjustments like these let the recipe travel across seasons while keeping the core technique the same.
Double the dough and freeze half of it for quick baking later—defrost in the refrigerator overnight and bake as directed for fresh cookies in minutes. Prepare the cream cheese filling a day ahead and keep it chilled; pipe it into the cooled centers instead of spooning for cleaner, uniform presentation. Use a small cookie scoop to portion dough quickly and evenly, and label containers with dates when freezing so you rotate older batches first.
These cookies strike a satisfying balance of showmanship and simplicity—perfect for gift tins, a cozy weekend bake, or a last-minute party platter. Give them a try and feel free to make the filling your own; the thumbprint shape invites creativity and small, delightful experiments.
Use room-temperature butter and egg to ensure the dough creams smoothly and traps air for a lighter texture.
Chill the cream cheese filling briefly if it seems too soft before spooning into the cookies to prevent it from melting during baking.
Freeze dough balls on a tray before bagging to avoid them sticking together; bake from frozen with an extra 2–3 minutes if needed.
This nourishing red velvet thumbprint cookies with cream cheese recipe is sure to be a staple in your kitchen. Enjoy every moist, high protein slice — it is perfect for breakfast or as a wholesome snack any time.
This Red Velvet Thumbprint Cookies with Cream Cheese recipe makes perfectly juicy, tender, and flavorful steak every time! Serve with potatoes and a side salad for an unforgettable dinner in under 30 minutes.
Preheat the oven to 350°F and line a baking sheet with parchment paper or a silicone mat to ensure even browning and easy release.
In a large bowl, cream together 1 cup softened unsalted butter and 1 cup granulated sugar until light and fluffy, about 2–3 minutes with an electric mixer.
Beat in 1 large room-temperature egg and 1 teaspoon vanilla extract until fully combined, scraping down the bowl as needed.
Mix in 2 tablespoons cocoa powder and 1 tablespoon red food coloring until uniform in color; adjust gel color by small increments if needed.
Gradually add 2 cups all-purpose flour, 1/2 teaspoon baking powder, and 1/4 teaspoon salt, mixing until just combined to avoid overworking the dough.
Roll dough into 1-inch balls and place them on the prepared sheet about 1 inch apart. Use your thumb to make a shallow indentation in each ball to hold the filling.
In a small bowl, beat 4 ounces softened cream cheese with 1/2 cup powdered sugar until smooth. Chill for 10 minutes if too soft before filling the cookies.
Spoon about 1/2 teaspoon of the cream cheese mixture into each indentation and bake for 12–15 minutes, or until edges are set and centers are soft but not liquid.
Cool cookies on the baking sheet for 5 minutes, then transfer to a wire rack to cool completely. Store in an airtight container for up to 5 days in the refrigerator.
Last Step: Please leave a rating and comment letting us know how you liked this recipe! This helps our business to thrive and continue providing free, high-quality recipes for you.
Leave a comment & rating below or tag
@royalrecipe on social media!

Learn how a 5-minute prep transforms a whole garlic bulb into silky, caramelized cloves in the air fryer. Perfect as a spread, mix-in, or flavor booster that elevates weeknight meals and party plates.

Golden, melty pizza rolls made in the air fryer—crispy outside, gooey inside, ready in under 20 minutes. Perfect for snacks, parties, or quick dinners.

Crispy, light rolls filled with vermicelli, tofu or shrimp, and crisp vegetables—air-fried for a healthier crunch and quick prep.
Leave a comment & rating below or tag @royalrecipe on social media!
Enjoyed this recipe? Share it with friends and family, and don't forget to leave a review!
This recipe looks amazing! Can't wait to try it.
Comments are stored locally in your browser. Server comments are displayed alongside your local comments.

Join to receive our email series which contains a round-up of some of our quick and easy family favorite recipes.
