
Soft Christmas Peppermints

Soft, pastel peppermint confections with a classic candy-cane swirl—no baking required and perfect for holiday gifting and cookie trays.

This batch of soft Christmas peppermints has been my favorite holiday project for years. I first stumbled on the idea while trying to find a no-bake treat that would still feel festive and homemade. The texture is the real joy here: tender, melt-in-your-mouth discs that give the same bright peppermint flavor as traditional hard candies but with a pillowy, almost fondant-like chew. It is a technique that transforms three pantry staples into something fanciful and giftable, and my family always remarks on the surprising softness and understated sweetness.
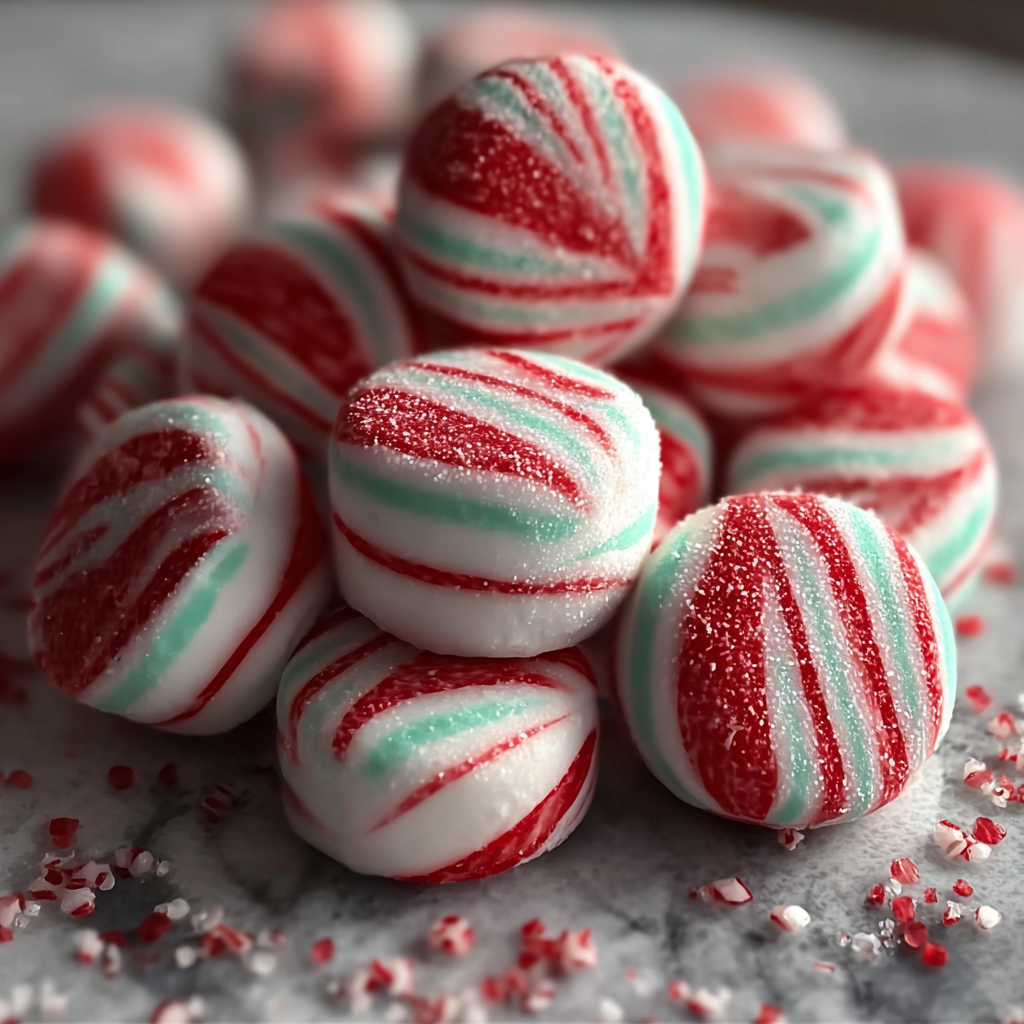
I discovered this combination during a busy December when I wanted edible gifts that didn’t require tempering chocolate or long stove-time. The condensed milk binds the powdered sugar into a pliable dough that you can color and shape, while the granulated sugar outside gives just enough sparkle and a slight initial crunch. Each bite is peppermint first, sugar second, and the colors make them pop on a cookie tray. We started making these with the kids—rolling ropes and twisting them into candy-cane spirals has become a small tradition.
Why You'll Love This Recipe
- This method is no-bake and quick to assemble, ready in about 30 minutes of active time; the rest is simply drying at room temperature.
- It uses pantry staples found in almost every grocery store—powdered sugar, sweetened condensed milk, and peppermint extract—so there is minimal shopping required.
- Coloring with gel food coloring keeps the dough vibrant without altering texture; perfect for coordinating holiday palettes or themed parties.
- Make-ahead friendly: you can form these the day before gifting and they keep well at room temperature for several days.
- Kid-friendly shaping makes this a fun family activity, and the final coating in granulated sugar gives an attractive sparkle for gift boxes or holiday platters.
In my kitchen these peppermints became the cookie-exchange wildcard—people expect cookies, but they’re delighted by little peppermint discs. My niece insisted on a green batch only one year, and that stubborn preference turned into a laugh and a new colorway that we still repeat every December.
Ingredients
- Powdered sugar (3 3/4 cups): Use good-quality, sifted confectioners’ sugar such as Domino or C&H for consistent texture. Sifting removes lumps and keeps the dough smooth; reserve a couple of tablespoons for dusting your surface.
- Sweetened condensed milk (1/3 cup): I use Eagle Brand for reliability. This ingredient is the binder and provides that soft, slightly chewy texture that distinguishes these from hard peppermint candies.
- Peppermint extract (1/2 teaspoon): Pure peppermint extract is stronger than imitation and gives a clean, cool aftertaste. Start with 1/2 teaspoon and adjust by small increments if you prefer a bolder flavor.
- Gel food coloring: A tiny amount of gel coloring creates vivid red and green without watering down the dough; Wilton gel colors are my go-to.
- Granulated sugar for coating: Regular granulated sugar adds sparkle and a light initial crunch. If you want extra shimmer, use superfine sugar but granulated delivers tradition and contrast.
Instructions
Prepare the Dry Base:Start by sifting 3 3/4 cups of powdered sugar into a large mixing bowl to remove any lumps; this ensures a silky final texture. Reserve 2 to 3 tablespoons of the sifted sugar for dusting your work surface and adjusting dough consistency later.Combine Wet Ingredients:Measure 1/3 cup sweetened condensed milk and add it to the center of the powdered sugar. Add 1/2 teaspoon peppermint extract. Using a sturdy spatula, fold the milk into the sugar until it becomes a stiff, sticky dough. If the mixture seems too wet, add powdered sugar a tablespoon at a time until it holds shape without sticking excessively to your hands.Divide and Color:Divide the dough into three portions: roughly one third plain, one third for red, and one third for green. Knead a small amount of gel food coloring into the red and green portions until the color is completely uniform. Use gloves or a disposable bag to avoid staining fingertips; gel coloring transfers slowly but does stain.Roll into Ropes:Dust your work surface lightly with reserved powdered sugar. Roll each colored portion into a rope about 1/2 inch thick and as even as you can manage. The ropes should be pliable but not sticky; if sticky, dust very lightly with powdered sugar—not so much that the ropes lose moisture.Form the Candy-Cane Effect:Place a red rope, a green rope, and a plain rope side by side and gently press to join them along their length. Twist them together into a spiral, keeping gentle, even pressure so they retain definition. If the ropes start to dry at the ends, pinch and re-roll quickly to smooth those edges.Portion and Shape:Cut the twisted ropes into 2-inch segments, then press each segment flat into a small disc or leave slightly domed for a soft pillow look. Work quickly so the dough stays pliable; if it stiffens, the pieces can crack when shaped.Coat and Dry:Roll each formed peppermint in granulated sugar to coat evenly. Arrange on a parchment-lined baking sheet with small gaps between pieces. Let dry at room temperature for several hours or overnight until the centers are firm to the touch and they hold their shape. Do not refrigerate, as condensation can make them sticky.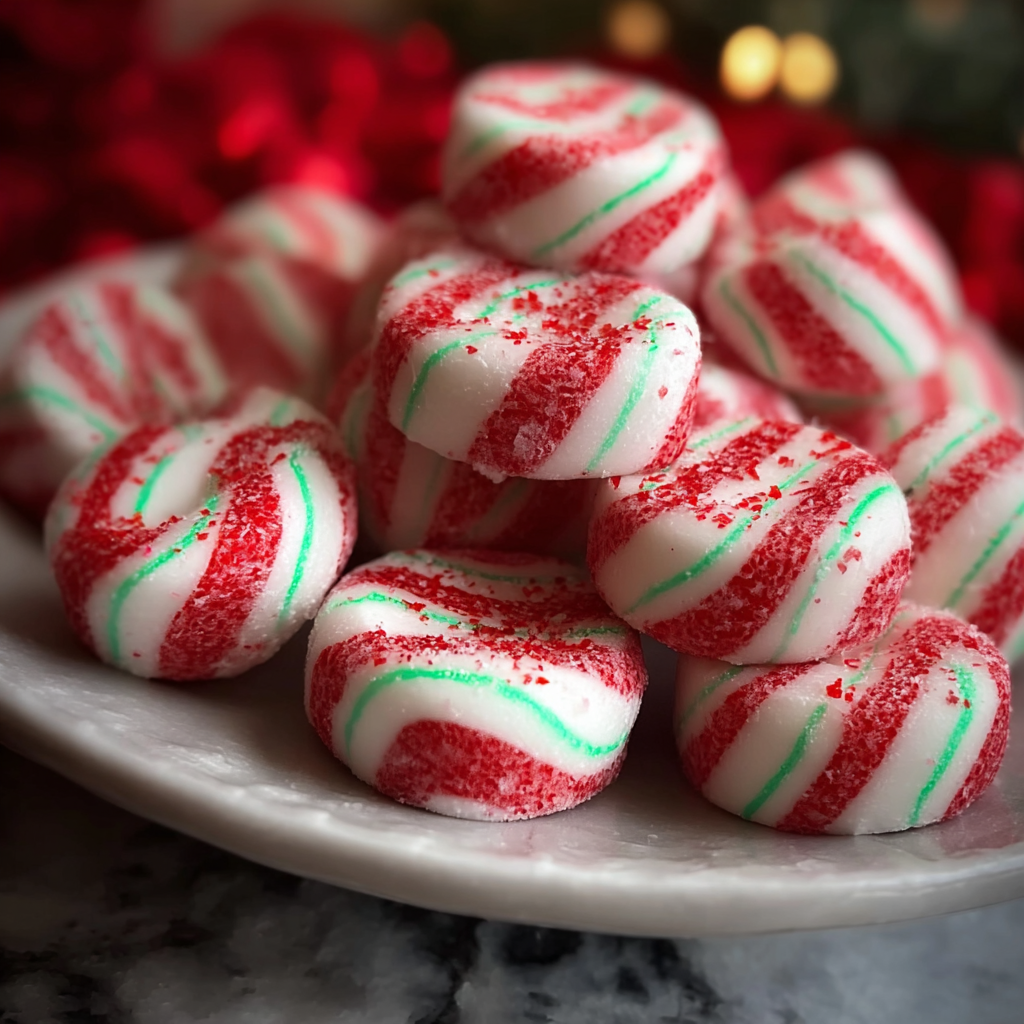
You Must Know
- These treats are high in sugar and contain dairy from sweetened condensed milk; store at room temperature in an airtight container for up to 5 days.
- They freeze well for up to three months: flash-freeze on a tray, then transfer to a freezer-safe container with parchment between layers.
- Keep away from humid environments; humidity will soften the outer sugar coating and make them tacky.
- For a stronger peppermint kick, you can increase peppermint extract by 1/4 teaspoon, but avoid adding too much liquid as it alters texture.
My favorite thing about these peppermints is how versatile they are: I’ve swapped in subtle flavors like orange oil for small batches and the family always notices the difference. One holiday my sister labeled a batch as "vintage" and friends asked for the recipe; the simple method makes it easy to adapt and personalize for gift boxes and cookie tables.
Storage Tips
Store completed pieces in an airtight container at room temperature, separated by layers of parchment to prevent sticking. Avoid refrigeration because moisture from condensation softens the granulated sugar coating and can make the centers tacky. If you need longer storage, flash-freeze the tray of formed peppermints until firm, then transfer to a heavy-duty freezer bag with parchment between layers; they’ll keep quality for up to three months. When ready to serve after freezing, let them thaw overnight at room temperature in the sealed container to avoid moisture collecting on the surface.
Ingredient Substitutions
If you need to adapt, there are friendly swaps. Use 1/3 cup evaporated milk combined with 1 tablespoon of corn syrup in place of sweetened condensed milk for a slightly less sweet result, but expect a firmer texture. For a vegan version, try sweetened condensed coconut milk; the taste shifts to coconut notes, so pair with a lighter flavor like lemon or orange extract instead of peppermint. If you don’t have gel coloring, powdered food color dispersed in a tiny amount of water will work, but add water sparingly to avoid softening the dough.
Serving Suggestions
Arrange these peppermints on a holiday platter alongside cookies, chocolate-dipped pretzels, and spiced nuts for a charming contrast in textures. They make lovely edible gifts when wrapped in clear cellophane tied with twine, or placed in small tins layered with tissue. Pair with hot cocoa or coffee for a warming treat; the peppermint flavor brightens rich beverages and cleanses the palate between sweets.
Cultural Background
Peppermint-flavored confections have a long presence in winter celebrations, often associated with candy canes and their red-and-white stripes. This soft interpretation borrows the visual language of the candy-cane but stems from confectioners’ pastes—soft sugar preparations used for decorative candies and small confections. The technique of binding confectioners’ sugar with sweetened condensed milk is common in many home recipes for no-bake sweets and demonstrates how simple chemistry—sugar, fat, and moisture—creates a pliable paste suitable for shaping and coloring.
Seasonal Adaptations
Change the palette to match seasons or events: pastel colors for spring, blue and white for winter themes, or autumnal spices and orange for fall. Swap peppermint extract for almond or citrus oils to vary flavor profiles; when using citrus extracts, reduce any added liquid by a small amount to maintain texture. For a festive twist, sprinkle finely chopped crushed candy canes into the granulated sugar coating for added crunch and visual contrast.
Meal Prep Tips
To streamline holiday prep, form the ropes and twist them one day, cut and roll them the next morning. Work with small batches and cover unused dough with plastic wrap to prevent drying. Use parchment-lined trays and label containers with dates. If you plan to produce large quantities, set up an assembly line: one person colors and rolls, another twists and cuts, and a third coats and arranges. This keeps the workflow moving and prevents dough from stiffening before shaping.
These soft peppermints are a joyful, approachable holiday sweet that invites creativity and sharing. Whether you make a few dozen for family or several batches for parties, I hope these become a small tradition that brings color, a clean peppermint flavor, and a playful twist to your celebrations.
Pro Tips
If the dough is too sticky, add powdered sugar one tablespoon at a time until manageable; avoid over-dusting to keep tenderness.
Use gel food coloring to avoid adding liquid; it keeps dough consistency steady and color vibrant.
Work in small batches and keep unused dough wrapped to prevent drying and cracking.
Let the finished pieces dry at room temperature; refrigeration causes condensation and stickiness.
Flash-freeze on a tray before bagging for long-term storage to preserve shape and prevent sticking.
This nourishing soft christmas peppermints recipe is sure to be a staple in your kitchen. Enjoy every moist, high protein slice — it is perfect for breakfast or as a wholesome snack any time.
Tags
Soft Christmas Peppermints
This Soft Christmas Peppermints recipe makes perfectly juicy, tender, and flavorful steak every time! Serve with potatoes and a side salad for an unforgettable dinner in under 30 minutes.
Instructions
Sift the sugar
Sift 3 3/4 cups powdered sugar into a large bowl and reserve 2 to 3 tablespoons for dusting your work surface to ensure smooth texture.
Combine wet ingredients
Add 1/3 cup sweetened condensed milk and 1/2 teaspoon peppermint extract to the sifted sugar and stir until a sticky dough forms. Add more powdered sugar a tablespoon at a time if too wet.
Divide and color
Divide dough into three portions. Leave one plain and knead a small amount of gel coloring into the other two portions until uniform. Use gloves to avoid staining hands.
Roll into ropes
Dust your work surface with reserved powdered sugar and roll each portion into 1/2-inch-thick ropes, keeping them even for consistent twisting.
Twist and cut
Press the three ropes together along their length, twist gently to create a spiral, then cut into 2-inch segments and press into rounds or discs.
Coat and dry
Roll each piece in granulated sugar, place on parchment-lined baking sheet, and let dry at room temperature for several hours or overnight until firm.
Last Step: Please leave a rating and comment letting us know how you liked this recipe! This helps our business to thrive and continue providing free, high-quality recipes for you.
Nutrition
Did You Make This?
Leave a comment & rating below or tag
@royalrecipe on social media!
Categories:
You might also like...

5-Minute Air Fryer Roasted Garlic Magic That Wows
Learn how a 5-minute prep transforms a whole garlic bulb into silky, caramelized cloves in the air fryer. Perfect as a spread, mix-in, or flavor booster that elevates weeknight meals and party plates.

Air-Fried Pizza Rolls
Golden, melty pizza rolls made in the air fryer—crispy outside, gooey inside, ready in under 20 minutes. Perfect for snacks, parties, or quick dinners.

Air-Fried Rice Paper Noodle Rolls
Crispy, light rolls filled with vermicelli, tofu or shrimp, and crisp vegetables—air-fried for a healthier crunch and quick prep.
Did You Make This?
Leave a comment & rating below or tag @royalrecipe on social media!
Rate This Recipe
Share This Recipe
Enjoyed this recipe? Share it with friends and family, and don't forget to leave a review!
Comments (1)
This recipe looks amazing! Can't wait to try it.
Comments are stored locally in your browser. Server comments are displayed alongside your local comments.

Hi, I'm Riley!
What's Popular

30-Minute Meals!
Join to receive our email series which contains a round-up of some of our quick and easy family favorite recipes.