
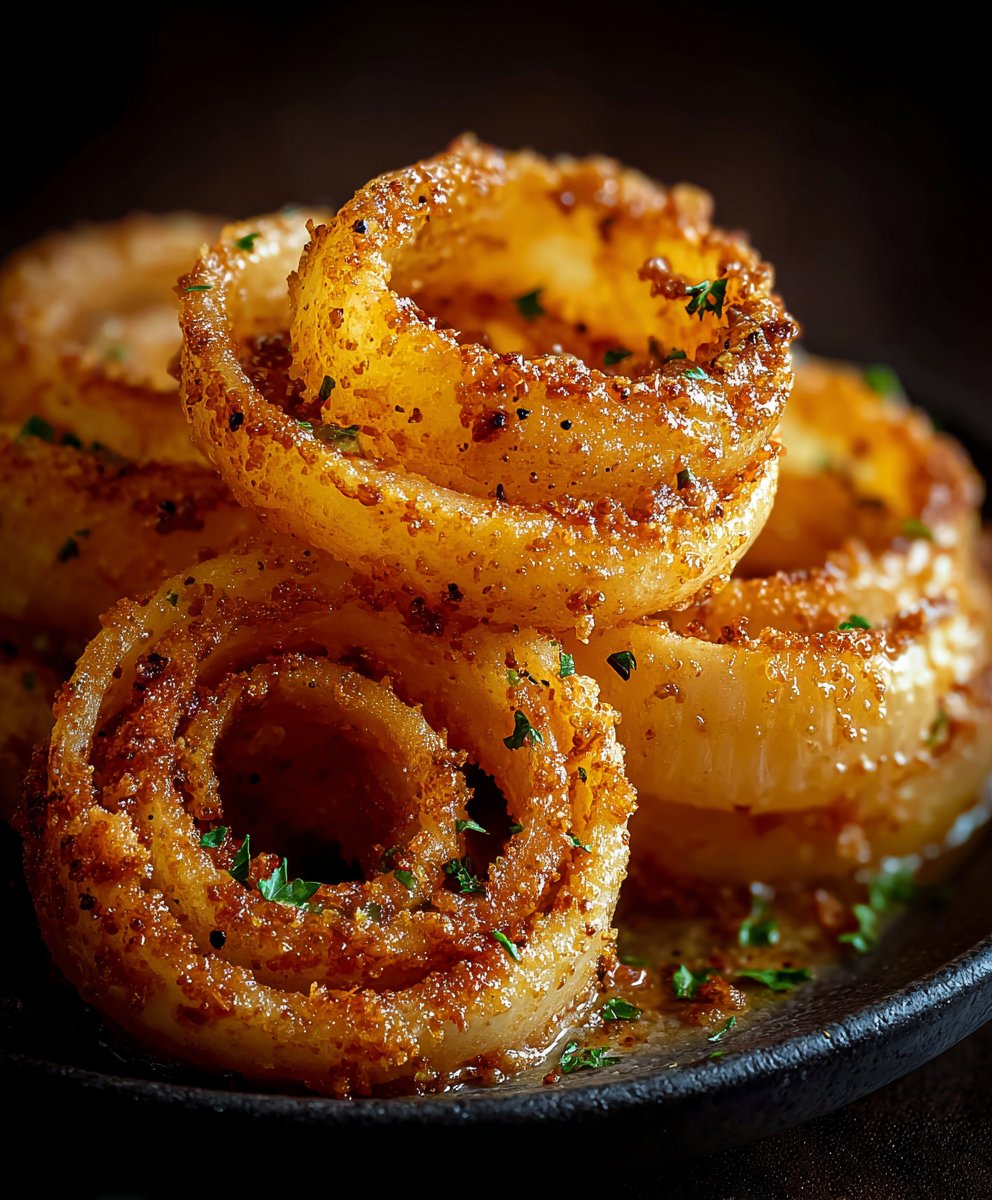
Tennessee Onions (Better Than Onion Rings)

Sweet Vidalia onions baked under a blanket of cheddar, Monterey Jack and Parmesan until golden and bubbly — a comforting side that outshines onion rings every time.
This dish of Tennessee Onions has been my late-summer showstopper for years, an unsung star at backyard cookouts and weeknight dinners alike. I first stumbled on this combination the summer I had an overflowing bag of Vidalia onions from a roadside stand. Instead of frying, I layered them with three melting cheeses and a small pat of butter, popped the pan into the oven and waited while the aroma filled the house. The result was simple, nostalgic and utterly addictive. Each ring softens into a sweet, silky bite while the cheese forms a golden, bubbly top that squeaks and pulls in the best possible way.
What makes these Tennessee Onions special is the marriage of textures and the way the natural sweetness of the onions is amplified by the cheeses and a whisper of thyme. Unlike fried rings, these are spoonable, easy to share and much less fussy. They feel homey and celebratory at once: the kind of side that makes people linger at the table, reaching for second helpings. I serve them alongside grilled pork chops, roasted chicken, or as the center of a casual snack board with pickles and crusty bread.
Why You'll Love This Recipe
- Uses pantry and fridge staples so you can assemble in 10 minutes and slide into a 375 F oven for a fast, hands-off finish.
- Ready in about 35 minutes total, this keeps weeknight timing easy while delivering deep, comforting flavors that feel special.
- Swap cheeses or omit one to suit what you have on hand, and it still comes out gooey, golden and satisfying.
- More approachable and less greasy than fried onion rings, with a softer, saucier texture perfect for spoons and forks.
- Great make-ahead option: assemble in the dish, cover and refrigerate for a day, then bake when guests arrive.
- Kid friendly and crowd pleasing, plus it pairs with everything from grilled proteins to simple salads.
I remember serving these at a late summer picnic and watching my usually picky niece trade her fries for warm onion rings that weren’t rings at all. My partner called them "the melted onion miracle." That kind of easy, unanimous approval is exactly why I keep making them.
Ingredients
- Sweet onions: Use 3 large sweet onions such as Vidalia or Walla Walla, sliced into 1/2 inch rings. Look for firm bulbs with tight skins, not soft spots. Their natural sugars caramelize slightly under heat and balance the savory cheeses.
- Cheddar cheese: 1 1/2 cups shredded sharp cheddar. Sharp cheddar gives bright, tangy flavor that cuts through the richness. Pre-shredded is convenient, but freshly shredded melts more smoothly.
- Monterey Jack cheese: 1 cup shredded Monterey Jack for creaminess and great melting character. This keeps the topping silky instead of clumping.
- Parmesan cheese: 1/2 cup grated Parmesan for umami depth. Use a good Parmigiano Reggiano if available, or a quality domestic Parmesan for a salty finish.
- Unsalted butter: 4 tablespoons melted. Butter helps the onions soften and adds glossy richness to the top layer.
- Garlic powder: 1 teaspoon for a warm, savory undertone that complements the cheeses.
- Dried thyme: 1/2 teaspoon. Thyme adds an herbal lift that pairs beautifully with sweet onion.
- Salt and black pepper: 1/2 teaspoon salt and 1/4 teaspoon black pepper, adjusted to taste. Because cheese contributes salt, start lighter and add more after baking if needed.
Instructions
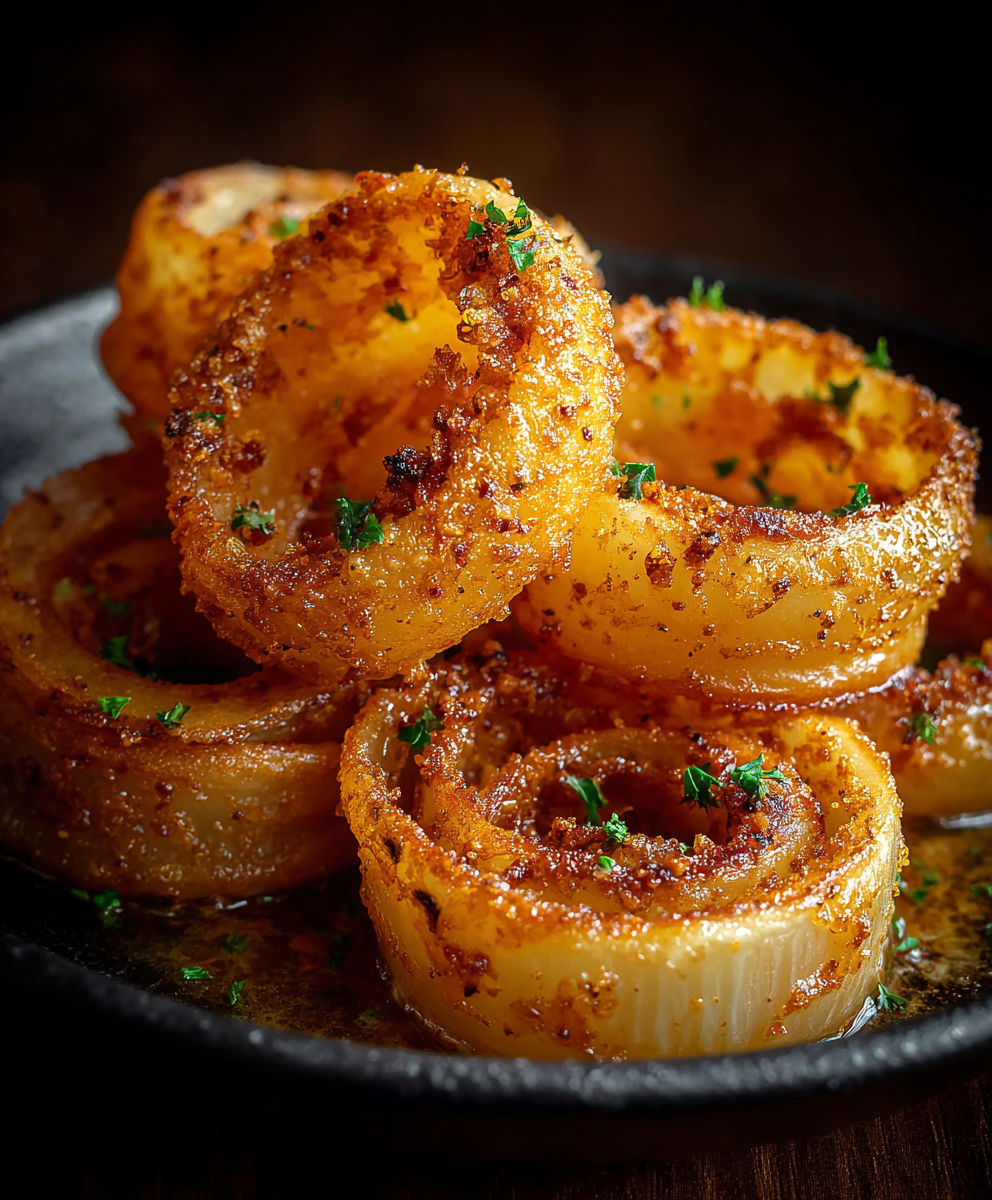
Preheat and prepare: Preheat the oven to 375 F. Lightly grease a 9 x 13 inch baking dish with a little butter or neutral oil. Preheating ensures immediate and even heat so the cheeses begin to melt as soon as the dish enters the oven. Layer the onions: Slice 3 large sweet onions into 1/2 inch rings. Gently separate the rings and arrange them in an even layer in the prepared dish. Try to keep the rings mostly flat rather than stacked tight, this helps even cooking and prevents pockets of undercooked onion. Season and butter: Drizzle the melted butter over the onions so it disperses across the surface. Sprinkle 1 teaspoon garlic powder, 1/2 teaspoon dried thyme, 1/2 teaspoon salt and 1/4 teaspoon black pepper evenly. Tossing is not necessary; the butter will help distribute the seasonings as the onions soften. Add the cheese topping: Top with 1 1/2 cups shredded cheddar, 1 cup shredded Monterey Jack and 1/2 cup grated Parmesan. Spread evenly so every spoonful will have a balance of cheeses. The mixture of sharp and creamy cheeses produces a complex, melty crust. Bake covered then uncovered: Cover the dish with foil and bake for 25 minutes. The cover traps steam to soften the onions without drying them. Remove foil and bake an additional 10 minutes, or until the cheese is golden and bubbly at the edges. For a deeper brown top, switch to broil for 1 to 2 minutes, watching closely so it does not burn. Rest and serve: Let cool slightly for 5 minutes so the cheeses settle, then serve warm as a side or snack. The onions will be tender and almost jam like beneath a stretchy, golden cheese crust.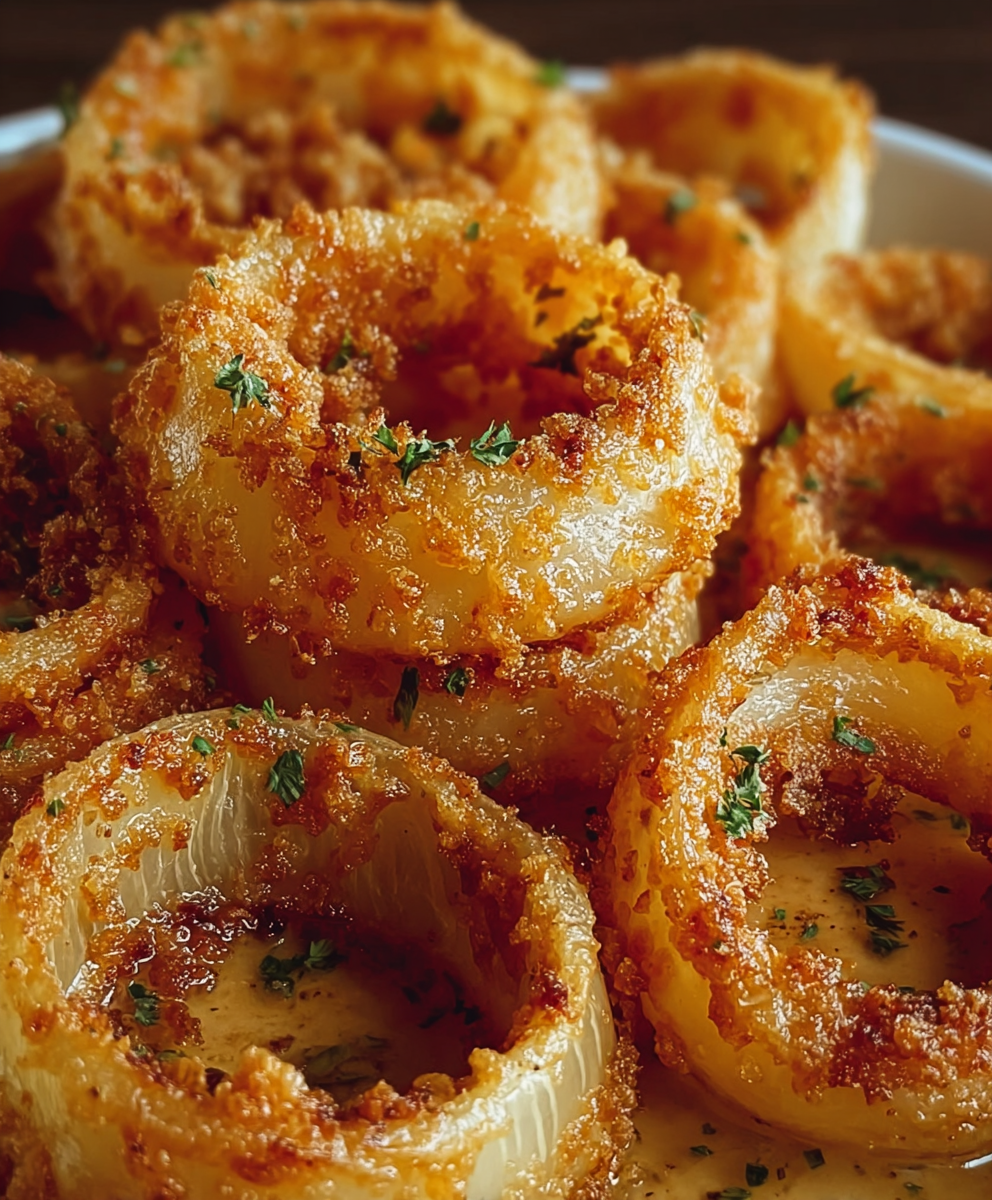
You Must Know
- These hold well for reheating, and leftovers will keep refrigerated for about 3 days in an airtight container.
- They freeze best before baking; assemble in a freezer safe dish, cover tightly and freeze up to 3 months.
- Because of the cheeses and butter, the dish is high in fat and calories, but also provides a satisfying portion of protein from the cheeses.
- Use a mix of cheeses to balance melt and flavor; avoiding all low fat cheeses will yield a creamier result.
My favorite part is how versatile they are. I once served these at a small holiday gathering with roasted turkey and they disappeared first. The mix of sweet, savory and golden crunch always draws people in. Serving them from the baking dish is part of the charm, inviting everyone to dig in and pass around slices of melted comfort.
Storage Tips
Store cooled leftovers in an airtight container in the refrigerator for up to 3 days. Reheat in a 350 F oven for about 8 to 12 minutes so the cheese loosens and the onions warm through, or reheat single portions in a toaster oven for 5 to 8 minutes. If you need to freeze, assemble the dish without baking, cover tightly with plastic and foil, and freeze for up to 3 months. Thaw overnight in the refrigerator before baking, and add 5 to 10 extra minutes to the bake time if still cold.
Ingredient Substitutions
If you do not have Vidalias, any sweet onion will work. For a sharper profile, swap half the Monterey Jack for Gruyère or smoked cheddar. To reduce richness, replace one cup of cheese with 1 cup of a lower fat mozzarella, though melting and flavor will change. If you prefer herb freshness, swap dried thyme for a teaspoon of finely chopped fresh thyme added after baking. For a dairy free version, use a plant butter and a high quality dairy free shredded cheese, though texture and flavor will be on the milder side.
Serving Suggestions
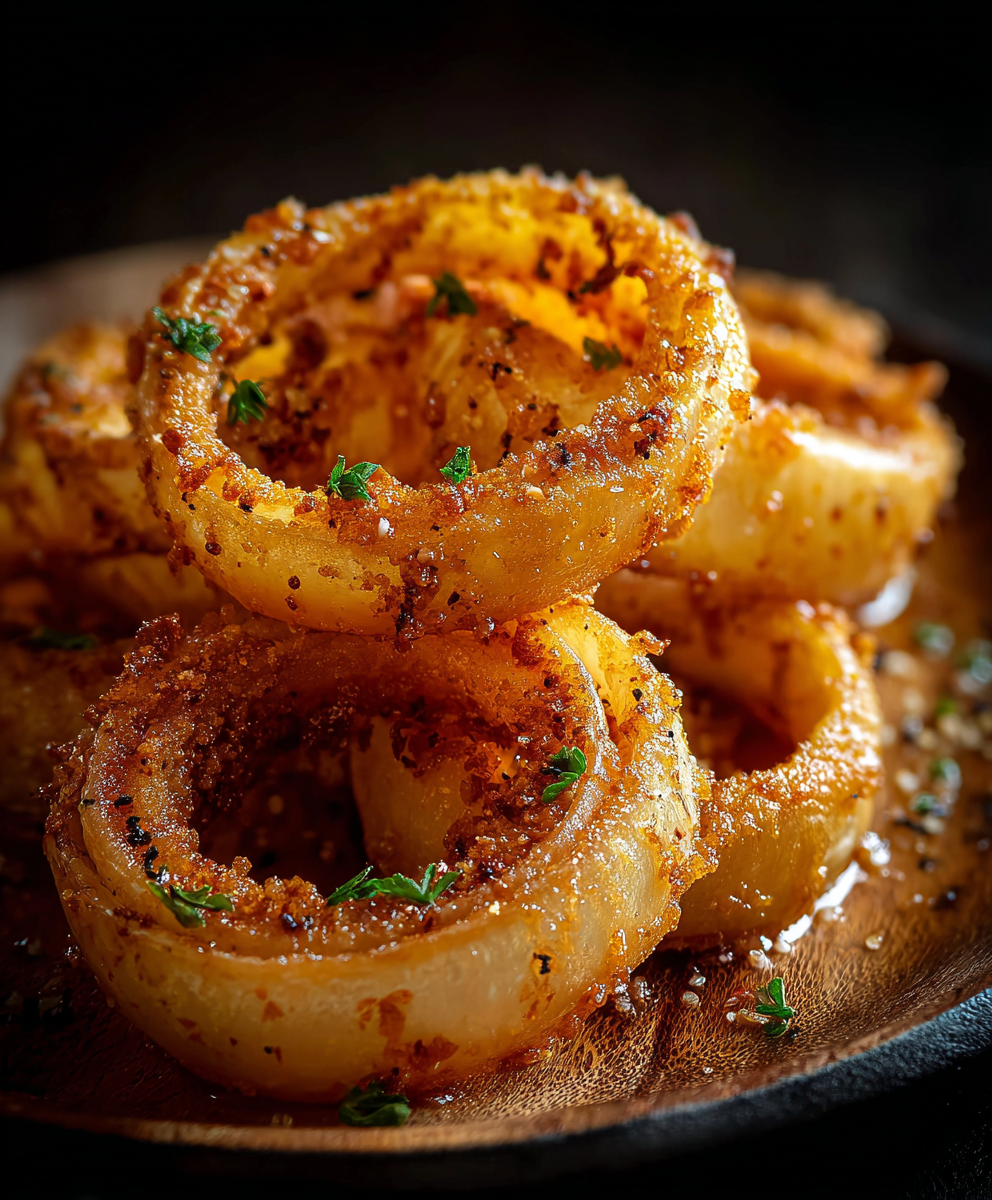
Serve warm as a side to roast chicken, grilled pork chops or a casual steak. They are also excellent spooned over toasted sourdough for a hearty open faced snack, or offered as part of a party board alongside pickles, olives and crusty bread for soaking up the cheesy juices. Garnish with fresh chopped parsley or chives for color and brightness. For a lighter plate, pair with a crisp green salad dressed in lemon vinaigrette to cut the richness.
Cultural Background
While this specific assembly is an American comfort update rather than a traditional regional classic, it is inspired by Southern love of sweet onions and bold, melty toppings. Vidalia onions, grown in Georgia, are celebrated for their sweetness and are often featured in Southern cooking where simple preparations highlight their natural flavor. The method of baking onions with cheese leans on traditions of gratins and casseroles that emphasize communal sharing and robust flavor.
Seasonal Adaptations
In summer use the best local sweet onions and pair with a chilled tomato salad. In fall, add a sprinkle of smoked paprika or a few strips of cooked bacon folded in before baking for a heartier, rustic version. For holiday meals, portion into smaller ramekins for individual servings and finish with a quick broil for a golden top. Brighten winter servings with a few tablespoons of chopped fresh herbs added just before serving.
Meal Prep Tips
Prepare the dish up to a day ahead: slice the onions, measure cheeses and melt the butter, then assemble in the baking dish and cover. Keep refrigerated until ready to bake. For larger gatherings, double the ingredients into two dishes and bake them simultaneously, rotating positions if your oven has hot spots. Use a mandoline set to 1/2 inch for uniform onion rings, which helps ensure even softness across the pan.
These Tennessee Onions are honest, comforting and endlessly adaptable. Whether you call them a side, a dip or a spoonable snack, they invite sharing and lingering conversations around the table. Try them once and you may find they replace fried rings in your repertoire for good.
Pro Tips
Use freshly shredded cheese for smoother melting and less anti-caking additives than pre-shredded bags.
Slice onions uniformly to 1/2 inch for even cooking; a mandoline set to 1/2 inch speeds this up and improves consistency.
Cover the dish for the first portion of baking to steam the onions gently, then remove the cover to brown the top for a better texture.
This nourishing tennessee onions (better than onion rings) recipe is sure to be a staple in your kitchen. Enjoy every moist, high protein slice — it is perfect for breakfast or as a wholesome snack any time.
FAQs about Recipes
Can I assemble this ahead of time?
Yes, these can be assembled and refrigerated for up to 24 hours before baking. Cover tightly and bake from chilled, adding 5 to 10 minutes to the bake time if still cold.
Can I freeze Tennessee Onions?
Freeze unbaked in a tightly covered container for up to 3 months. Thaw in the refrigerator overnight before baking.
How long do leftovers last?
Leftovers keep for 3 days in the refrigerator. Reheat in a 350 F oven for 8 to 12 minutes until warmed through.
Tags
Tennessee Onions (Better Than Onion Rings)
This Tennessee Onions (Better Than Onion Rings) recipe makes perfectly juicy, tender, and flavorful steak every time! Serve with potatoes and a side salad for an unforgettable dinner in under 30 minutes.
Ingredients
Main
Instructions
Preheat and prepare
Preheat the oven to 375 F. Lightly grease a 9 x 13 inch baking dish with butter or neutral oil to prevent sticking.
Slice and arrange
Slice 3 large sweet onions into 1/2 inch rings and separate the rings gently. Arrange an even layer of rings in the prepared baking dish, keeping them mostly flat for even cooking.
Season and butter
Drizzle 4 tablespoons melted butter over the onions, then sprinkle 1 teaspoon garlic powder, 1/2 teaspoon dried thyme, 1/2 teaspoon salt and 1/4 teaspoon black pepper evenly across the surface.
Add cheese topping
Top the onions with 1 1/2 cups shredded cheddar, 1 cup shredded Monterey Jack and 1/2 cup grated Parmesan. Spread the cheeses evenly for consistent melting.
Bake covered then uncovered
Cover the dish with foil and bake at 375 F for 25 minutes to soften the onions. Remove the foil and bake an additional 10 minutes until the cheese is golden and bubbly. Optional: broil 1 to 2 minutes for a deeper brown.
Rest and serve
Let the dish cool slightly for about 5 minutes before serving so the cheese sets a bit. Serve warm as a side, spooned over toast or as part of a snack board.
Last Step: Please leave a rating and comment letting us know how you liked this recipe! This helps our business to thrive and continue providing free, high-quality recipes for you.
Nutrition
Did You Make This?
Leave a comment & rating below or tag
@royalrecipe on social media!
Categories:
You might also like...

5-Minute Air Fryer Roasted Garlic Magic That Wows
Learn how a 5-minute prep transforms a whole garlic bulb into silky, caramelized cloves in the air fryer. Perfect as a spread, mix-in, or flavor booster that elevates weeknight meals and party plates.

Air-Fried Pizza Rolls
Golden, melty pizza rolls made in the air fryer—crispy outside, gooey inside, ready in under 20 minutes. Perfect for snacks, parties, or quick dinners.

Air-Fried Rice Paper Noodle Rolls
Crispy, light rolls filled with vermicelli, tofu or shrimp, and crisp vegetables—air-fried for a healthier crunch and quick prep.
Did You Make This?
Leave a comment & rating below or tag @royalrecipe on social media!
Rate This Recipe
Share This Recipe
Enjoyed this recipe? Share it with friends and family, and don't forget to leave a review!
Comments (1)
This recipe looks amazing! Can't wait to try it.
Comments are stored locally in your browser. Server comments are displayed alongside your local comments.

Hi, I'm Riley!
What's Popular

30-Minute Meals!
Join to receive our email series which contains a round-up of some of our quick and easy family favorite recipes.