
Turkish Stovetop Flatbread (No Oven)

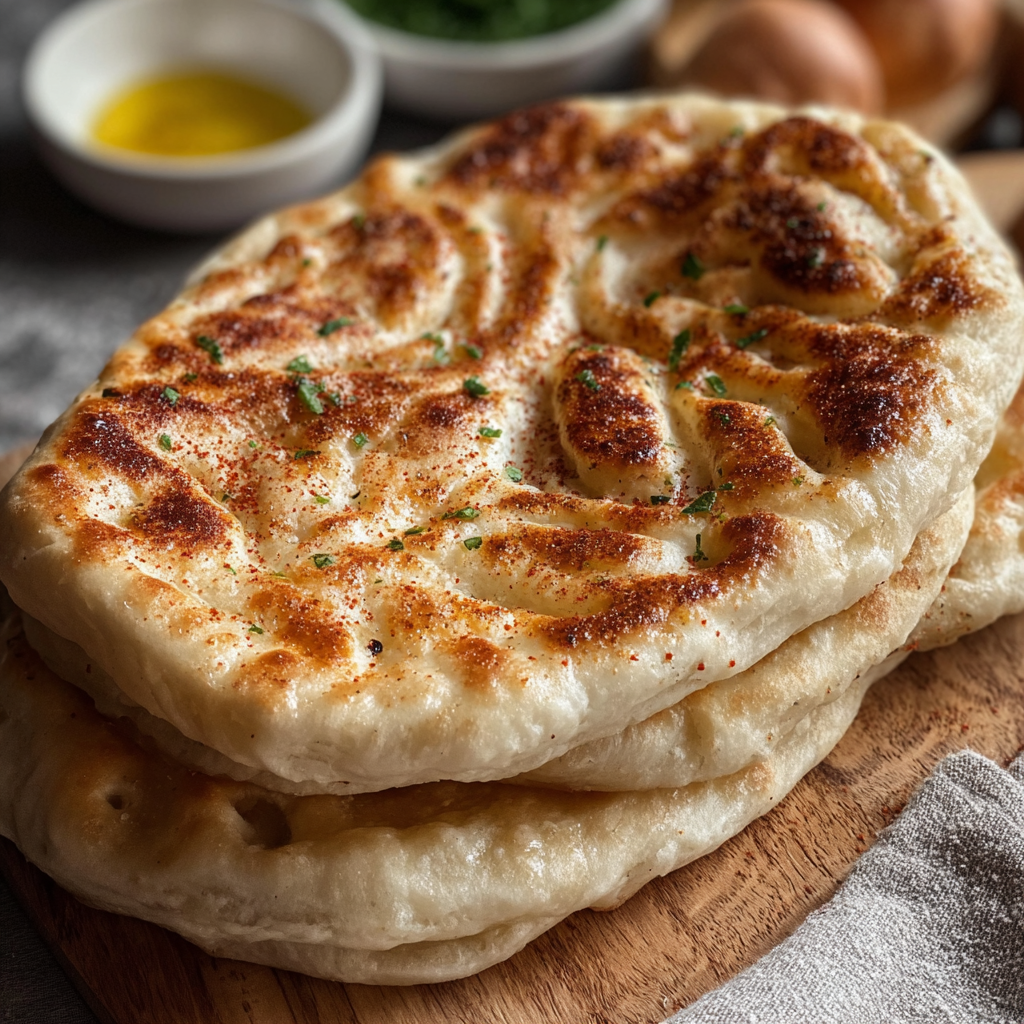
Soft, slightly puffed Turkish-style flatbreads cooked on the stovetop — simple dough, no oven, perfect for sandwiches, dipping, or as a warm side.
This Turkish stovetop flatbread became my weekday hero the winter I decided to stop waiting for the oven to heat. I wanted something warm, comforting, and fast that would pair with soups, dips and weekday spreads. The first time I made it, the kitchen filled with a yeast-sweet aroma and my family gathered around the skillet as each round puffed up into a soft pocket. It was immediate proof that great bread doesn’t always need an oven or hours of hands-on shaping.
What makes this version special is the combination of a tender crumb and a lightly charred exterior achieved on a heavy pan. The dough is straightforward: flour, warm milk, warm water, a touch of sugar and yeast, and salt. Minimal ingredients, maximum comfort. These rounds bake in minutes on the stovetop, puffing into small balloons when the heat and hydration are just right. I often brush them with melted butter or olive oil and sprinkle parsley for a bright finish. They are perfect for scooping up stews, wrapping grilled vegetables, or tearing and sharing at the table.
Why You'll Love This Recipe
- Ready with minimal equipment: no oven required, just a heavy skillet and a rolling pin for quick results.
- Uses pantry staples: flour, water, milk, yeast and a little sugar — no specialty flours or long waits.
- Fast turnaround: about 20 minutes of active work plus one hour proofing, ideal for weeknight dinners.
- Highly versatile: serve warm with dips, as a sandwich base, or alongside soups and salads.
- Great for small gatherings: easy to scale and each piece stays soft when brushed with butter and kept covered.
- Make-ahead friendly: dough can be refrigerated overnight for convenience without losing flavor.
My family’s reaction the first time was memorable. The youngest declared it the best bread he’d ever had with soup, and guests asked for the recipe. I learned that gentle heat control and a thick pan are the secret to consistent puffing. After a few batches you’ll learn the exact moment to turn the bread and when to lower the heat so it inflates like a tiny balloon.
Ingredients
- Dough: 4 cups all-purpose or bread flour — choose a strong bread flour if you want a slightly chewier texture. I usually use a local bread flour for structure but all-purpose works beautifully for a softer result. Measure with a spoon-and-level method for accuracy.
- Warm milk: 2/3 cup (about 5 tablespoons plus 1 teaspoon) warmed to about 100 to 110°F. The milk enriches the crumb and helps browning; whole milk gives a richer mouthfeel but 2% is fine.
- Warm water: 2/3 cup warmed to the same temperature as the milk to activate the yeast consistently.
- Instant dry yeast: 1 1/2 tablespoons — instant yeast can be mixed straight into warm liquid. If using active dry yeast, proof it a few minutes until foamy.
- Sugar: 1 tablespoon to feed the yeast and add a hint of sweetness to the crust.
- Salt: about 3/4 tablespoon (approximately 2 1/4 teaspoons) to season the dough. Adjust to taste but don’t skip it; salt strengthens gluten and enhances flavor.
- Topping (optional): 1 1/2 tablespoons melted unsalted butter or olive oil and chopped parsley for finishing. Brushing the hot rounds keeps them soft and adds shine.
Instructions
Activate the yeast and combine liquids: Pour the warmed milk and warmed water into a medium bowl. Sprinkle in the sugar and instant dry yeast, stir gently to dissolve, and let sit for 3 to 5 minutes until slightly foamy. If you see no activity after 7 minutes with active dry yeast, discard and try fresh yeast to ensure proper rise. Mix flour and form dough: Add the flour and salt to the yeast mixture. Stir with a wooden spoon until a shaggy dough forms. Turn the dough onto a lightly floured surface and knead by hand for 8 to 10 minutes until smooth and slightly tacky. The dough should pull away from your hands and feel elastic; under-kneaded dough will be sticky and weak while over-kneading can make it too tight. First rise: Shape the dough into a ball, place it in a lightly oiled bowl, cover with plastic wrap or a clean towel, and let it proof in a warm draft-free spot until doubled in size, about 1 hour. The dough should yield to gentle pressure and slowly spring back. Portion and rest: Punch the dough down gently, divide it into six even pieces, and shape each into a smooth round. Place them under a plastic bag or damp cloth for 15 minutes to relax the gluten. This resting step helps the rounds roll out without springing back. Roll out to shape: On a lightly floured surface, roll each piece into an 7-inch (about 18 cm) circle and roughly 1/8 inch thick (5 mm). Keep the thickness even so they cook uniformly. If the dough resists rolling, let it rest another 5 minutes. Stovetop cooking: Heat a heavy skillet or cast-iron pan over medium heat until warm. Place one round in the hot pan. Cook until bubbles form across the surface, about 1 to 2 minutes, then flip. When the flatbread begins to inflate and char in spots, reduce the heat to low and cover briefly with a lid or cloth-propped cover to trap heat and encourage puffing. Cook another 30 to 60 seconds until cooked through. Repeat with remaining rounds. A thick pan gives the best rise; thin pans do not retain enough radiant heat for puffing.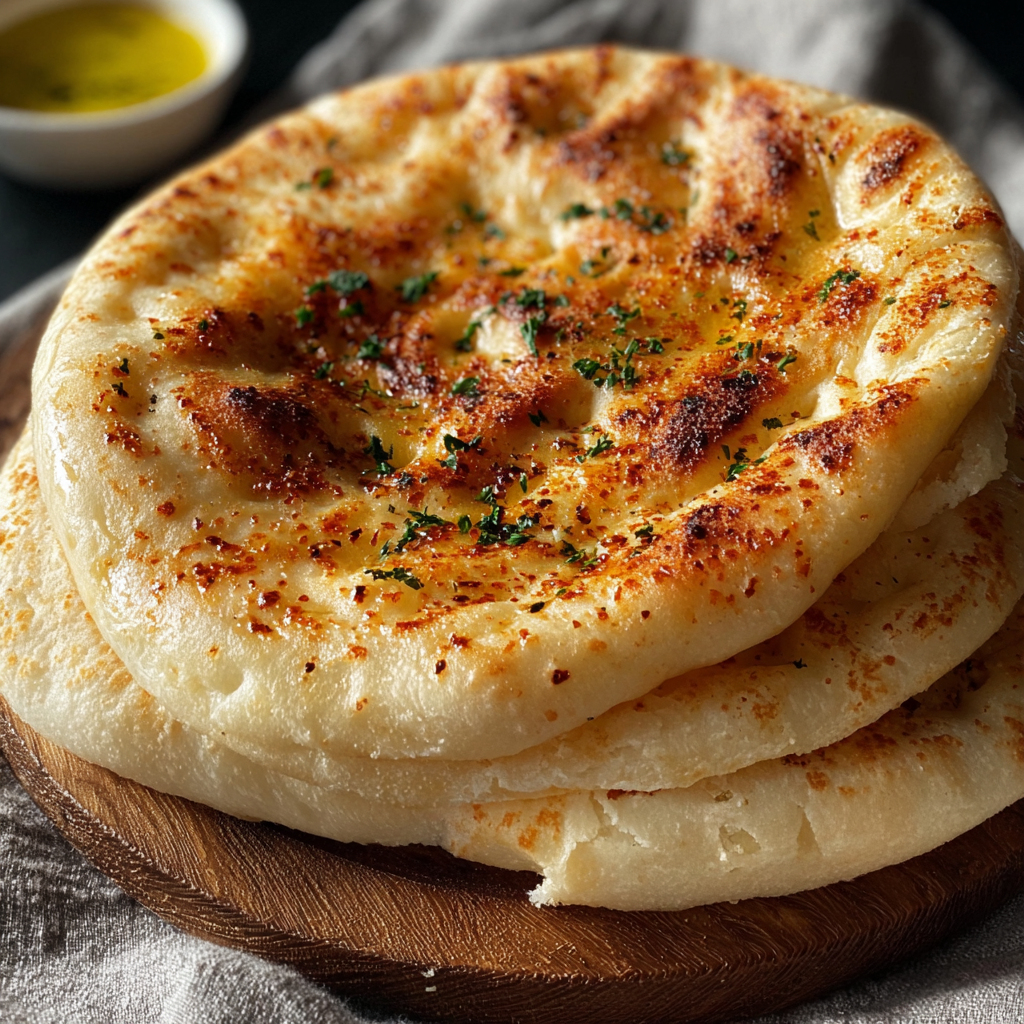
You Must Know
- This makes six 7-inch rounds; each is roughly 340 to 360 calories depending on toppings.
- Store cooled pieces wrapped in foil or a sealed container for up to 2 days at room temperature or 3 to 4 days refrigerated. Freeze between sheets of parchment for up to 3 months.
- Use a heavy cast-iron or thick-bottomed skillet for best puffing; thin pans lead to flat, dense rounds.
- Lowering the heat right as the bread puffs prevents over-browning and lets the interior finish cooking gently.
What I love most is how forgiving this formula is. Once you get the feel of the dough and learn your stove’s hot spots, timing becomes second nature. The bread is high-impact but low-effort: guests often assume it took longer or required an oven when in reality it comes together with simple patience and a warm skillet.

Storage Tips
Cool completely before storing to avoid sogginess. For short-term storage, stack rounds separated with parchment and keep in an airtight container at room temperature for up to 2 days. For longer storage, freeze individually wrapped rounds in plastic and place in a freezer bag for up to 3 months. Reheat from frozen on a low skillet, covered, flipping once to restore softness. To refresh refrigerated bread, wrap in foil and warm in a 300°F oven for 8 to 10 minutes or warm wrapped on a skillet until pliable.
Ingredient Substitutions
If you prefer dairy-free, substitute the milk with an equal amount of warm water plus 1 tablespoon of vegetable oil for similar tenderness. For a whole wheat option, replace up to half the flour with whole wheat flour and add a tablespoon more water per 1/2 cup swapped because whole wheat absorbs more liquid. Use active dry yeast by dissolving it in the warm liquids for a few minutes until foamy. If you want a fluffier result, add 1 extra tablespoon of warm water to increase hydration slightly.
Serving Suggestions
Serve warm brushed with melted butter or olive oil and scattered chopped parsley. These rounds pair beautifully with hummus, baba ghanoush, yogurt-based dips or stews like lentil soup. Fold and stuff with grilled vegetables, roasted meats or use as a base for quick pizzas. For breakfast, spread labneh and honey or use them as a side for shakshuka. Presentation tip: stack in a cloth-lined basket to keep them soft during service.
Cultural Background
Flatbreads are foundational across Turkish and Middle Eastern cuisines where communal eating and bread as a utensil are central. This stovetop approach mirrors rustic methods used in homes and villages where cast pans or griddles are warmed over fire. While names and specifics vary regionally, the principle of a simple dough transformed by heat and hands is timeless. These rounds echo the spirit of traditional breads like bazlama and pide, adapted here for modern home kitchens without a wood-fired oven.
Seasonal Adaptations
Spring and summer: fold in fresh herbs like dill or mint for a bright flavor. Add grated zesty lemon zest to the dough for lightness. Autumn and winter: serve heavier with braised meats and warm dips, or brush with garlic butter for a comfort-forward touch. For holidays, top with sesame or nigella seeds before cooking for a festive appearance and toasting that boosts aroma.
Meal Prep Tips
To prepare ahead, make the dough the night before and refrigerate after the first brief rest. Cold-proofing adds depth of flavor and makes morning or next-day cooking quick. Portion and roll out rounds just before cooking to maintain tenderness. For packed lunches, flash-warm, wrap in foil, and add a damp paper towel to retain moisture until serving. A little butter or oil before storing keeps them pliable longer.
These stovetop rounds are proof that everyday bread can be simple, flexible and deeply satisfying. Give them a try on a busy weeknight or at your next casual gathering. Tweak the finishing touches to make them yours and enjoy the warmth of fresh bread without turning on an oven.
Pro Tips
Use a heavy skillet or cast-iron pan to retain even heat for good puffing.
Let the dough rest after dividing; relaxed gluten rolls out more easily without shrinking.
Brush hot rounds with melted butter or oil to keep them soft and shiny.
This nourishing turkish stovetop flatbread (no oven) recipe is sure to be a staple in your kitchen. Enjoy every moist, high protein slice — it is perfect for breakfast or as a wholesome snack any time.
FAQs about Recipes
Can I freeze these flatbreads?
Yes. Once cooled, stack between parchment and freeze in a resealable bag for up to 3 months. Reheat on a skillet from frozen for best texture.
How do I get the bread to puff like a balloon?
Use a heavy cast-iron or thick-bottom pan and reduce heat when the bread puffs. Cover briefly to help it inflate fully.
Tags
Turkish Stovetop Flatbread (No Oven)
This Turkish Stovetop Flatbread (No Oven) recipe makes perfectly juicy, tender, and flavorful steak every time! Serve with potatoes and a side salad for an unforgettable dinner in under 30 minutes.
Ingredients
Dough
Topping (optional)
Instructions
Combine liquids and yeast
Mix warm milk, warm water, sugar and instant dry yeast in a container and let sit for 3 to 5 minutes until slightly foamy.
Add flour and salt, knead
Add the flour and salt, mix into a shaggy dough, then knead by hand about 8 to 10 minutes until smooth and no longer sticky on the surface.
Proof until doubled
Cover the dough and let it rise in a warm place until doubled in volume, about 1 hour.
Divide and rest
Divide into six even pieces, shape into rounds and cover with a plastic bag for 15 minutes to relax the gluten.
Roll out to 7 inches
Press each round out with a rolling pin to about 7 inches in diameter and roughly 1/8 inch thick (5 mm).
Cook on stovetop
Heat a thick pan over medium heat and cook each round until bubbles form; flip when lots of bubbles have formed. When the bread puffs, turn heat down to low and cover briefly to finish cooking.
Finish and serve
Brush with melted butter or olive oil, sprinkle chopped parsley if desired, and serve warm.
Last Step: Please leave a rating and comment letting us know how you liked this recipe! This helps our business to thrive and continue providing free, high-quality recipes for you.
Nutrition
Did You Make This?
Leave a comment & rating below or tag
@royalrecipe on social media!
Categories:
You might also like...

5-Minute Air Fryer Roasted Garlic Magic That Wows
Learn how a 5-minute prep transforms a whole garlic bulb into silky, caramelized cloves in the air fryer. Perfect as a spread, mix-in, or flavor booster that elevates weeknight meals and party plates.

Air-Fried Pizza Rolls
Golden, melty pizza rolls made in the air fryer—crispy outside, gooey inside, ready in under 20 minutes. Perfect for snacks, parties, or quick dinners.

Air-Fried Rice Paper Noodle Rolls
Crispy, light rolls filled with vermicelli, tofu or shrimp, and crisp vegetables—air-fried for a healthier crunch and quick prep.
Did You Make This?
Leave a comment & rating below or tag @royalrecipe on social media!
Rate This Recipe
Share This Recipe
Enjoyed this recipe? Share it with friends and family, and don't forget to leave a review!
Comments (1)
This recipe looks amazing! Can't wait to try it.
Comments are stored locally in your browser. Server comments are displayed alongside your local comments.

Hi, I'm Riley!
What's Popular

30-Minute Meals!
Join to receive our email series which contains a round-up of some of our quick and easy family favorite recipes.